Encounter Overview
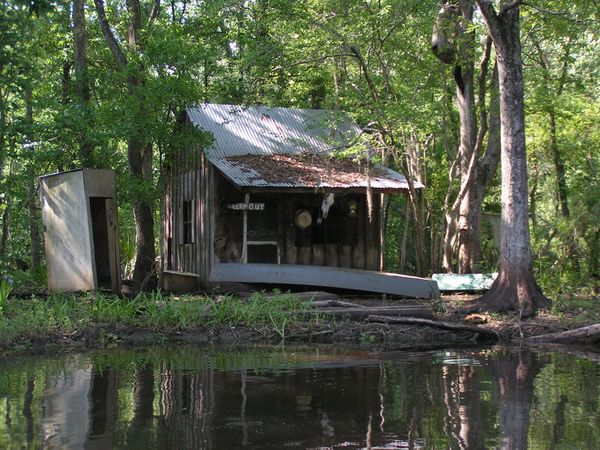
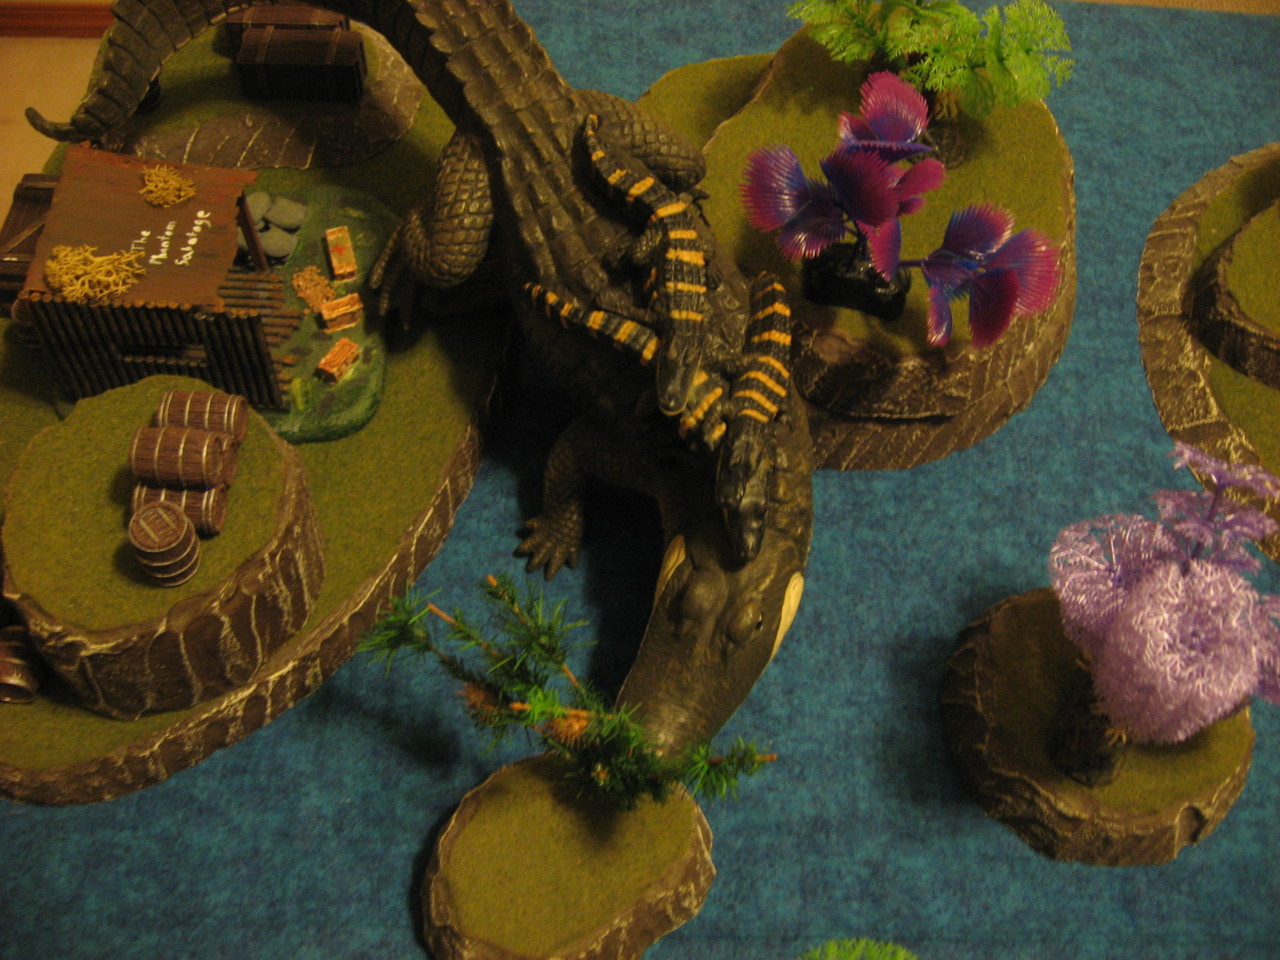
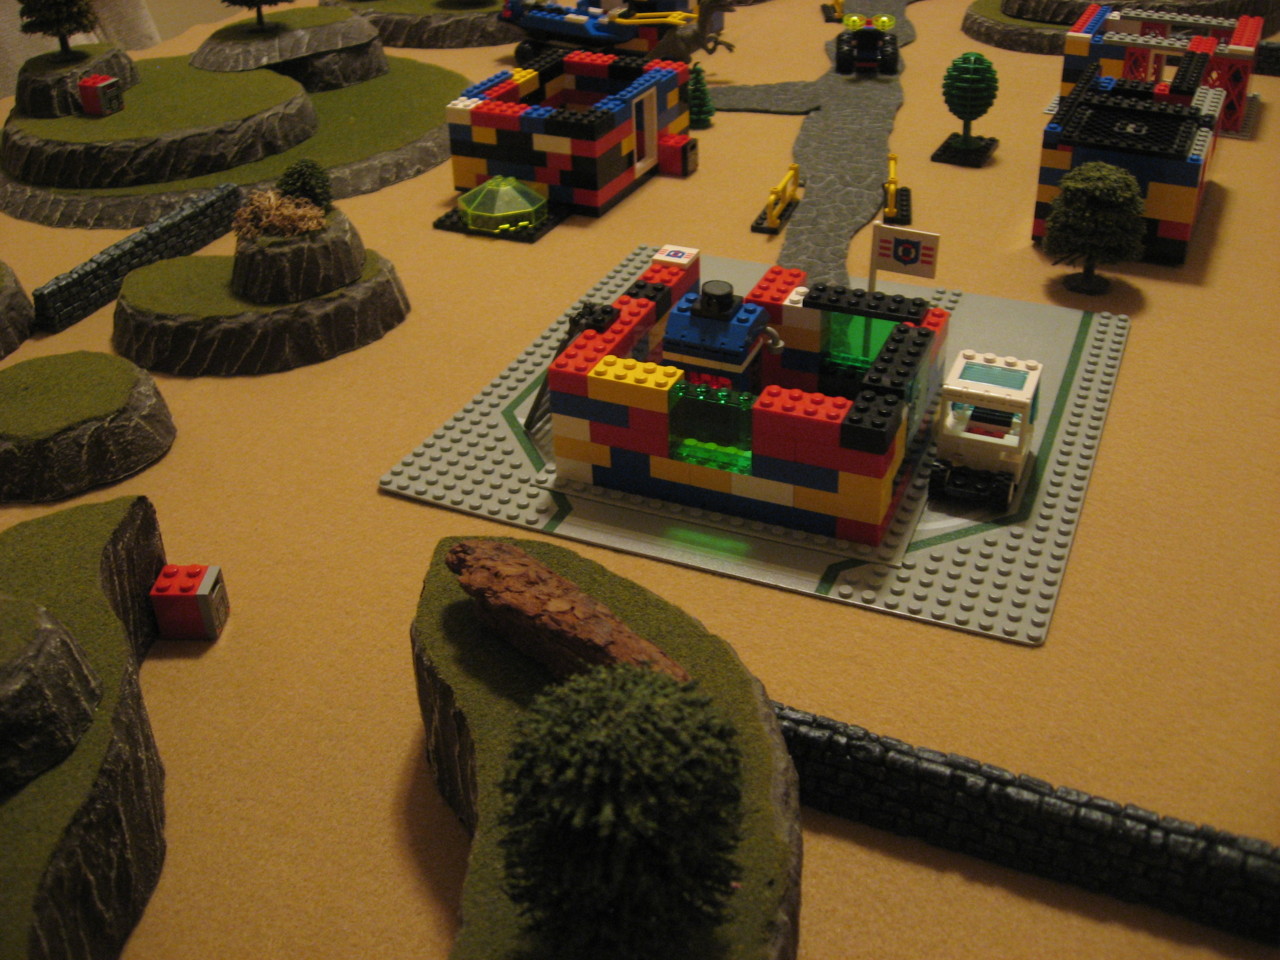
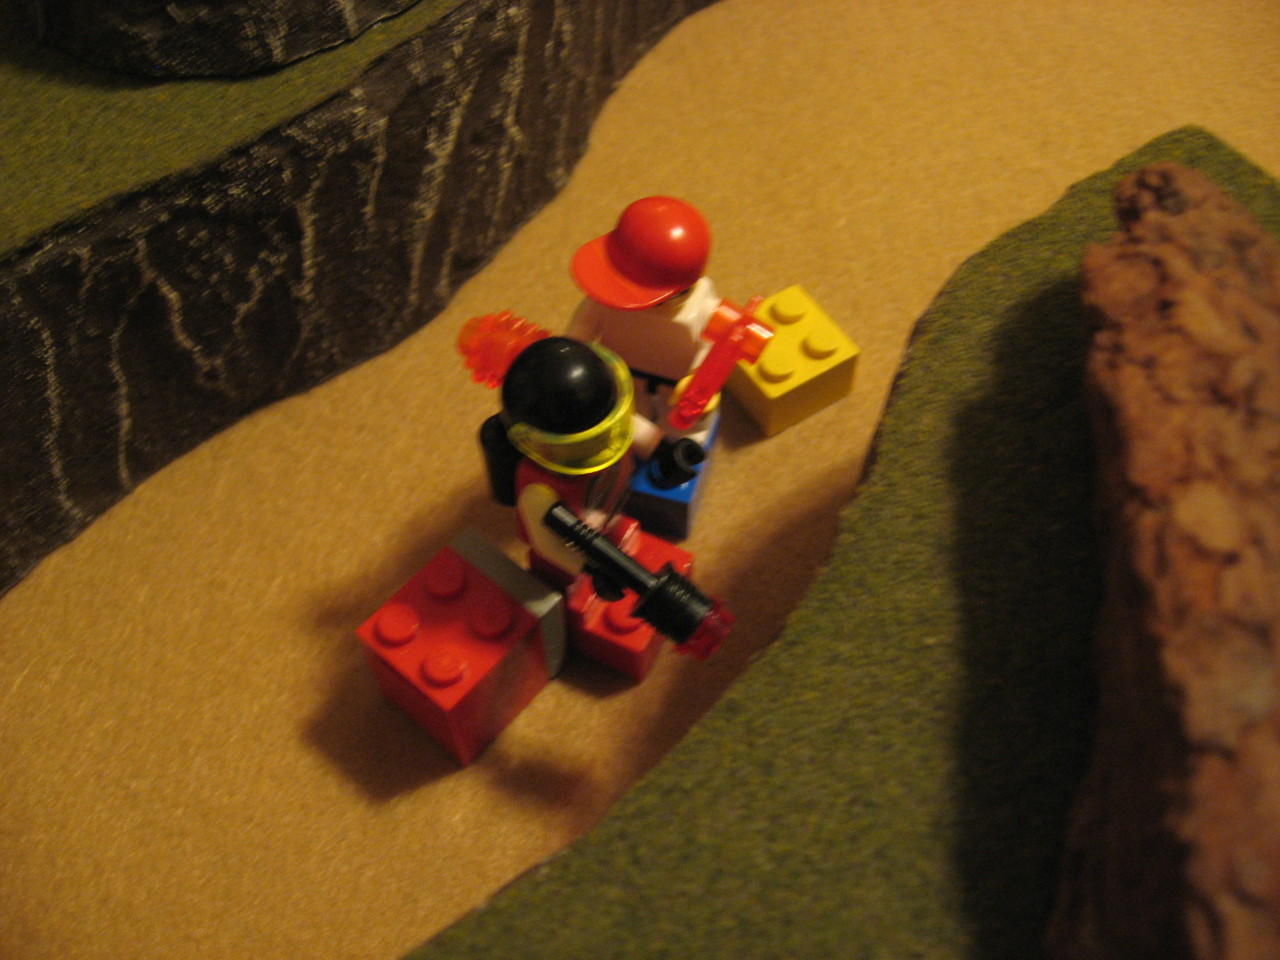
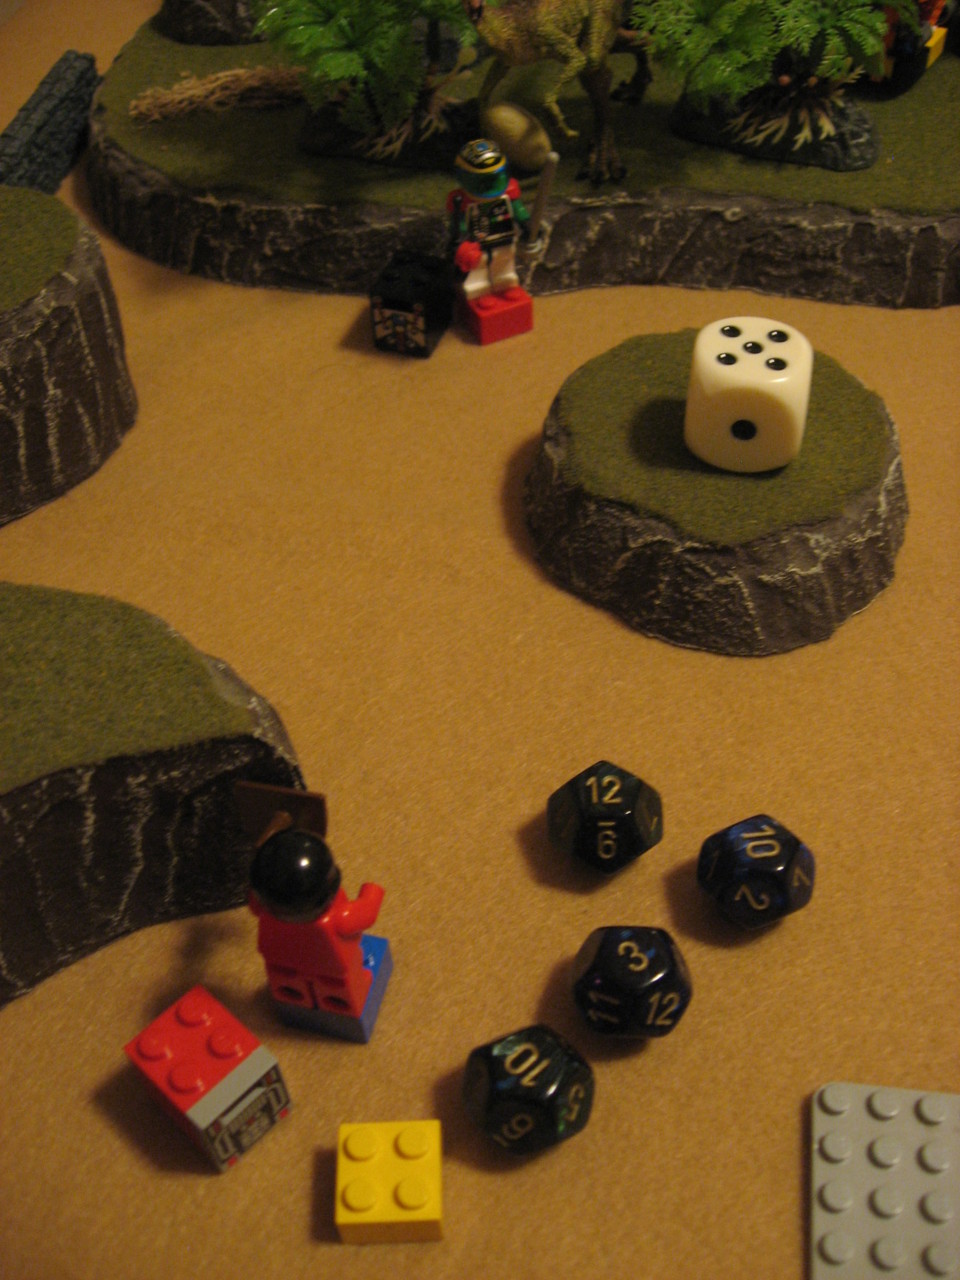
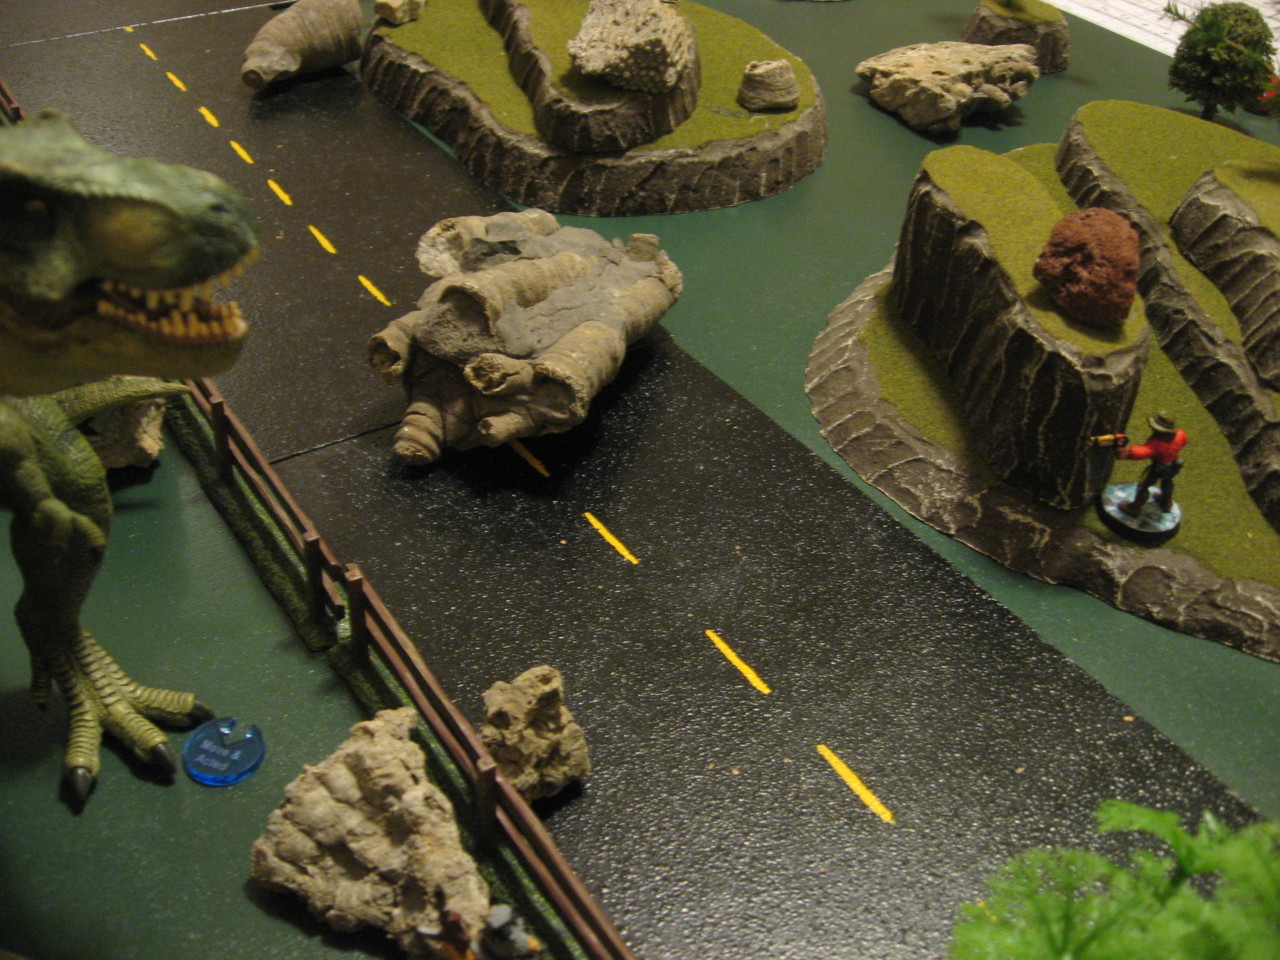
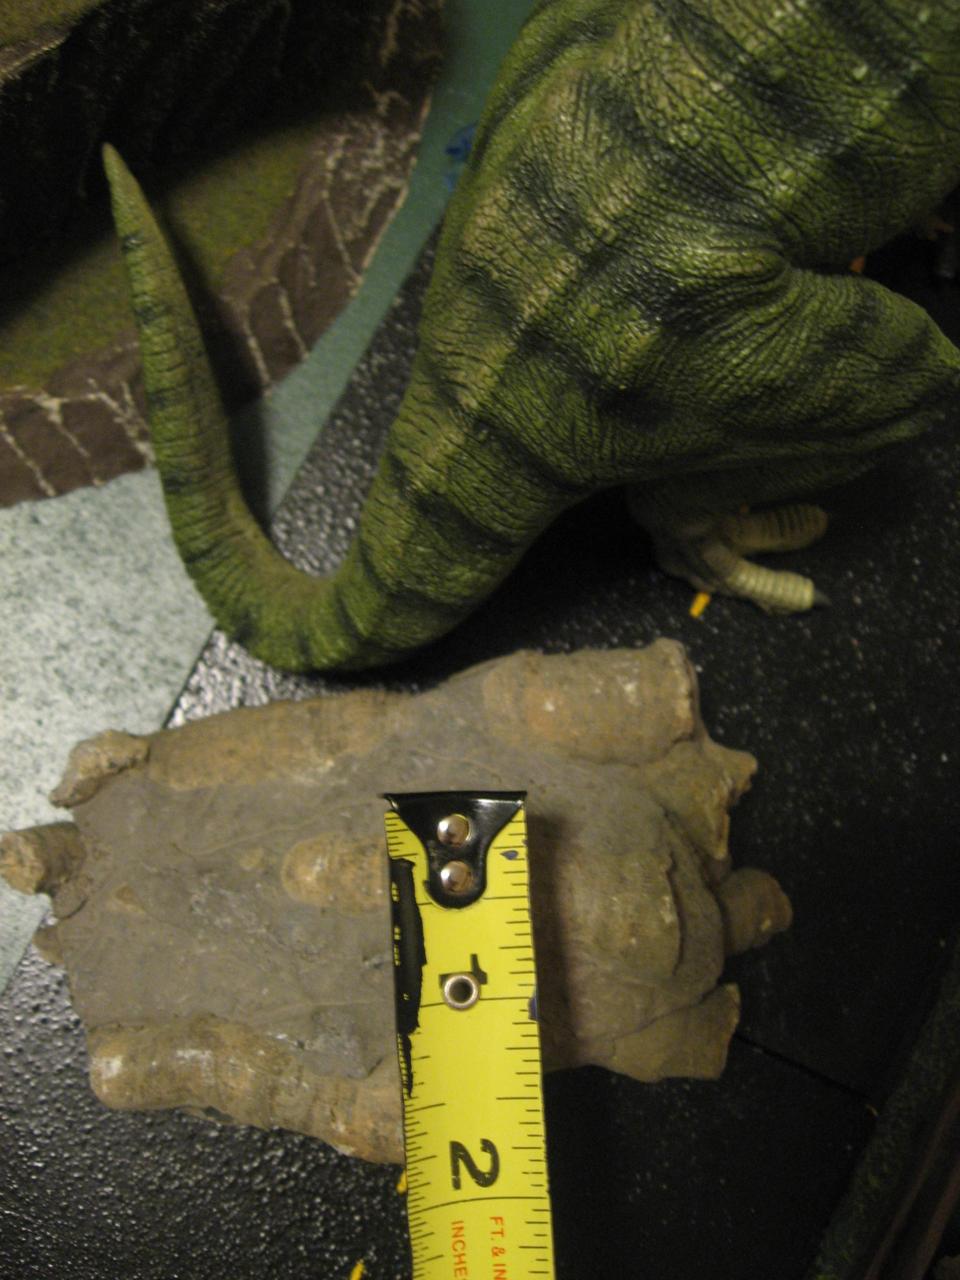
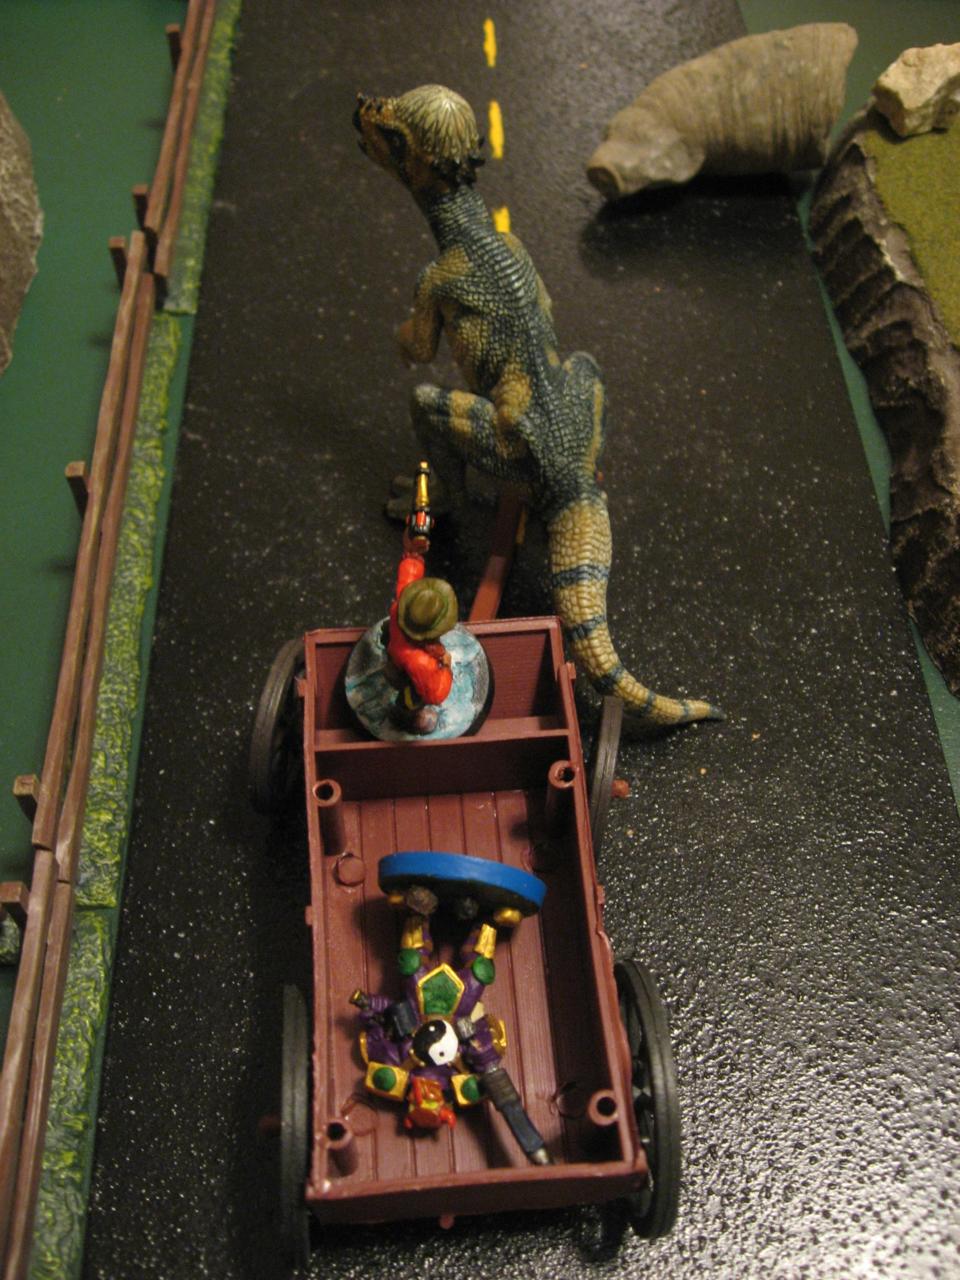
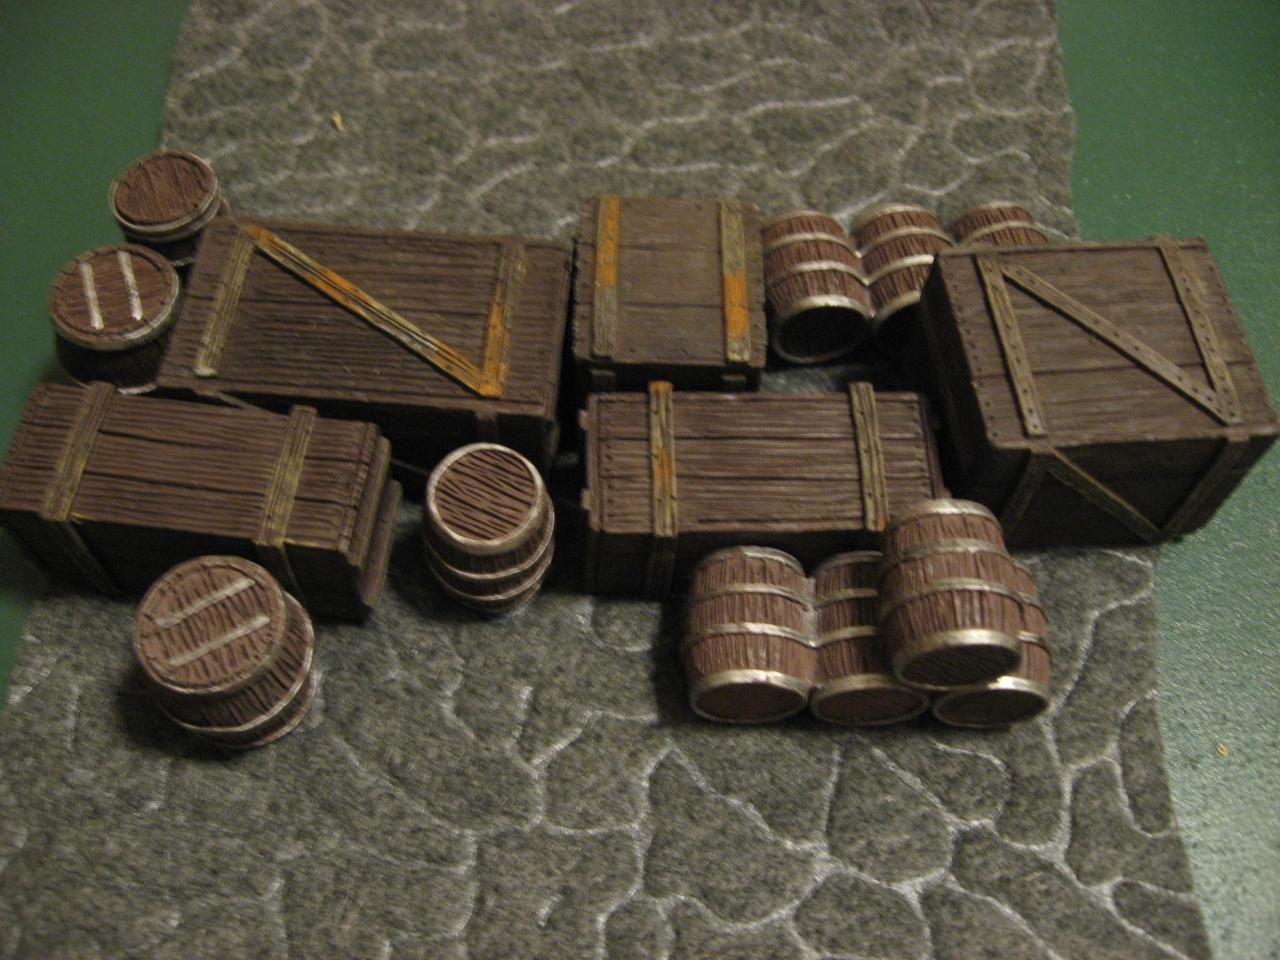
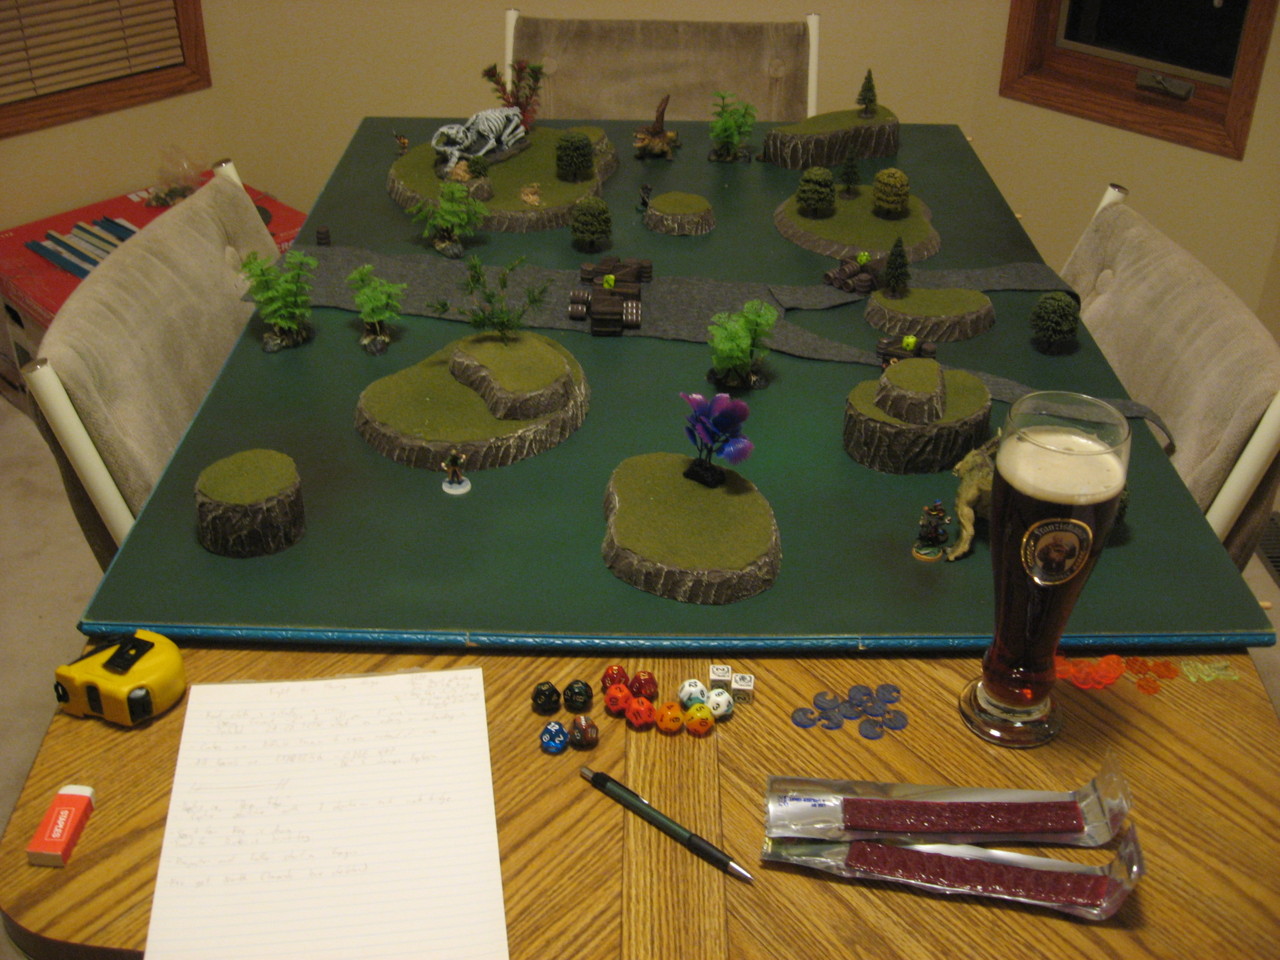
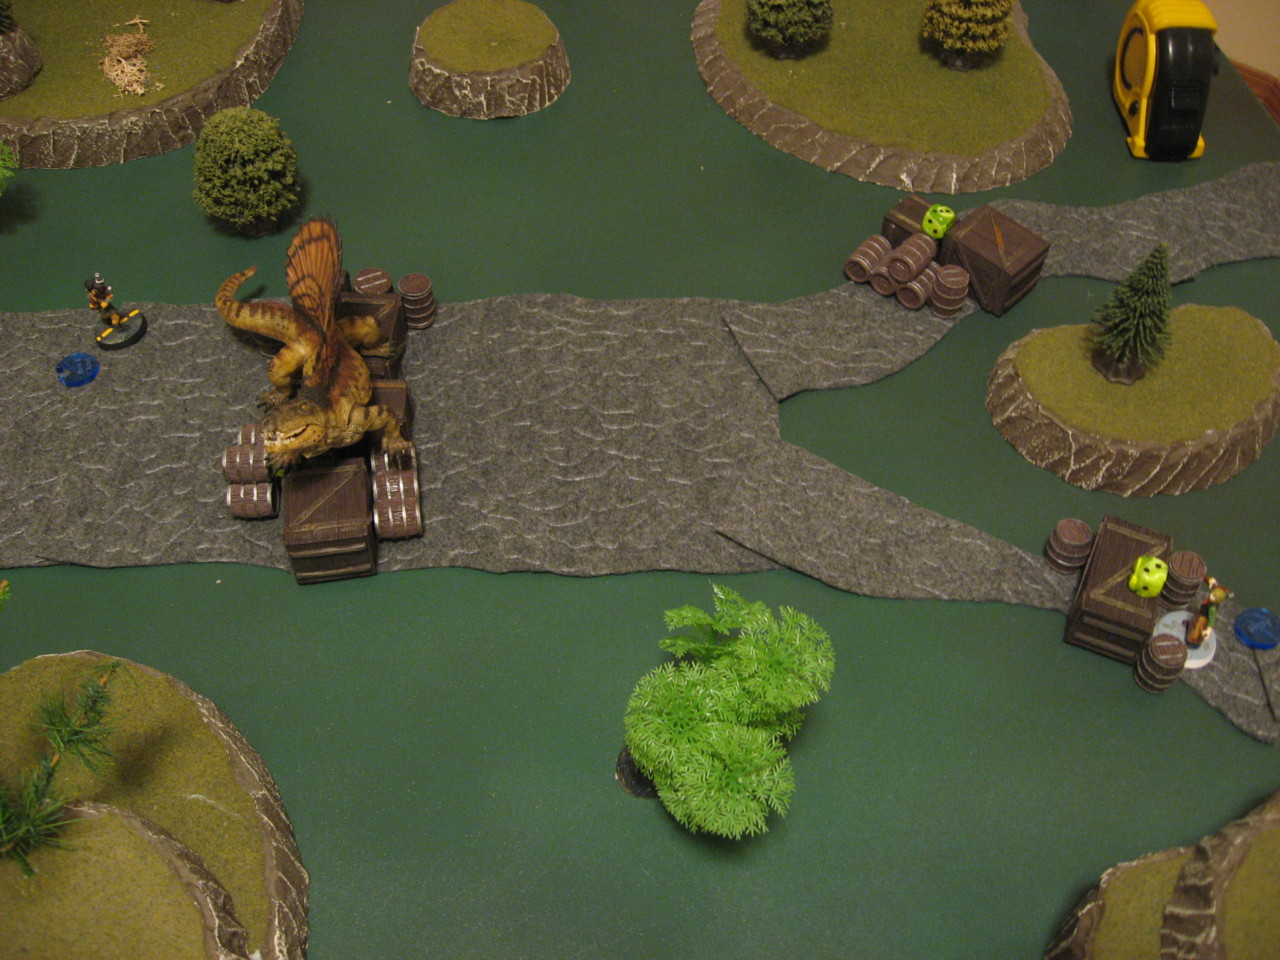
 For this game I wanted to build a scenario around the table I setup, which included new barrels, a cabin, and the first use of my new Litko tokens (pictured to the right. They turned out great!). But specifically the focus would be the new wooden cabin I had bought and spraypainted. And of course what better use for a cabin than a raid or siege! I took a note of Ruby Ridge and Waco Texas and specifically the movie Arlington Road which drew heavily from both. To that end I wanted a group of Neotechnoists to assault a Duster farmstead.
Now I just needed a motivation for such a raid. In the Victorian era a popular idea was that of “going native”, where some troops or citizens might discard their duties to join the local population or take part in local traditions. Since the Neotechnoist/Wall idea are slightly influenced by Victorian era Britain I thought I could craft a story around this idea.
To that end Private Verhust was created. He’s a lifelong Neotechnoist sent to check on the possibility of weapon stockpiling by the Macreegin family. He instead finds a warm and welcoming household representing a life he never had (orphan childhood). Instead of completing his duties Verhust decides to stay with the Macreegin family.
After learning he didn’t return from his patrol and assigned weapons confiscation, the local Neotechnoist station at Rexburg, Idaho sends a small scouting party. The scouting party finds Verhust but mistakes his optional stay with the family for confinement. After returning with the incorrect information the 52nd Rexburg Platoon is assembled and sent to the cabin to “rescue” Verhust.
This game was quite fun to play as a bit of backstory and some special rules really added to the excitement and tension of the match. First of all the Posses involved were the 52nd Rexburg Platoon (pdf) and the Macreegin Family (pdf). As you can see I opted for higher IP and ND values for a change of pace.
Unfortunately I must have been out of practice with battle reports because I forgot to take a picture of each assembled posse!
This game session used the v1.2 version of the Dinosaur Cowboys rules.
The Scenario

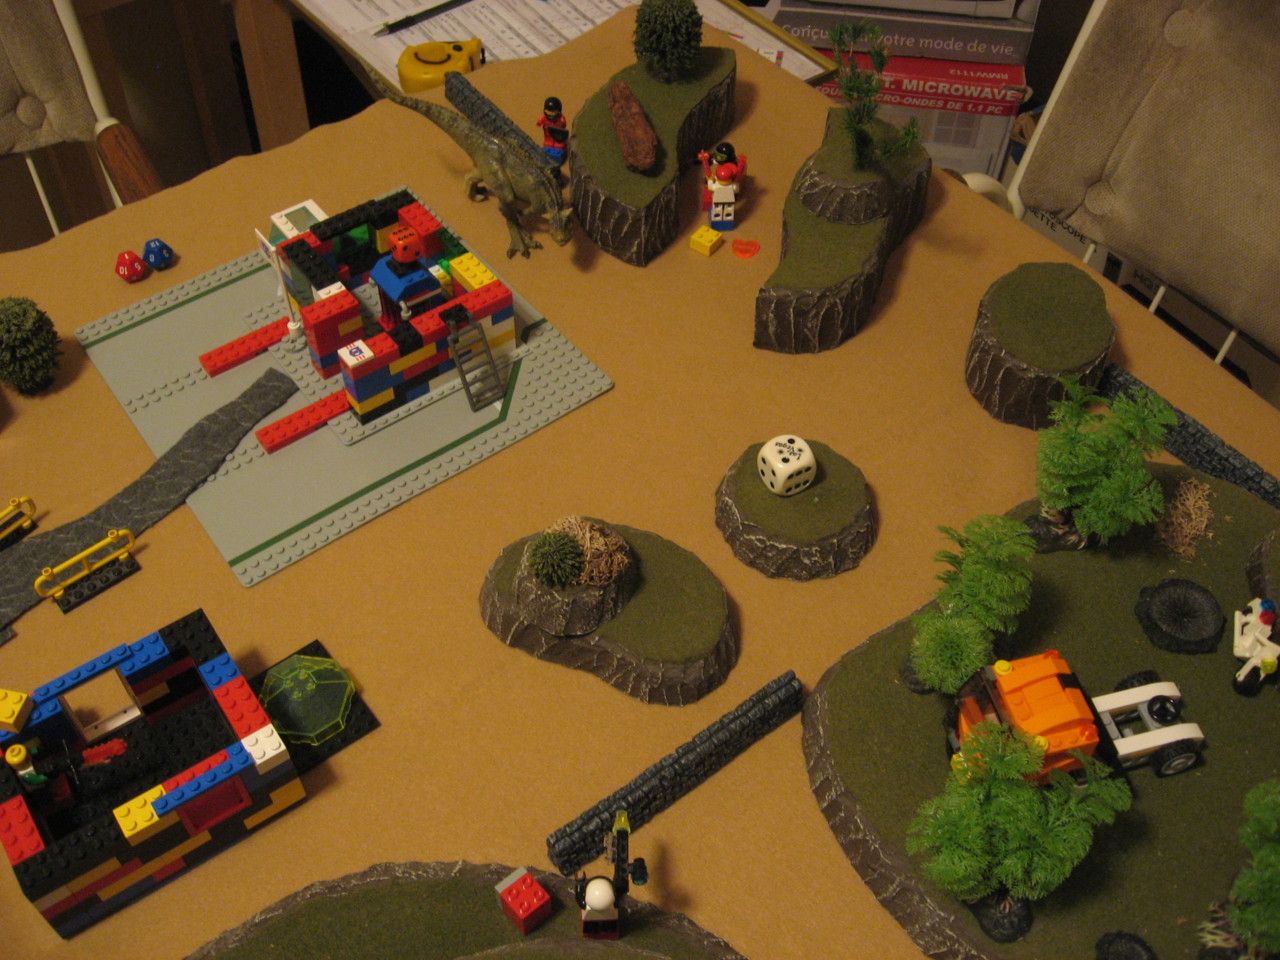
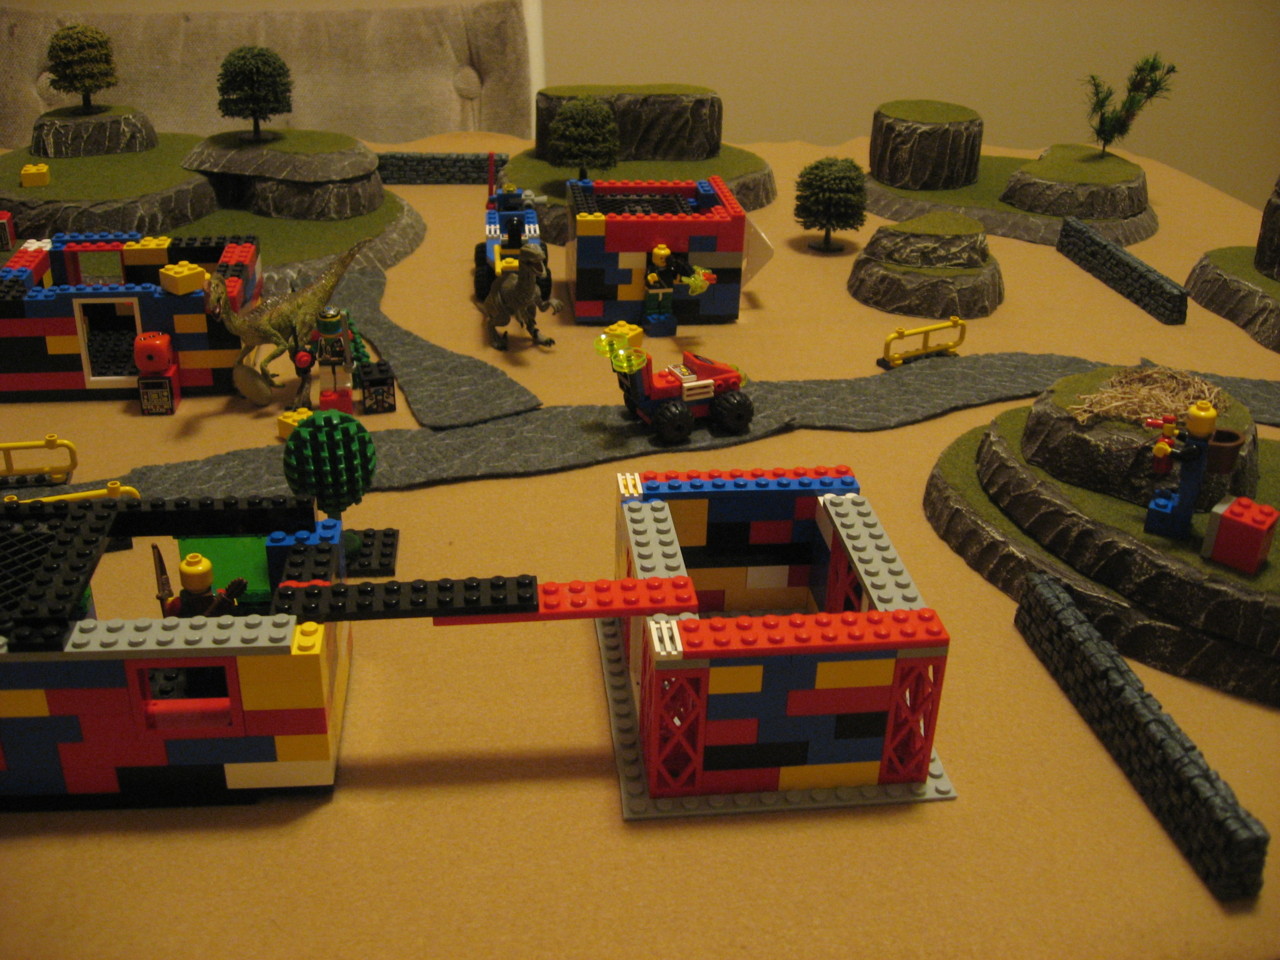
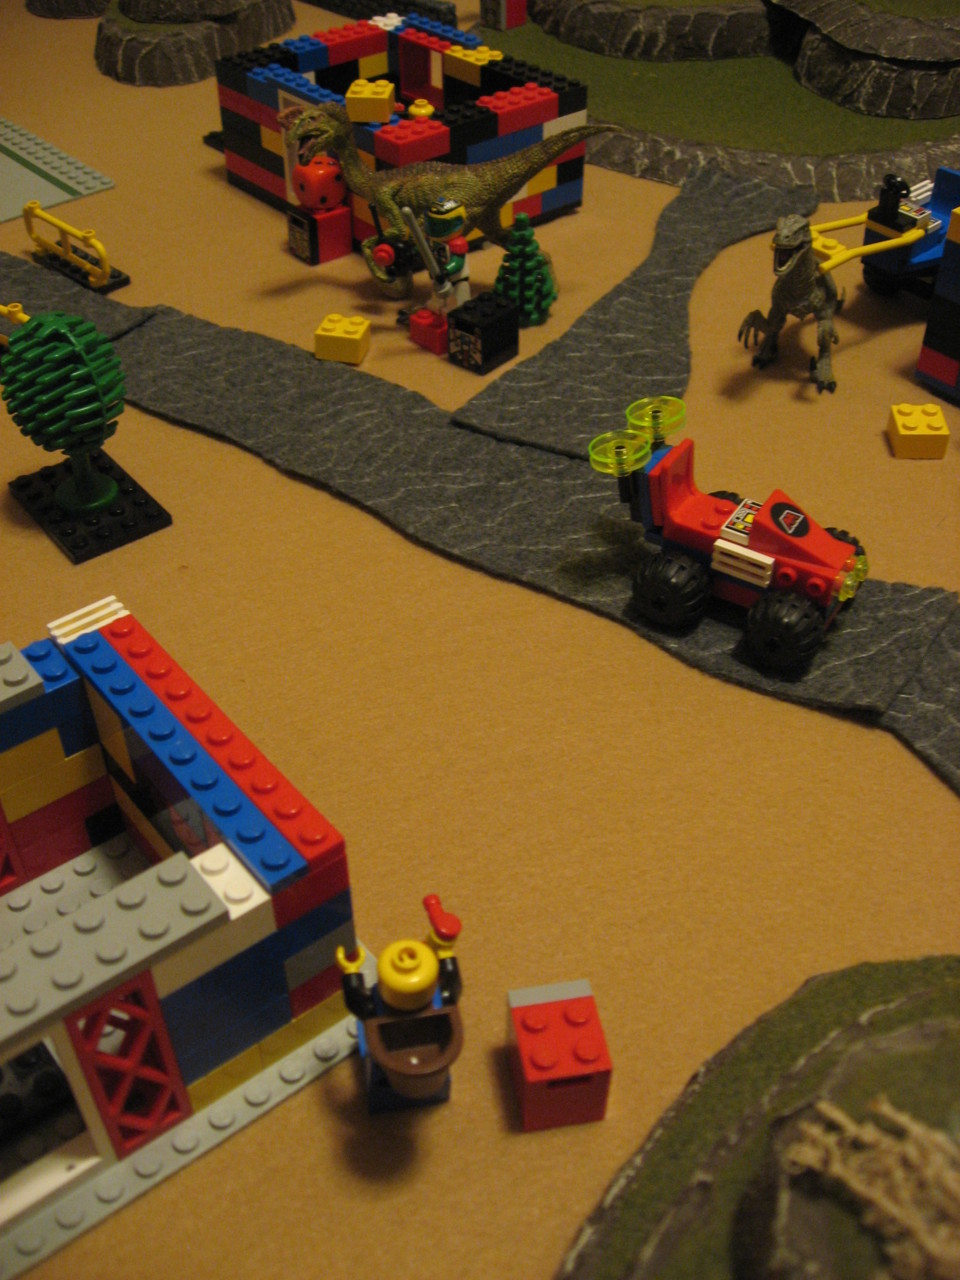
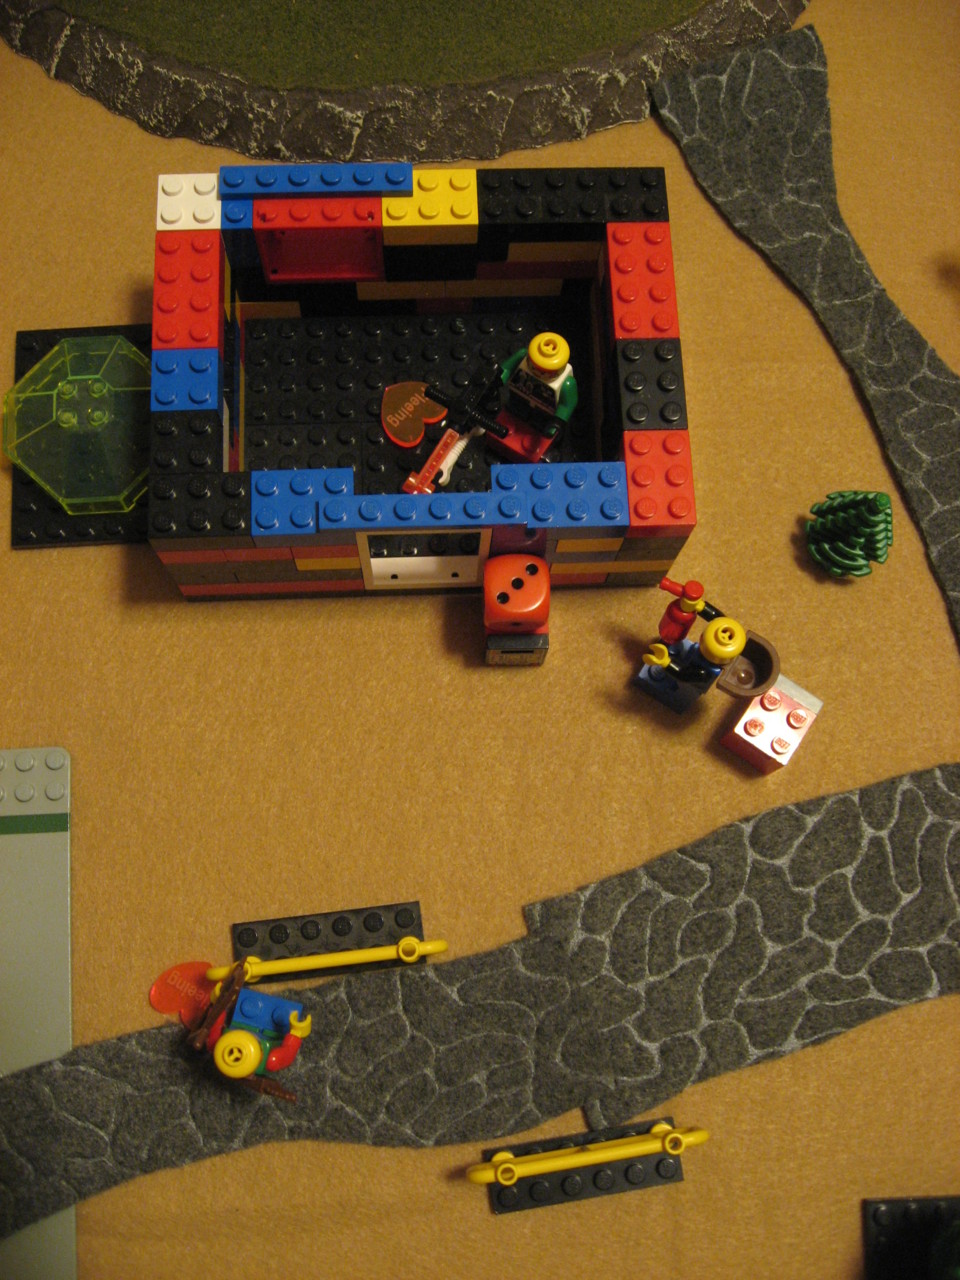
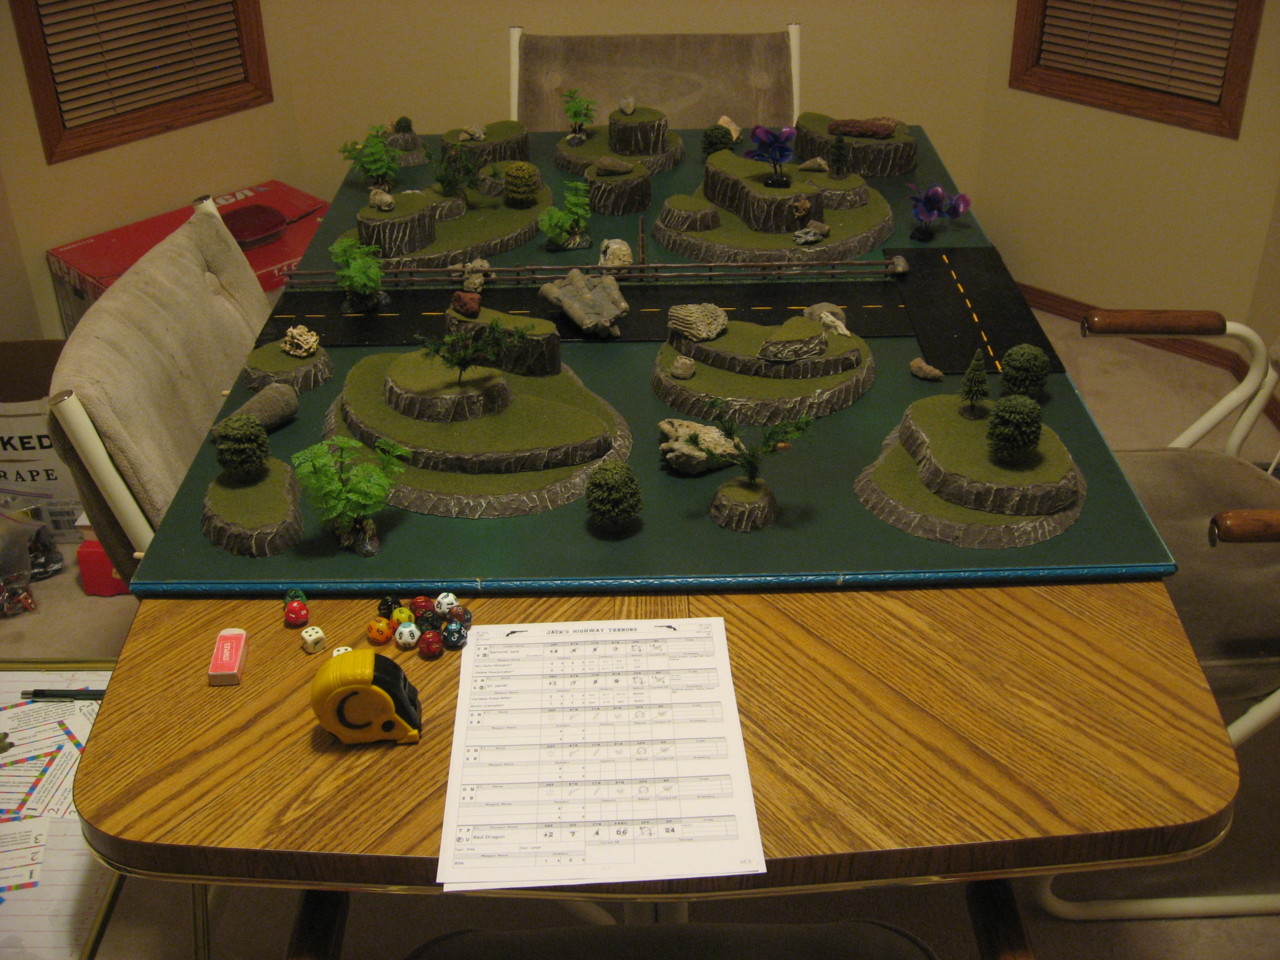
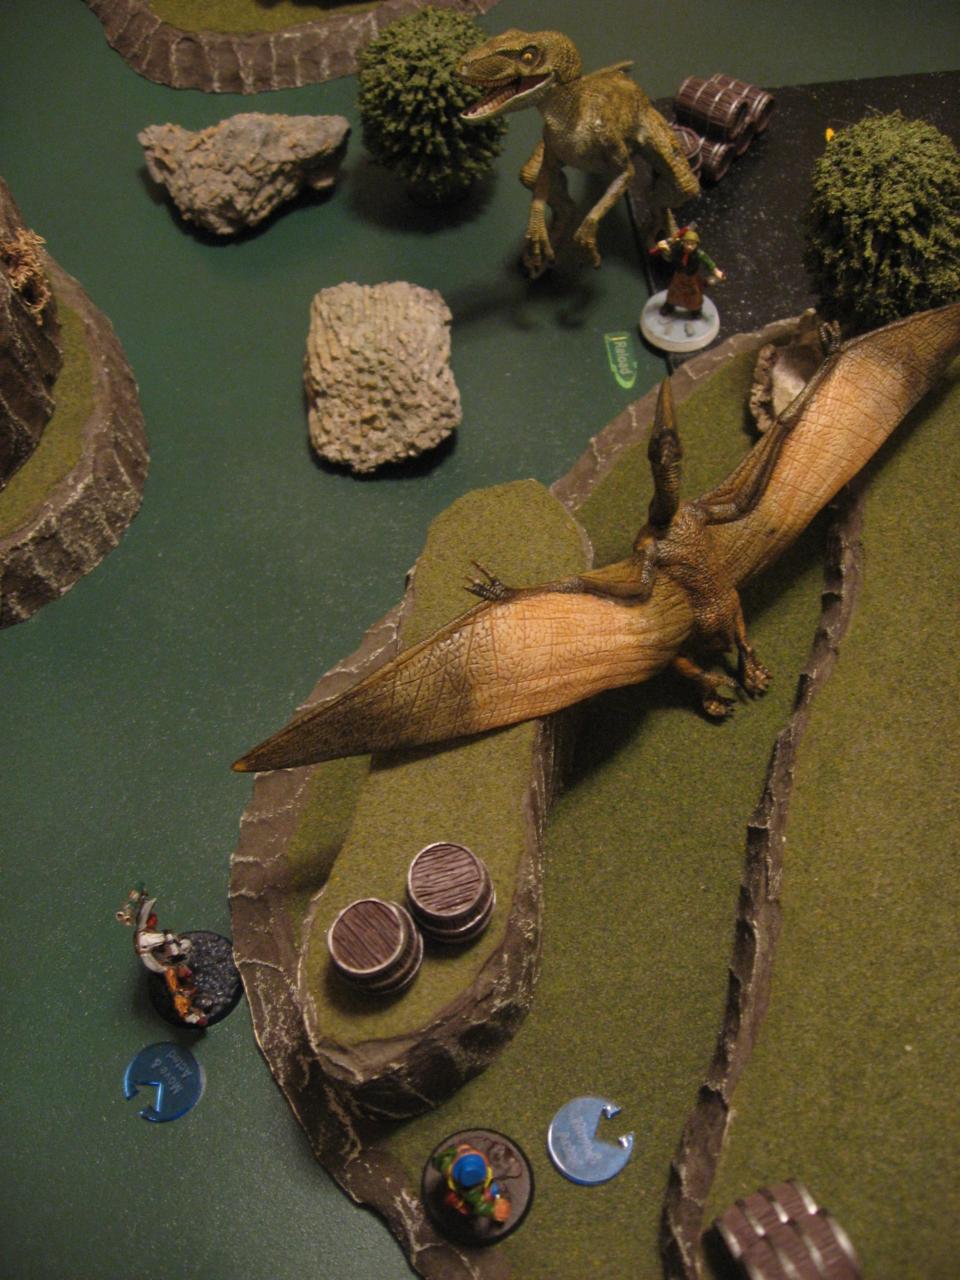
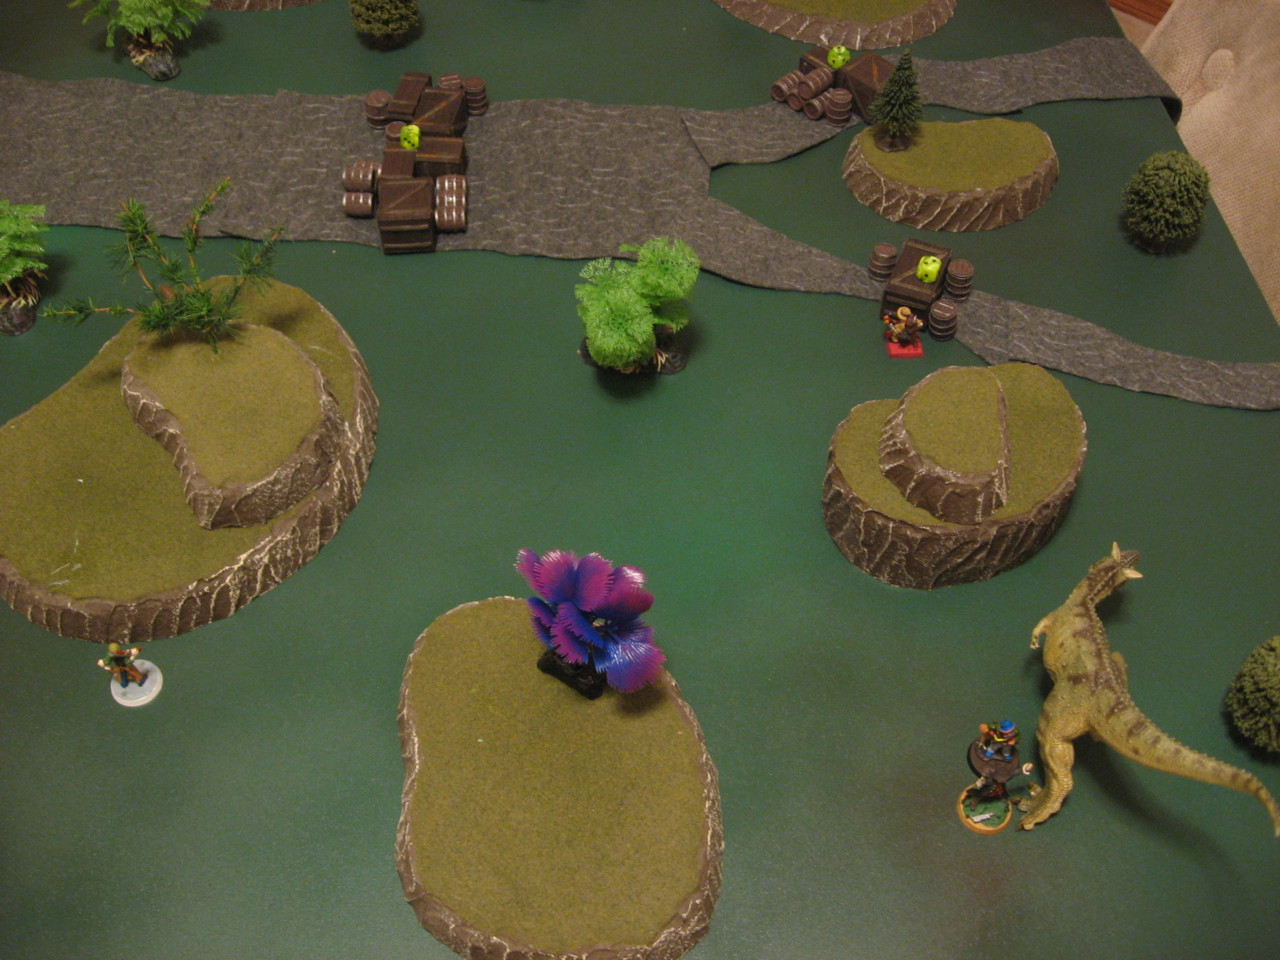
 The table is setup around the central cabin, which is raised on a slight hill and fortified with barrels, sandbags, and barb wire. Private Verhust got wind of the platoons mobilization and warned the family. He also offered to flee, but the Macreegin’s would have nothing of it, and instead dug their heels in to help fight for Verhust.
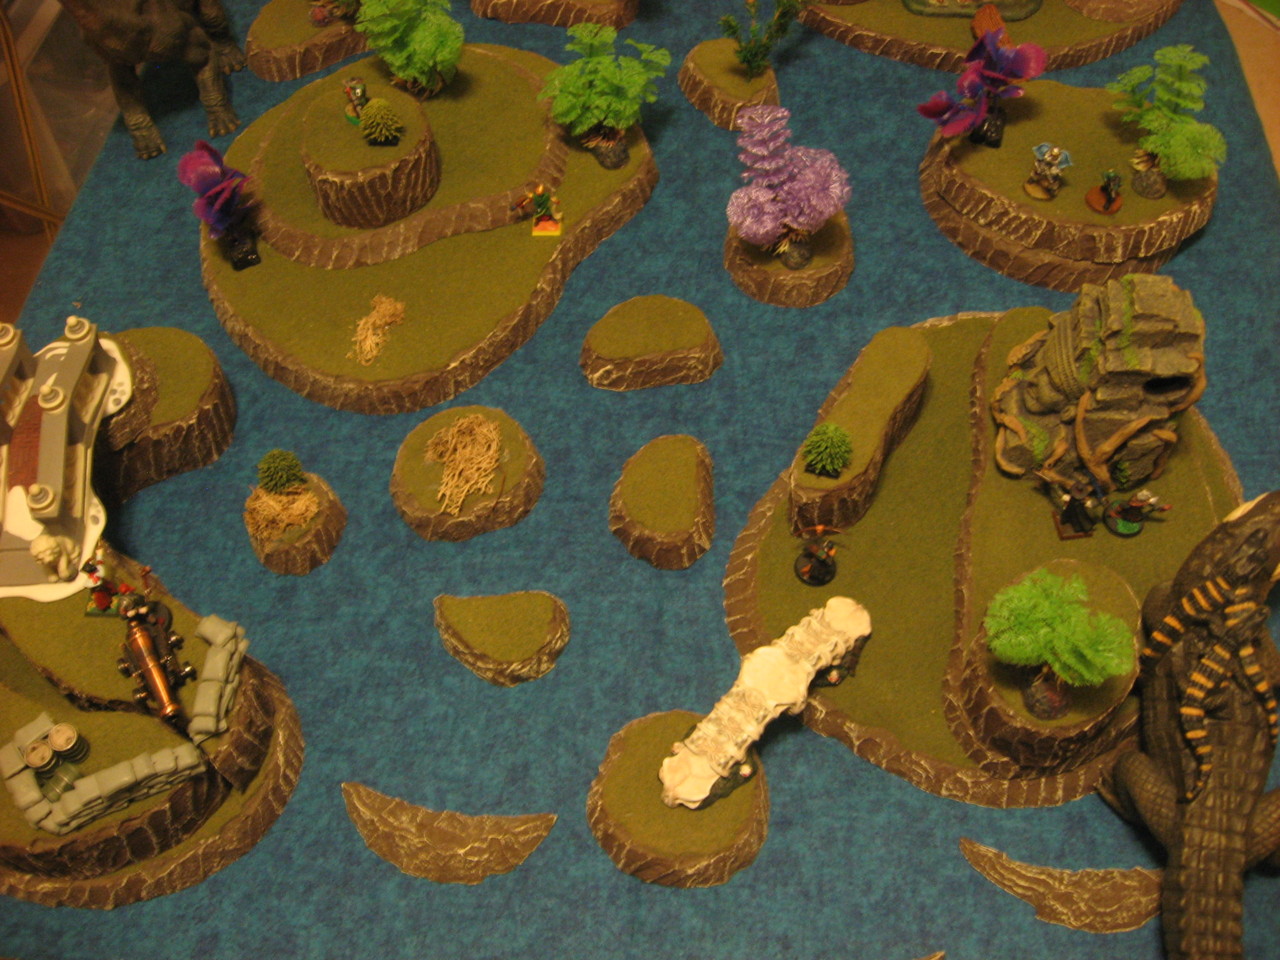
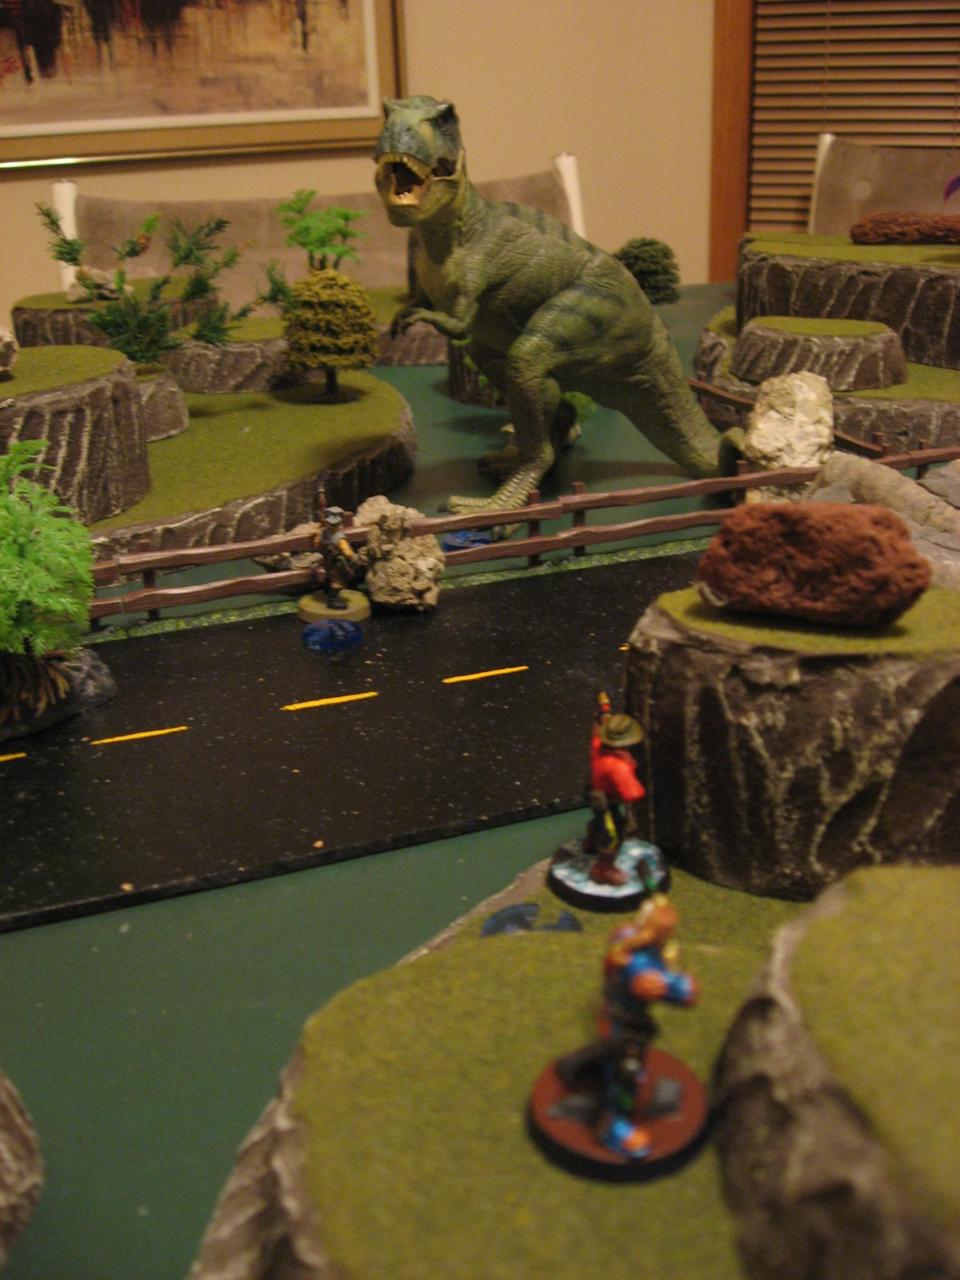
In the interest of keeping the game from degenerating into a flat out “charge forward assault”, I decided that Papa Jonas (father of the Macreegin family) would be out foraging and hunting on the family dinosaur (named Bluepatch). At the start of each Turn the family would roll a D12, and on a roll of 8+ papa and the dino would return from a random table edge.
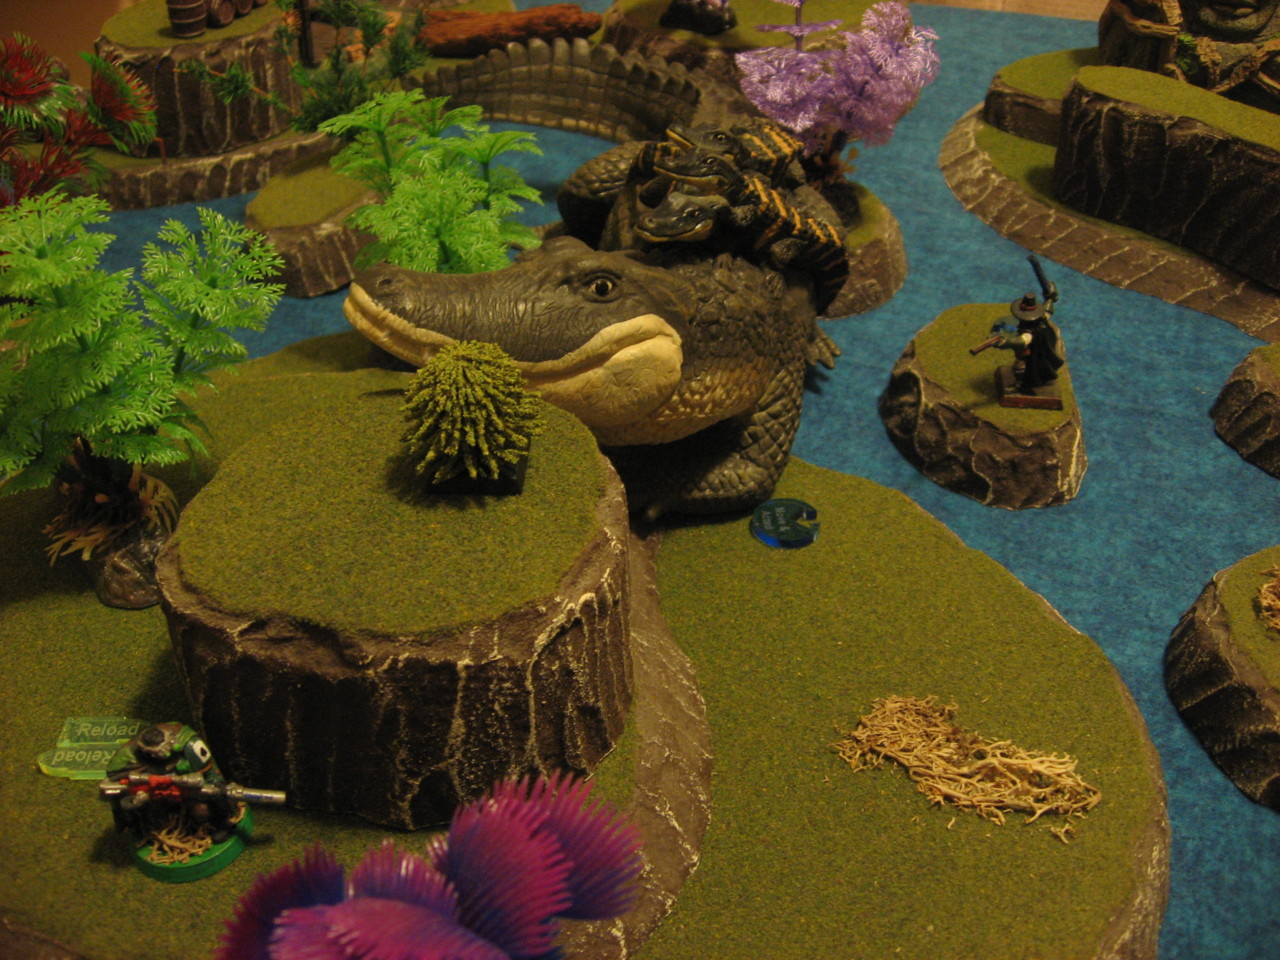
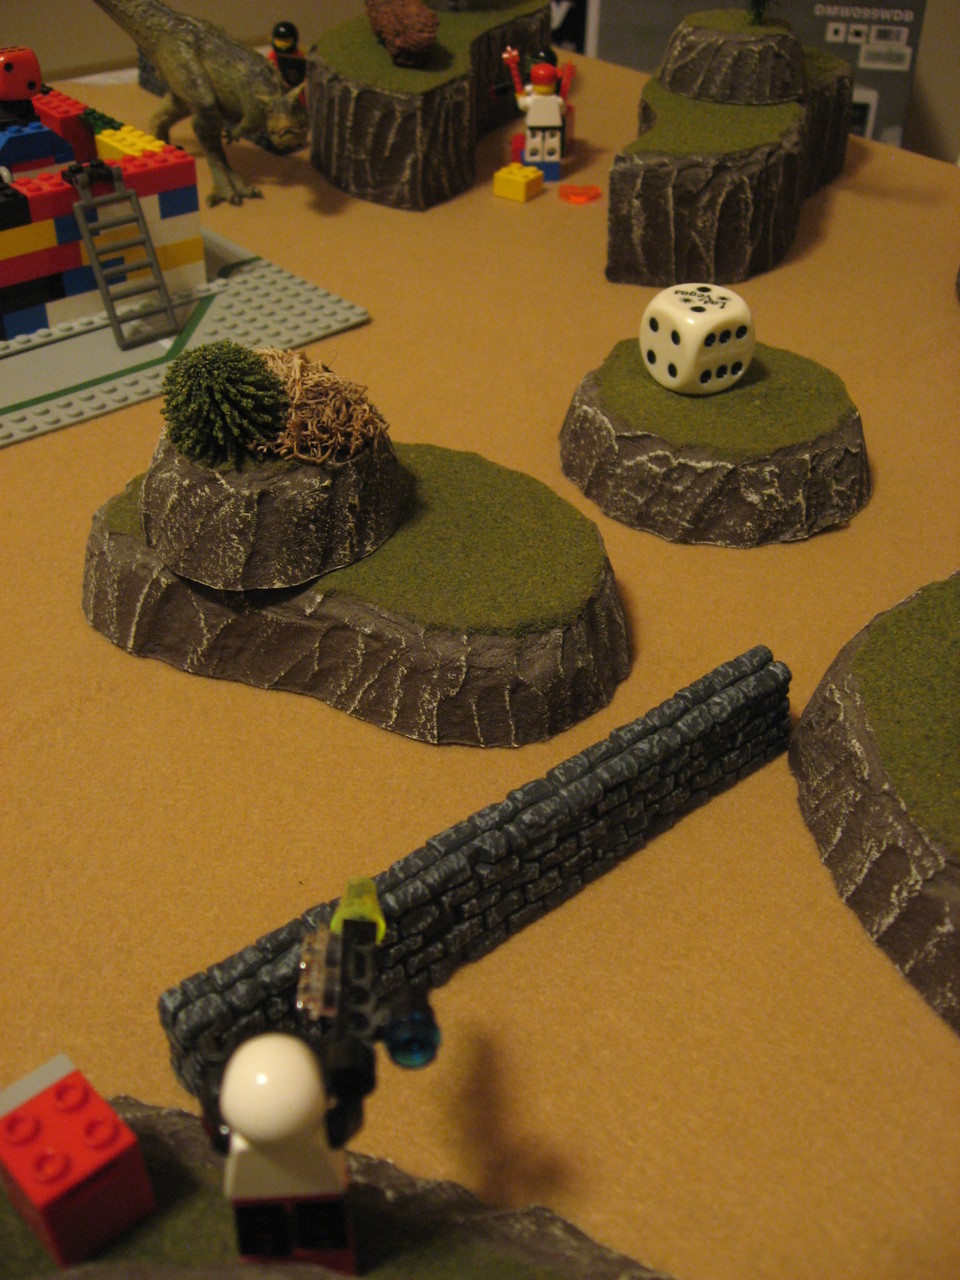
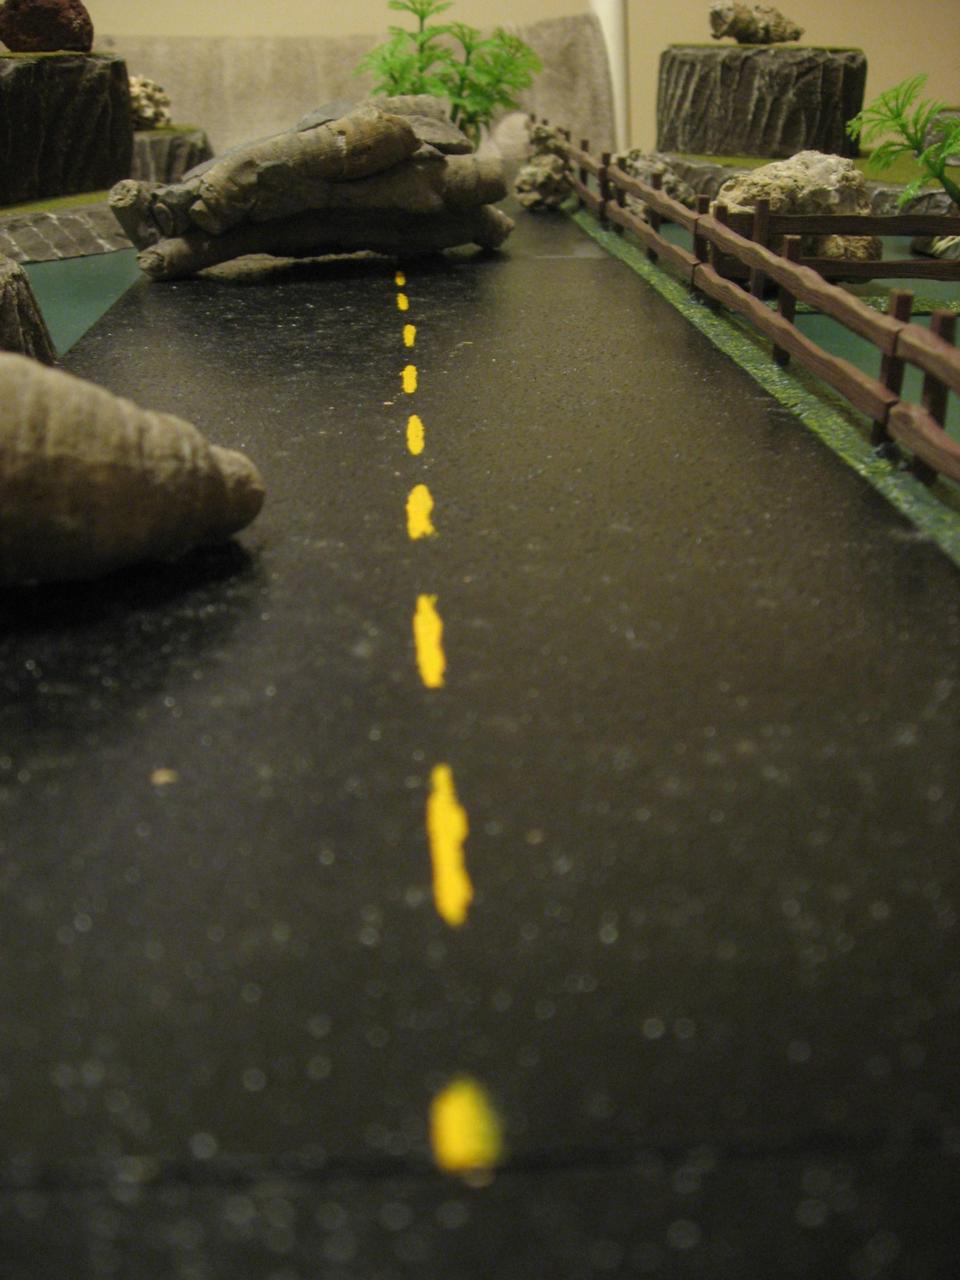
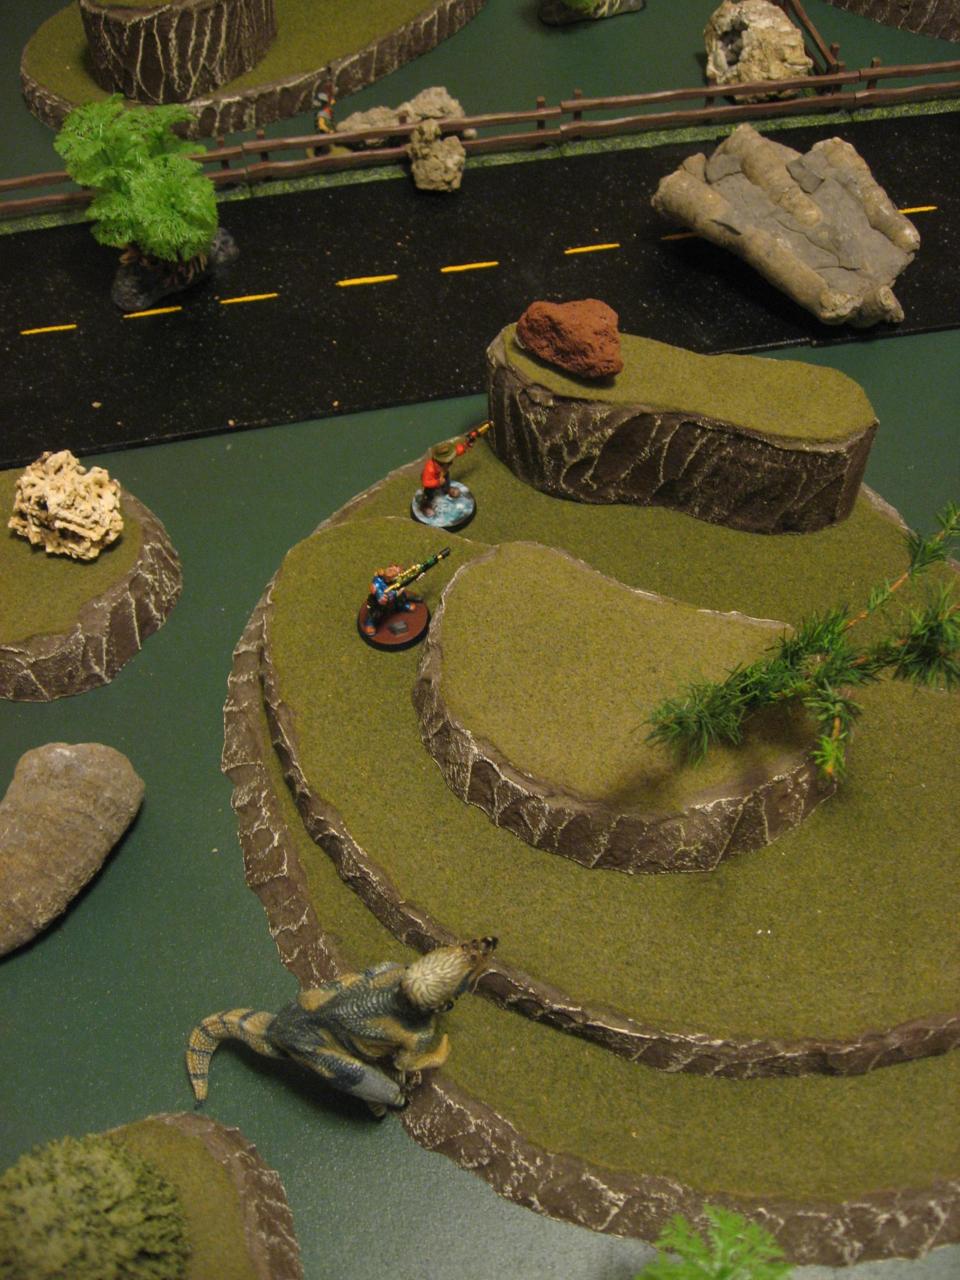
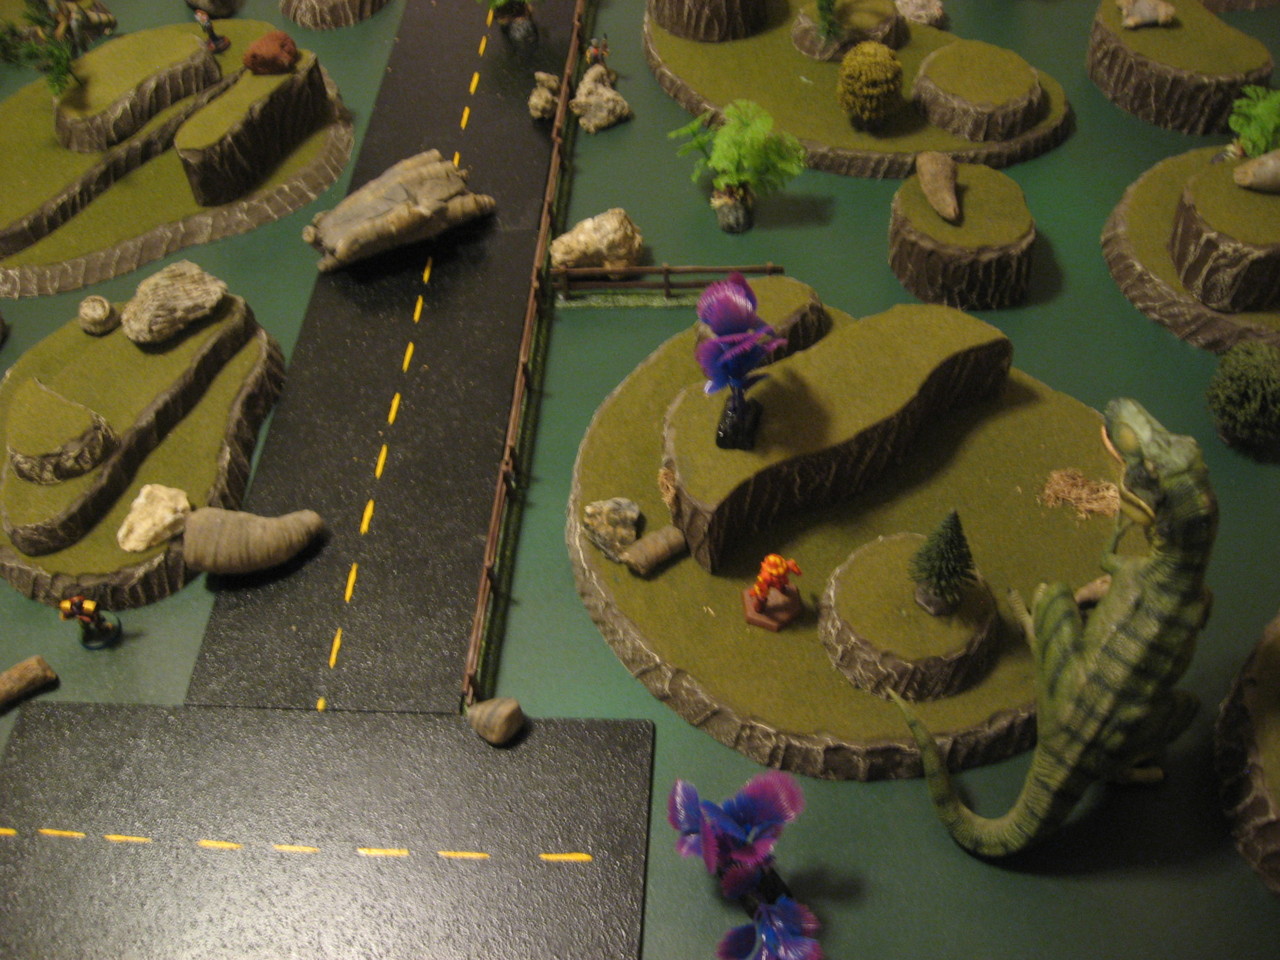
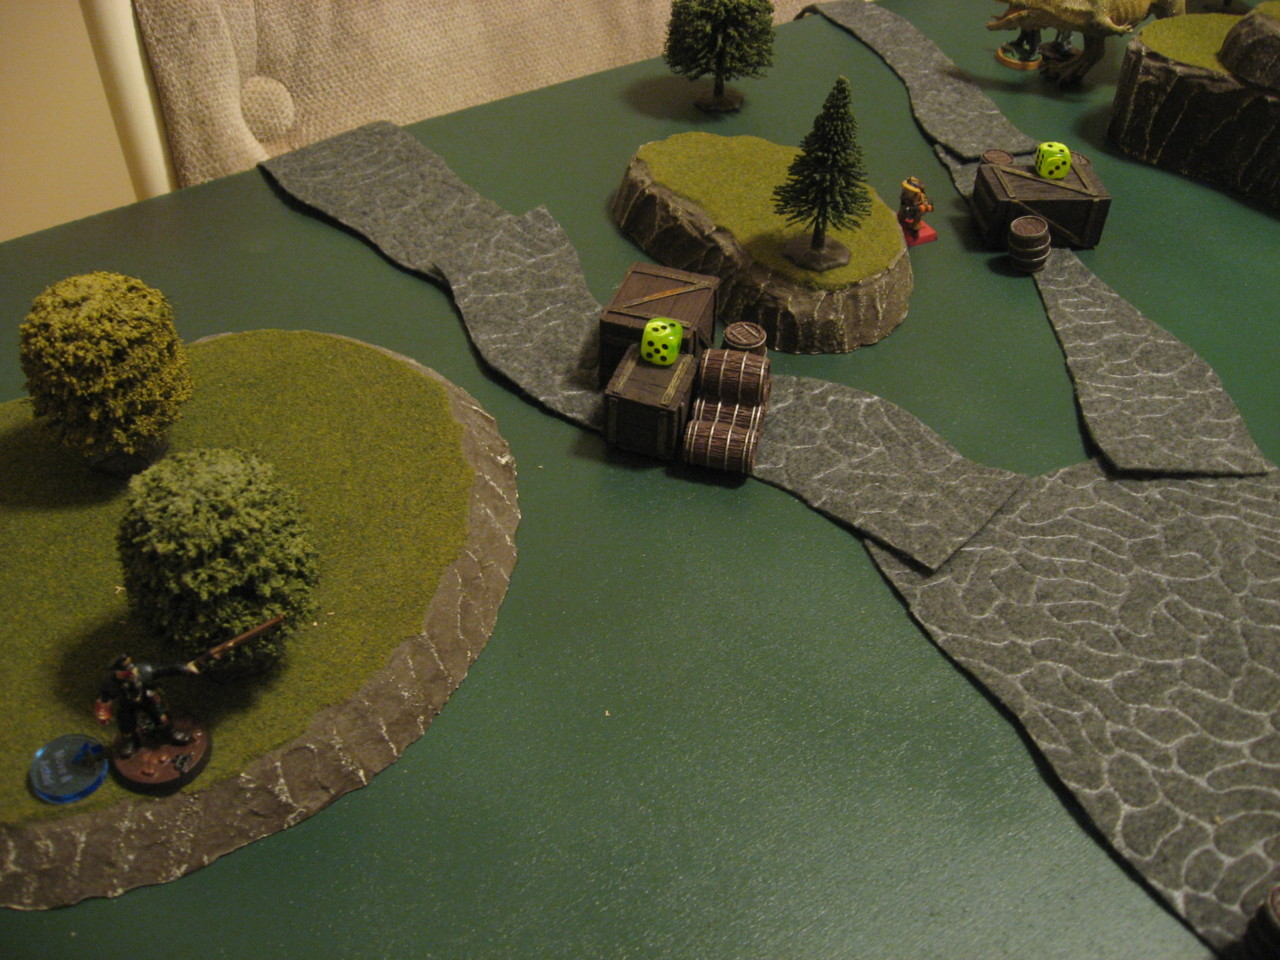
The rest of the family would deploy either inside the cabin or on the hill, but not any further out. The platoon would deploy from the south edge (facing the cabin door) and advance along the brick lined walkway and surrounding vegetation.
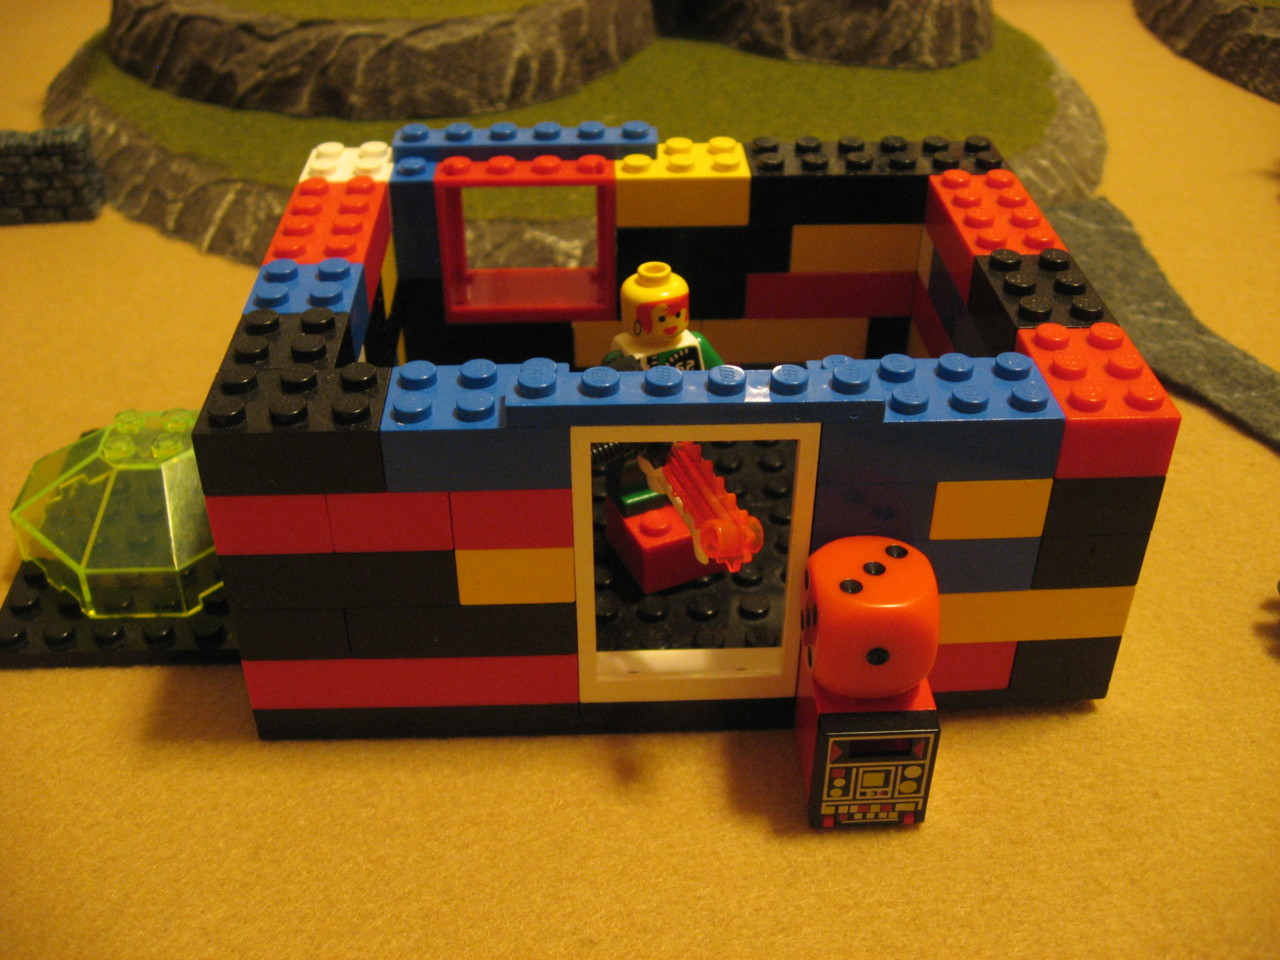
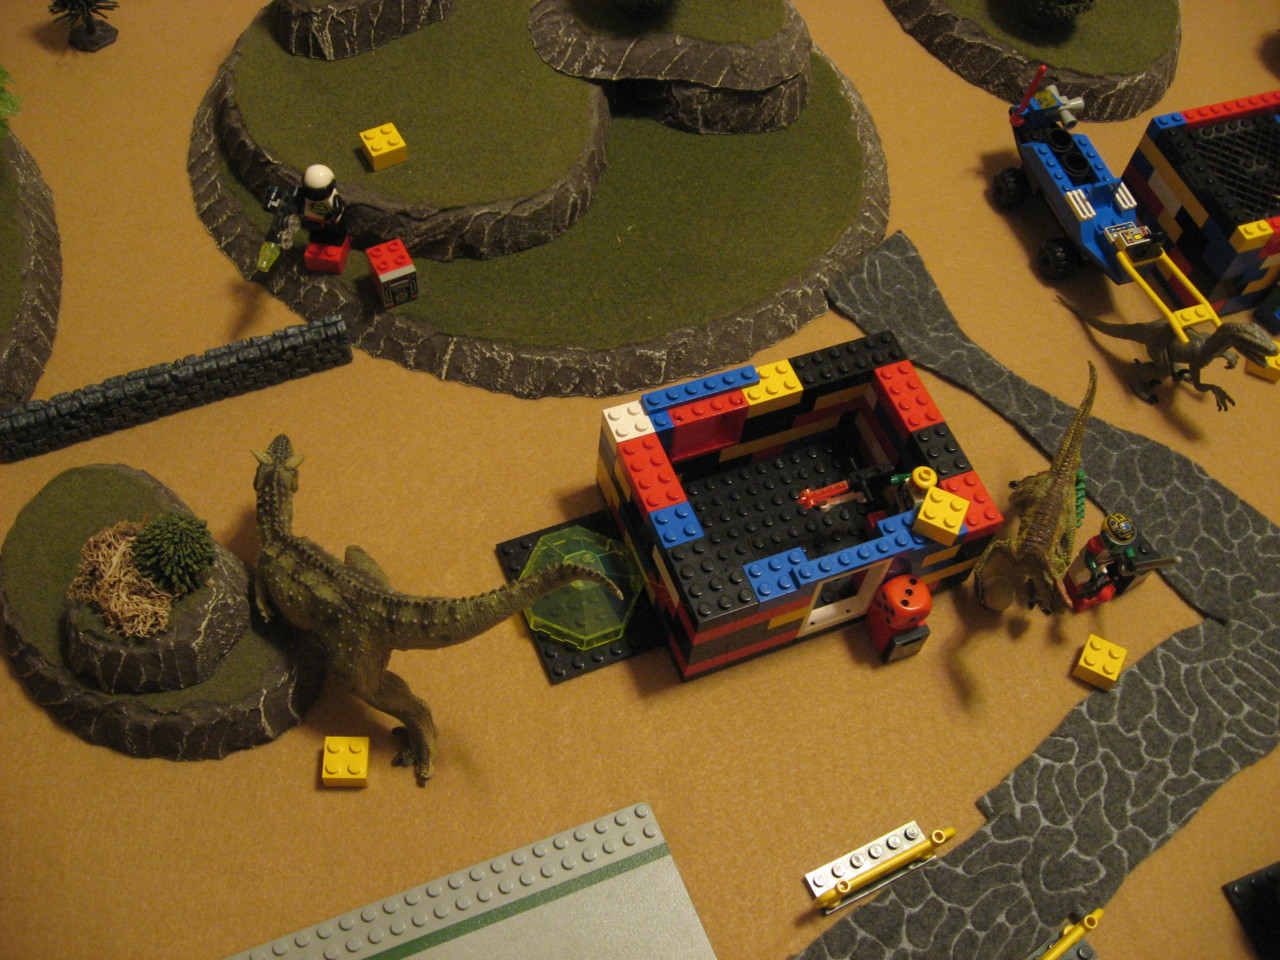
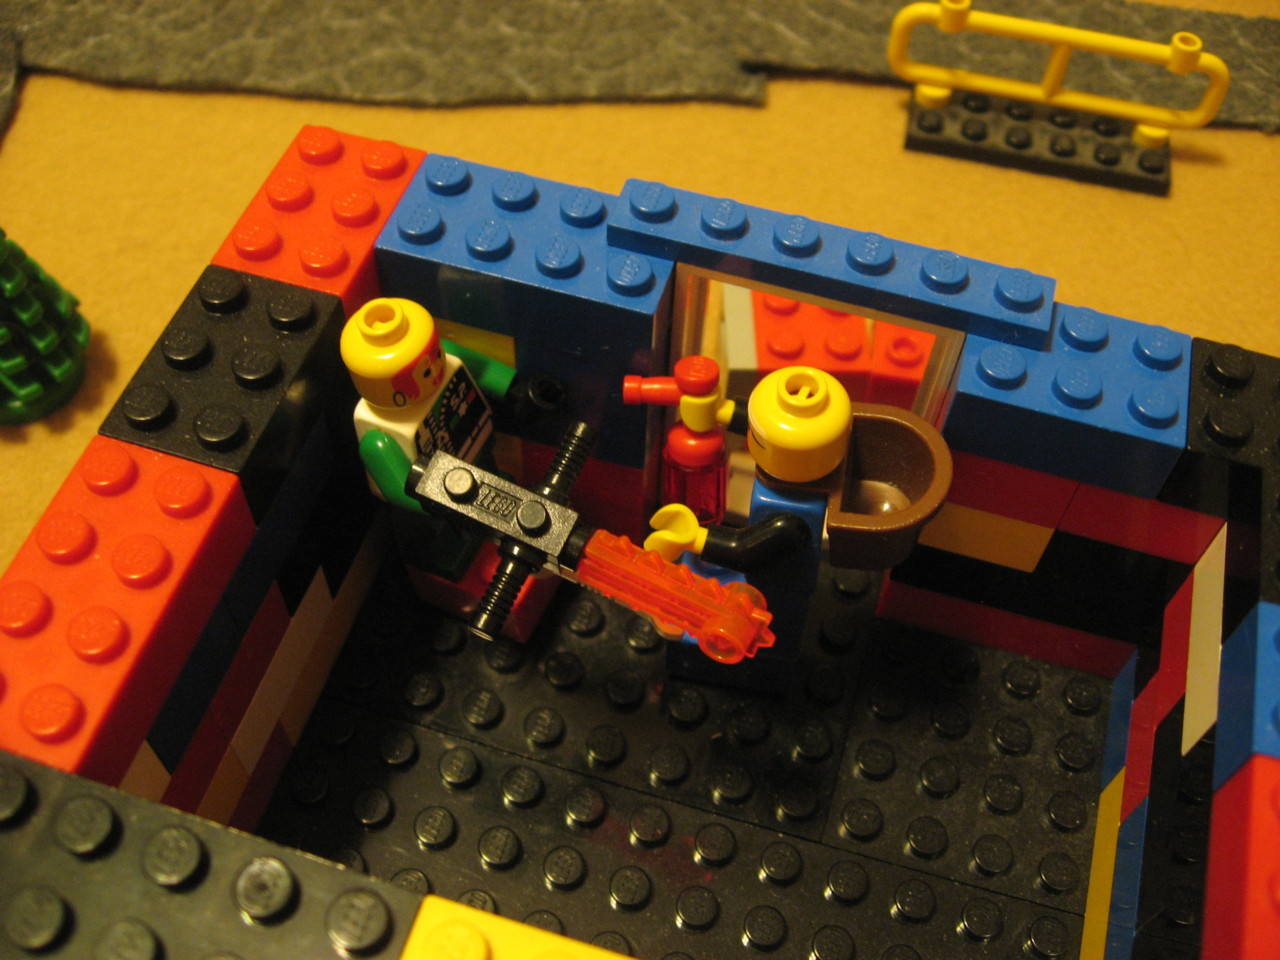
As a twist I used old Advanced Heroquest game tiles to represent the interior of the cabin (since the roof of the model doesn’t come off), which allows for a new dimension to the game. As you can see from the picture I mirrored the outside of the cabin, so the door and both windows are marked. I didn’t have much interior furniture but I did put a table along the edge as a sort of barricade, and a chest in the corner for flair. The game tile I used is 10 squares by 5 squares, and I played as if each square was 1 inch to help ease managing movement inside the cabin.

Posse: 52nd Rexburg Platoon: 1/150 IP, 0/1500 ND, 4/4 Traits
My general idea for this posse is a high tech, hard hitting, military based unit. I knew I’d be assaulting a cabin, so some of my weapon choices reflected that. I also knew I didn’t want to involve a dinosaur as having characters only would give the posse a unique feel. Plus the savings would give me tons of money for weapons! Everyone would be the Neotechnoist allegiance, of course.
First of all I made my leader, Captain Toma. I based his equipment choices mostly on his figure, and ended up with a 200kW Six-Shooter and Long Sword. A few stat improvements here and there and he is set to go.
Scatterman is my next character, and he is built around the lethal Auto Shotgun. It has pretty good range (for a shotgun) and terrific stopping power with 4A-5D. I figured he’d take some heavy fire so I gave him the “Lucky” trait which would force an enemy to re-roll their attack.
Tenpas Terako is my sniper, so I could keep him at a lower Hitpoint amount. He’d find a hill or tree with a good field of view of the main cabin door and then try to pick anyone off who poked their head up from behind a window. Because he had the Twin Rifle (which can use the “Both Barrels” special ability) I gave him the “Speed Reload” trait to quickly get back in the game.
These first three characters had figures that looked armored, so I gave them all +1 AR at 10 IP each. But I also wanted some “lighter”, conscript style troops. Maybe friends of Private Verhust, or just angry citizens.
So I created Corporal Grove and Homer. Grove choose the solid Heavy Repeater and would be a second wave behind Toma and Scatterman. Homer had two weapons with the Explosion special property; a Blunderbuss and Kaboom Grenades. These can be devastating weapons as anyone within 2″ of the initial hit take the Damage of the weapon (in this case 5 and 7 respectively). In a cramped cabin they seemed like the perfect weapon. With the “Speed Reload” trait Homer would be able to throw two grenades in rapid succession without taking an Action Phase to reload.
My general plan is to move Toma and Scatterman forward on one flank, with Homer on the other. They would hopefully pace each other and reach the cabin at the same time. Grove would hang back a bit behind Homer and could readjust his position to any changes on the battlefield. And Tenpas Terako would sit just at long range and snipe at the cabin’s occupants.
Captain Toma (Neotechnoist Leader)

MV 4, AR 1, RMC 7, MMC 8, BRV 7, HP 13, Bonus HP I. 200kW Six-Shooter, Long Sword.
Scatterman (Neotechnoist)
MV 4, AR 1, RMC 7, MMC 8, BRV 6, HP 10, Lucky. Auto Shotgun, Small IRP.
Tenpas Terako (Neotechnoist)
MV 3, AR 1, RMC 6, MMC 8, BRV 6, HP 8, Speed Reload. 200kW Twin-Rifle.
Corporal Grove (Neotechnoist)
MV 4, AR 0, RMC 6, MMC 8, BRV 5, HP 8. Heavy Repeater, Small IRP.
Homer (Neotechnoist)
MV 4, AR 0, RMC 7, MMC 8, BRV 6, HP 12, Speed Reload. Kaboom Grenades, Blunderbuss, Small IRP.
Posse: Macreegin Family: 1/150 IP, 0/1500 ND, 4/4 Traits
The important idea I needed to keep in mind when building the Macreegin Family is to make them realistic. I wanted a basic nuclear Duster family with pretty simply farmer weapons. They would have a friendly, herbivore dinosaur that is used for heavy lifting around the farm. Besides Private Verhust they would all be the Duster allegiance.
The family is made up of four members: Papa Jonas, Mama Hanna, Sis Shiela, and Brother Jerrid. I tried to think of a distinct personality for each as I find that helps inspire certain playstyles once the game starts.
In this case Papa Jonas is a simple, quiet man. Slow to anger, fine with hard work and long days, but generally not enthused or passionate about anything. He has a 200kW Six-Shooter which was a hand-me-down from his own father. I gave him the “Crippling Shot” trait since it seemed like something a hunter might use to bring down larger game. At time of deploy he’d be off the table on the dinosaur.
Mama Hanna is the definition of a “mama bear”, in the sense that she is fiercely protective of her children and home. To reflect this she has terrific RMC (6) from hours training with the family 400kW Lever-Action Rifle. The rifle comes from Brother Jerrid, and according to him he earned it wrangling Triceratops down south. In truth he stole it in Arizona before running back home to avoid the law. Regardless it is a powerful weapon. Mama Hanna also has a basic 80kW Six-Shooter in case enemies get inside her minimum range. She also has the “Get Up!” trait since I could see her motivating her children to continue the fight.
Sis Shiela is quite the popular lady around town, but isn’t much for guns or fighting, so she has a basic Derringer that seemed like a suitable weapon. She looks up to her Mama a lot and would probably deploy close by.
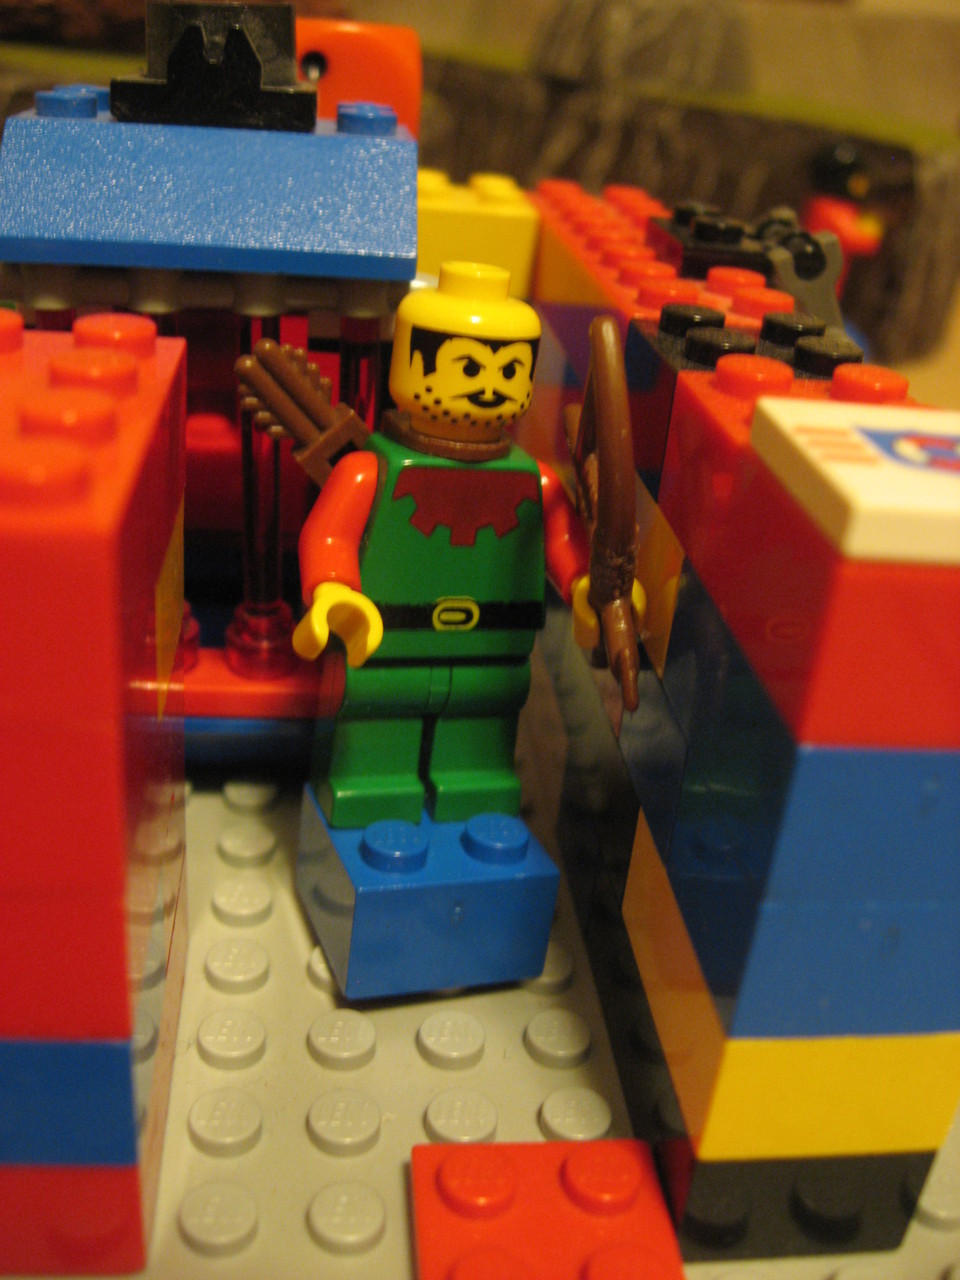
Brother Jerrid is a hot head with a short temper, and therefore has trouble relating to his Papa. He carries the epitome of farmer weapons: a Double Barrel Shotgun. In his view the world steps all over his family and a person has to take what they want to be successful, so the “Underdog Shot” trait is perfect. Brother Jerrid looks up to Private Verhust, even though they are a similar age, and often corners Verhust and makes him retell stories of inside The Wall.
The last character is Private Verhust, a basic Neotechnoist citizen who has a Light Pistol instead of the traditional Duster revolver. Since he has some training I thought the “Retreat!” trait is perfect, as I could see him taking control of the situation once the lasers start flying.
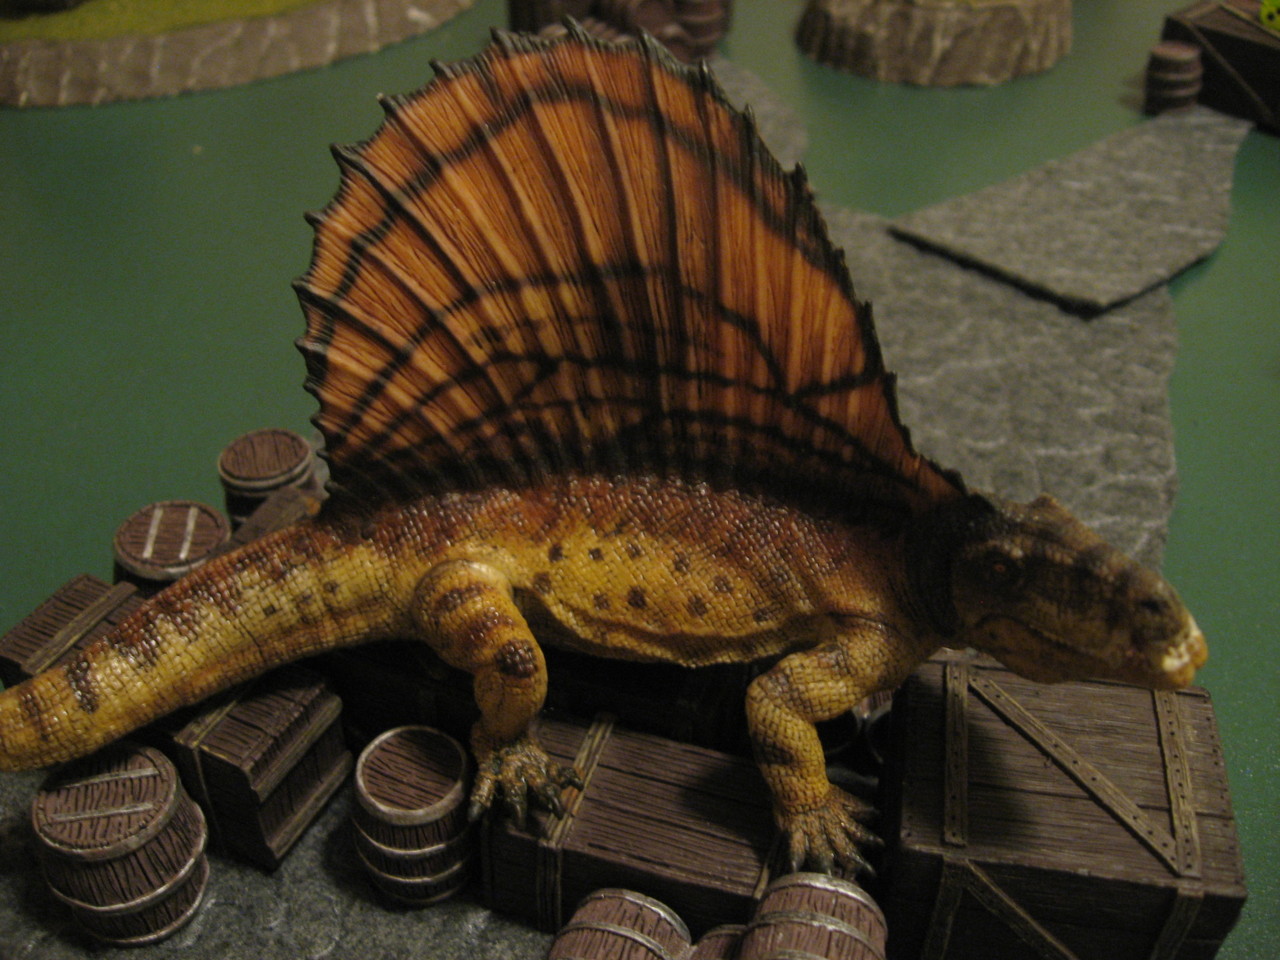
And finally there is Bluepatch, a Thickskull dinosaur named by Sis Shiela when she was very young. The dinosaur is extremely loyal but has slowed down mentally with age.
My plan is to have Mama Hanna and Sis Shiela inside the cabin, alternating being visible at the window after shooting. Brother Jerrid and Private Verhust would situate themselves outside in cover and hopefully slow the Neotechnoist advance before retreating inside. When Papa Jonas and Bluepatch appear I’ll just have to see what table edge they get and act accordingly. I think “charge into the enemy flank” will be the strategy I end up with for them.
Papa Jonas (Duster Leader)

MV 3, AR 1, RMC 7, MMC 8, BRV 7, HP 14, Crippling Shot. 200kW Six-Shooter.
Mama Hanna (Duster)
MV 3, AR 1, RMC 6, MMC 8, BRV 6, HP 11, Get Up! 400kW Lever-Action Rifle, 80kW Six-Shooter.
Sis Shiela (Duster)
MV 4, AR 0, RMC 7, MMC 8, BRV 6, HP 10. Derringer.
Brother Jerrid (Duster)
MV 4, AR 0, RMC 7, MMC 8, BRV 6, HP 12, Underdog Shot. Double Barrel Shotgun.
Private Verhust (Neotechnoist)
MV 4, AR 1, RMC 7, MMC 8, BRV 6, HP 10, Retreat! Light Pistol.
Bluepatch (Untrained Thickskull Dinosaur)
MV 8, PMV D8, AR 1, MMC 6, DIS 6, HP 21
Deployment
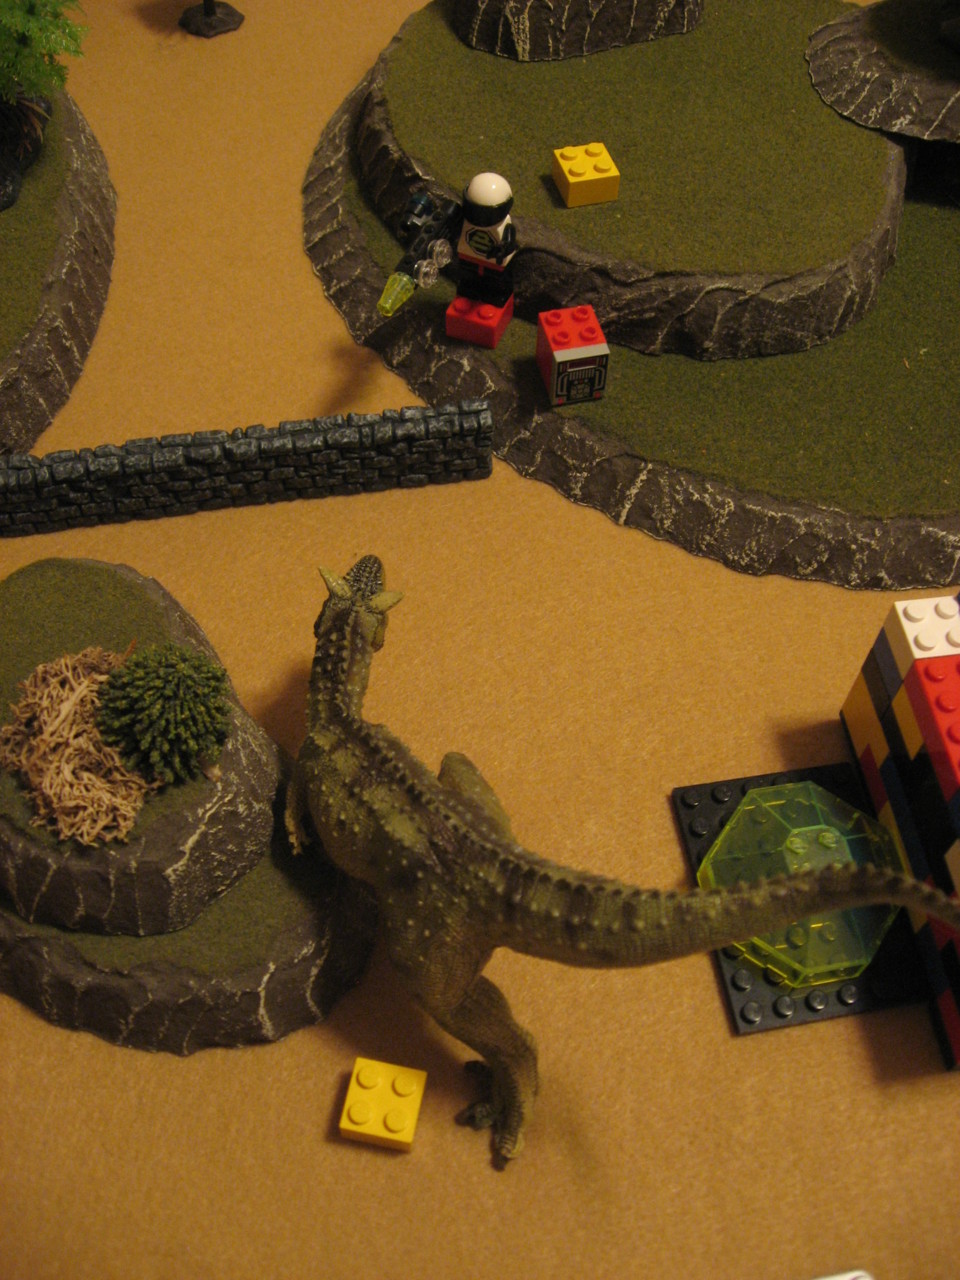
Rexburg: Captain Toma on the right flank with Scatterman directly behind him and Homer to the right across a hill. Tenpas Terako on the left flank in an elevated shooting position with Captain Grove slightly forward on the ground below him.


Family: Mama Hanna and Sis Shiela inside the cabin, with Mama at the left (west) window. Brother Jerrid behind the west bundle of barrels opposite Private Verhust. Papa Jonas and Bluepatch off table foraging and hunting.


Turn 1 – Opening Shots
Macreegin Family deployed first, as per the scenario. Papa Jonas does not roll to appear until Turn 2+.
1a. Family wins Activation
 Family:
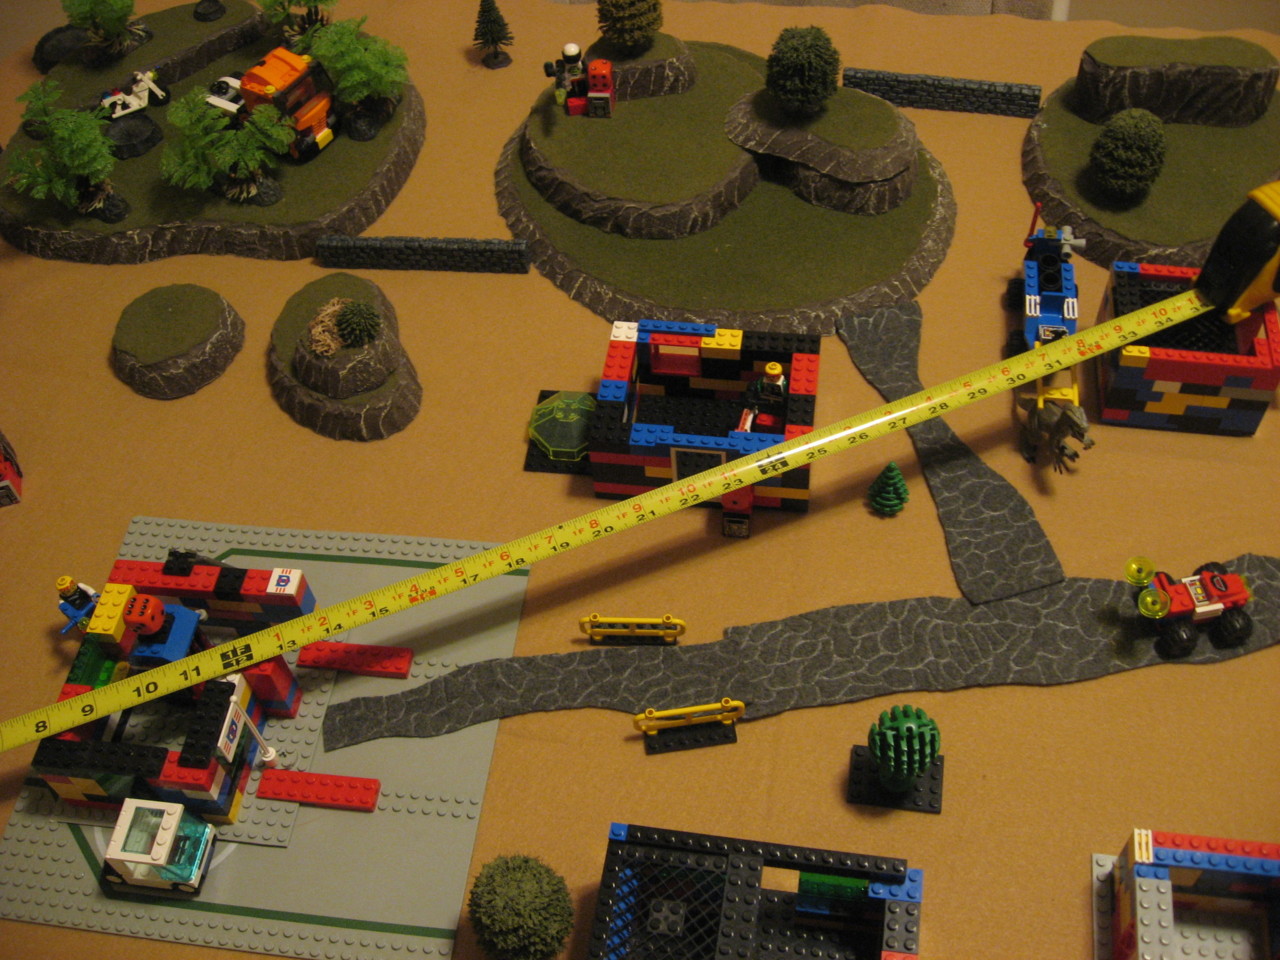
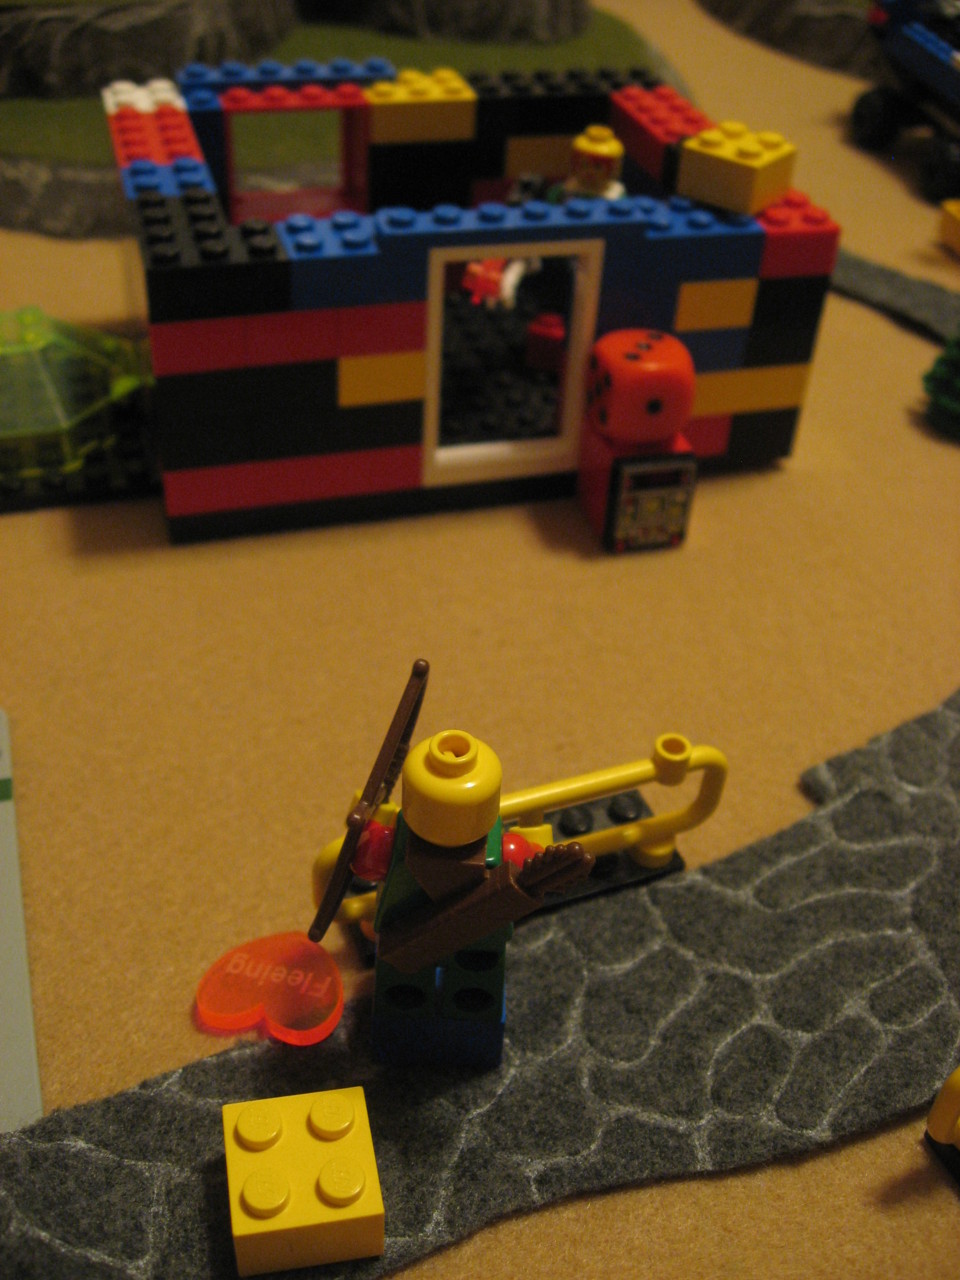
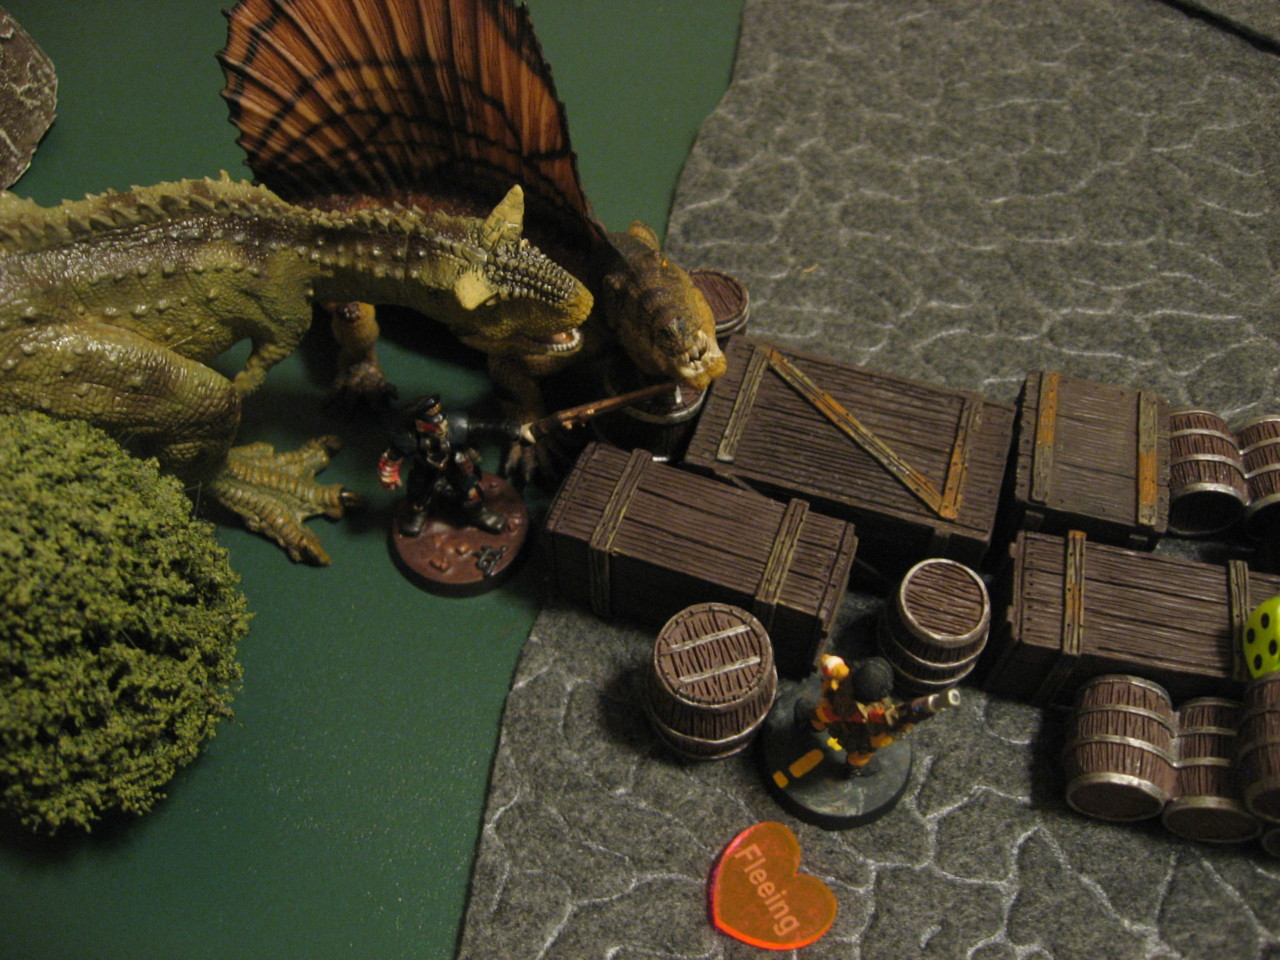
 Going first in a new turn is great for getting the drop on enemies. Once targets have started moving around that +1 Miss Chance can add up, plus it’s easier for people to get into cover. Mama Hanna had a few good shots available with her impressive 21″ range, but she settled on trying to bring down Corporal Grove. Firing at long range she hits for 7 damage, which causes Corporal Grove to Flee. Hooray a chance to use my new tokens right off the bat. After her great shot Mama moves out of the window and into the corner of the cabin, which will keep her free from return fire for a turn.
 Rexburg:
 Having a Fleeing character isn’t the best start, but at least it looks like Corporal Grove has enough ground to retreat to that he won’t be Stunned instead. Anyways I won’t waste an early Activation on him regardless. I thought I’d return the sniping favor and use Tenpas against Brother Jerrid. Tenpas had to move to the edge of his cliff to get his target right in long range. With some lucky rolling I hit with 4 Attacks (1 of which was a Critical Hit) for a total of 7 damage. How’s that for tit-for-tat! As an added bonus Brother Jerrid doesn’t Flee so he won’t get a free push back towards the cabin.
1b. Rexburg wins Activation
 Rexburg:
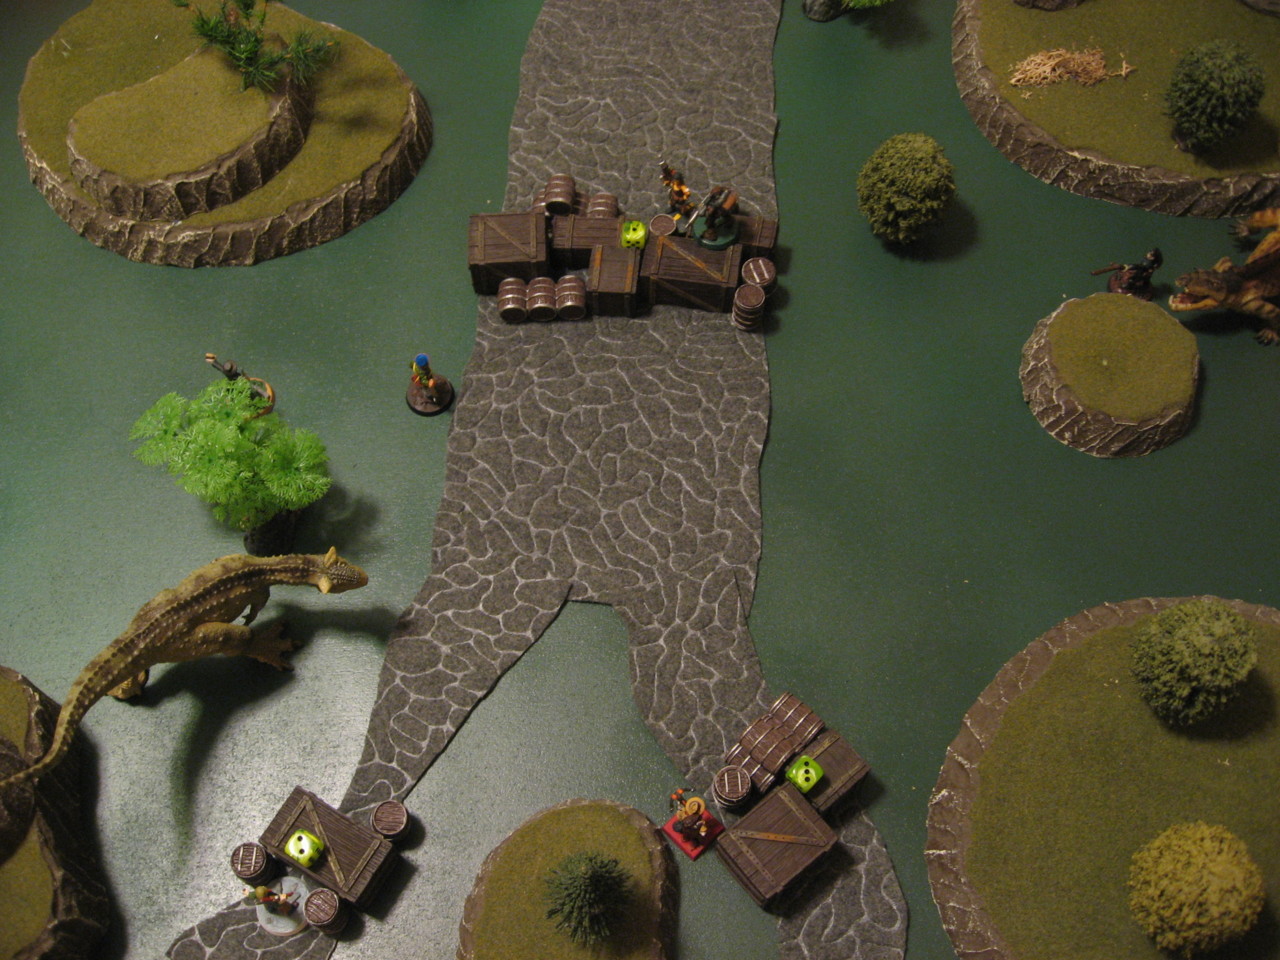
 Nice, right back to me. Those steady Neotechnoists holding onto the initiative like that. I wanted to keep the pressure on the defenders and hopefully drive them into the cabin so I could take my time surrounding it and destroying the occupants. I moved Homer 2″ closer to the cabin to get the traitorous Private Verhust into long range. Homer had hoped to rescue Verhust, but the Private is clearly allied with the Dusters and must be exterminated. Homer fired his Blunderbuss needing a 9+ to hit, but missed Verhust. He’s safe for now…
Family: I could tell Private Verhust was going to be a hot target, so I backed him off from his forward position to try to get a bit of range on the enemy. Drawing a bead with his Light Pistol the Private fired at Captain Toma but misses.
1c. Family wins Activation
Family: Having nearly died Brother Jerrid was in no mood for heroics. Plus Mama Hanna was screaming at him from inside the cabin to get inside. So he Ran towards the cabin door, and nearly made it into the interior but just fell short. At this point I’m wishing Mama Hanna hadn’t Activated already since she could have used “Get Up!” on Brother Jerrid, as that is the only source of HP restoration the Macreegin Family has.
Rexburg: Captain Toma took offense at Private Verhust’s fire, so he stepped forward and blasted his six-shooter back at the man. I edged Captain Toma to his left to get behind the brick wall and shield him a bit from shots from the cabin. Unfortunately he missed the long range shot at Private Verhust.
1d. Rexburg wins Activation
Rexburg: My foe only had one more Activation to go so I had to handle both of my characters this Activation. That meant Scatterman and Corporal Grove. Simple enough though; Scatterman Ran forward to in front of the Captain, and Corporal Grove Fled backwards and then Ran behind the tall hill that Tenpas is on. I wanted to bring Scatterman closer to the cabin to get his deadly shotgun into play. And cowering with Grove was a necessity after that big shot from Mama. I figured I could either ease him around the flank (west side of the hill) or, if the Macreegin’s switch targets, just go back to his original path of advance.
Family: Sis Shiela was still at the east window and had a good view of the advancing Neotechnoists. She decided to fire at the closest one, who is Scatterman. With some lucky rolling Shiela hit once for 4 damage. I thought a bit about ducking her into the cabin corner (similar to what Mama Hanna did) but decided against it. Since we’re at the end of the Turn I might get an early Activation and be able to fire with her and then move out of sight. So Sis Shiela stayed at the window.
Turn 2 – The First Death
Papa Jonas rolled his D12 to try to come back from foraging but failed to get an 8+, so he won’t appear this Turn.
2a. Rexburg wins Activation
 Rexburg:
 I was happy to get the first Activation for this turn as it meant I can try to kill Brother Jerrid before he reaches the inside of the cabin. The best man for the job was Tenpas Terako, as 5A and 6 RMC against an unmoving target was my kind of shot. First I had to have Tenpas climb down his hill to keep Brother Jerrid in range. Then just to be safe I decided to use the “Both Barrels” feature of his Twin Rifle which would give me +2 Attacks. Now I was rolling 7 Attacks at 7+ to hit. The dice weren’t hugely with me and I only hit 2 times (1 was a Critical) for 5 damage. It’s still exactly enough to kill Brother Jerrid though! Tenpas would have to Reload from using the special ability, but that should be easy with his Speed Reload trait.
Family: Hearing her son shot down outside, Mama instantly reacts. She moves back into the window and blazes away at Tenpas. Her shots were a little
too wild though and she misses all of them. So much for sweet revenge.
 2b. Family wins Activation
 Family:
 Another Activation and another chance to get revenge. Private Verhust had liked Brother Jerrid’s eagerness to hear stories of inside The Wall, so he also wanted revenge. But in his case it was blind revenge, so all he did was shoot at Scatterman. Some bad rolling meant I missed all the shots AND had to Reload. I finished up by moving Private Verhust towards the cabin door, but still right behind the nice tree outside.
Rexburg: Time for Scatterman to show the traitor what
real shooting is. I moved Scatterman his full 4″ forward which put Private Verhust into long range. The massive Auto Shotgun barked to life and hit 2 times (1 was a Critical) but also a 1 was rolled so a Reload will be needed. Captain Toma is right by Scatterman though so he uses “Yeehaw!” to let Scatterman re-roll his Reload roll of a 1. The re-roll is still a miss but at least his Auto Shotgun will be ready for next turn. Anyways in total Scatterman did 7 damage (8 – 1 for Cover) to Private Verhust, who is now Fleeing.
After this Homer also moved to put Private Verhust into range, and firing at 10+ on his single Blunderbuss attack. Amazing Homer hits and does 5 damage which kills Private Verhust! The traitor is dead, and although the 52nd Rexburg Platoon are sad to kill one of their own they can’t have soldiers deserting and abandoning their missions. (
Note: I’m not sure how Homer got to Activate right after Scatterman did but that’s what my notes say happened, so…yeah)
2c. Family wins Activation
Family: Sis Shiela was still at the window and had survived unscathed, although she saw the withering firepower cut down Private Verhust right before her eyes. She snaps off a shot at Scatterman, hoping to repeat her luck last Turn, but unfortunately misses. The death of Verhust fresh in her mind she eagerly ducks out of sight into the corner of the cabin.
Rexburg: I still have some maneuvering to do, so Captain Toma Ran forward and just reached the edge of the hill the cabin is on. Soon his brutal Long Sword will come to grips with the Duster family inside. Corporal Grove headed east from behind the hill and applied his Small IRP to recover +3 HP, bringing his total back to 6 HP.
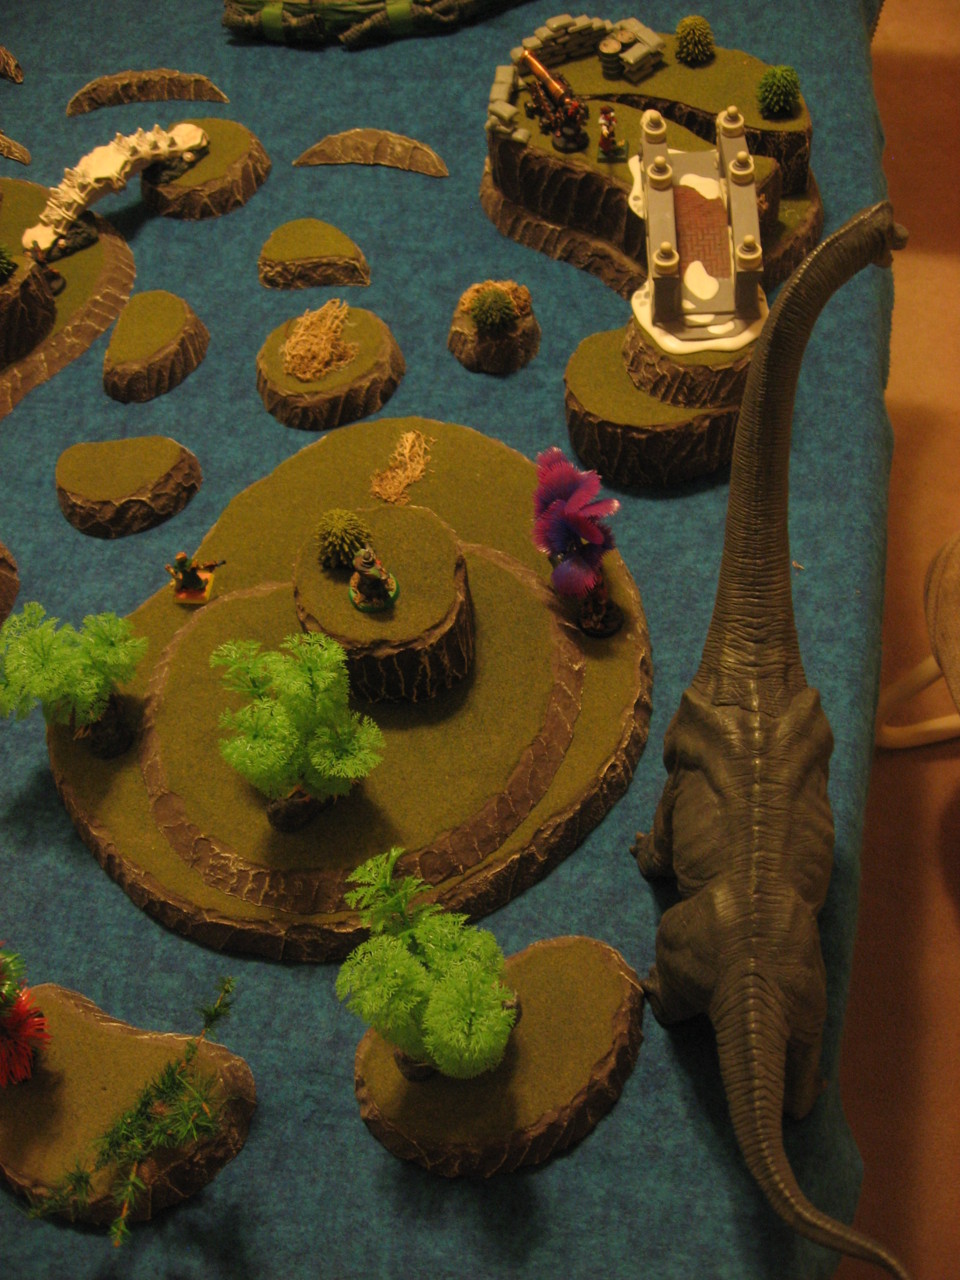
Turn 3 – Papa is Back
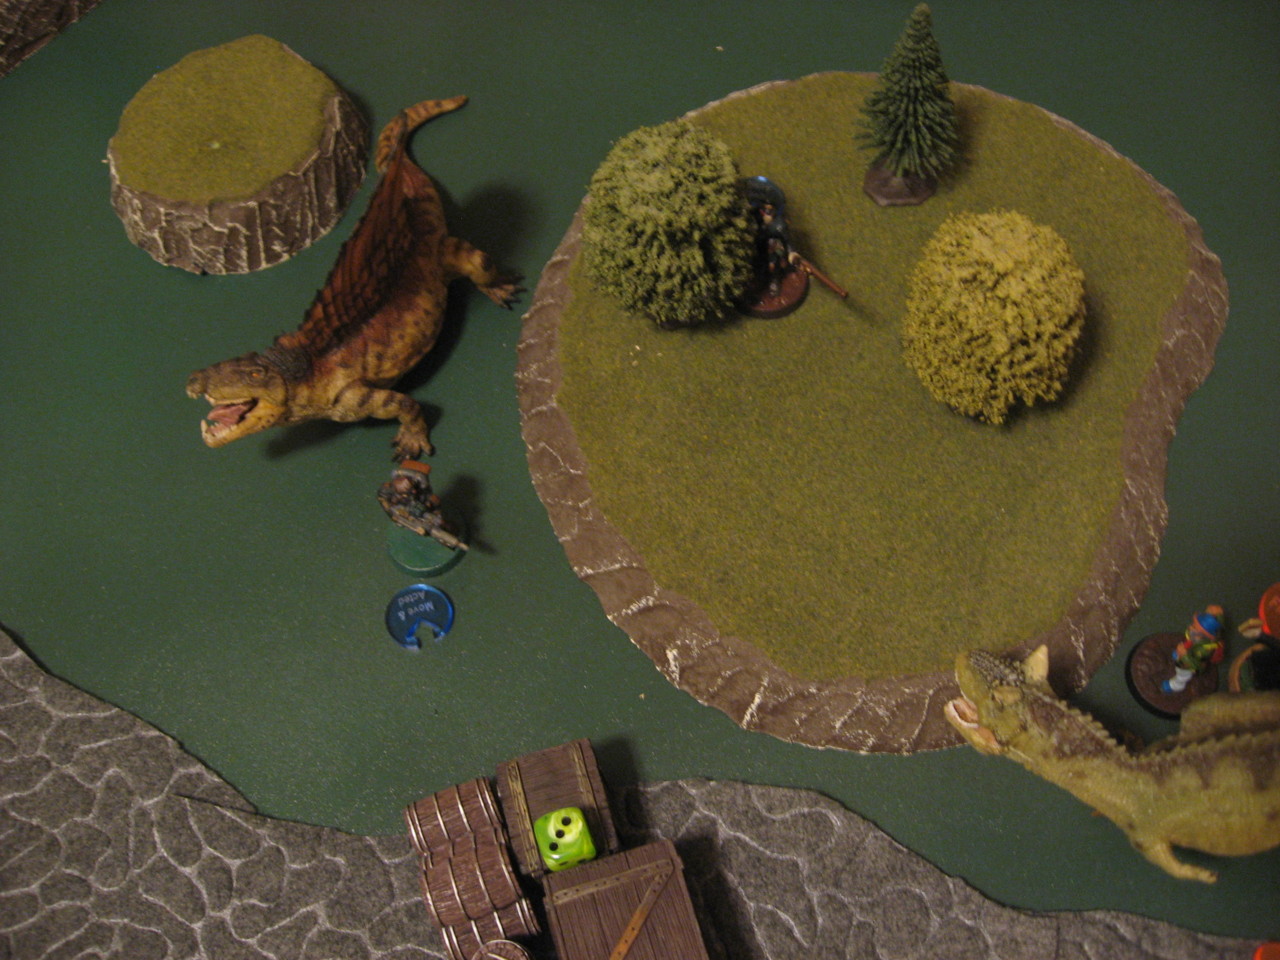
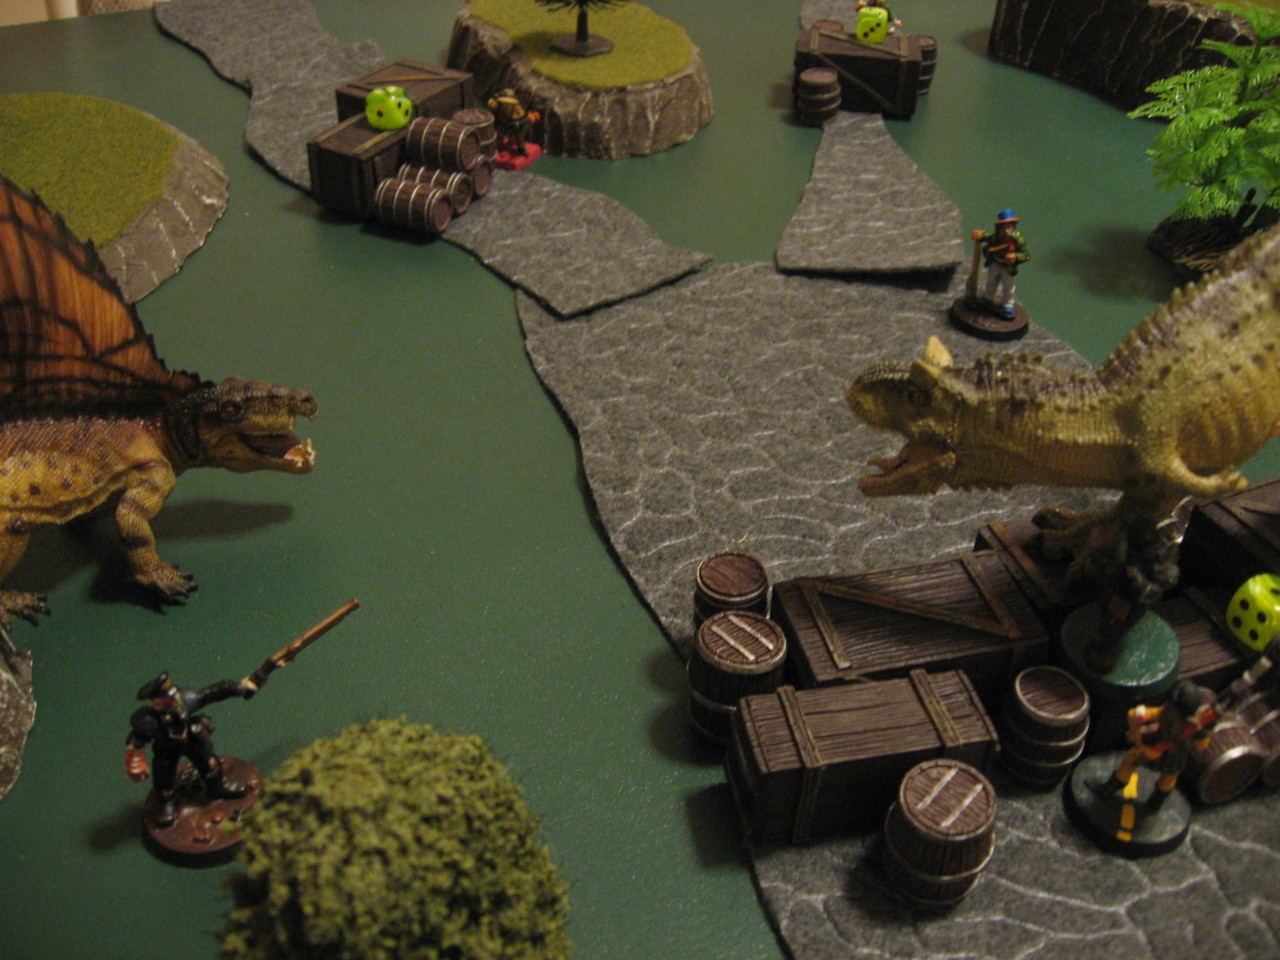
 Papa rolled his D12 and got a 12, so he was back to the homestead with a vengeance. After rolling a random table edge he ended up on the west side, and chooses to line up directly with Tenpas and Corporal Grove.
3a. Family wins Activation
Family:
Papa rolled his D12 and got a 12, so he was back to the homestead with a vengeance. After rolling a random table edge he ended up on the west side, and chooses to line up directly with Tenpas and Corporal Grove.
3a. Family wins Activation
Family: Hooray Papa and Bluepatch are back. They’ll be angry to see what has happened to the family so far. Although I was eager to move them, I thought shooting with Mama was more important, especially since I could move her out of sight afterwards and spare the full fury of the Neotechnoist return fire. So Mama Hanna funneled all her anger at Scatterman and lined up a shot at medium range. She fires and hits for 2, but Scatterman uses the “Lucky” Trait to force a re-roll. The re-roll is even better with 2 hits (but 1 is a Critical, so 3 hits total!) for 7 damage which kills Scatterman! Finally some blood on their side. After this Mama moves out of the window and back into the cabin. Instead of going to the south west (bottom left) corner she heads to the north west (top left) corner, furthest from the door and with a good line of sight at anyone entering the home.
Rexburg: Tenpas heard the roar of the angry Thickskull and quickly spun to see Papa and Bluepatch rustling out of the jungle. Using Speed Reload he quickly pushed new batteries into the Twin Rifle and took aim at Papa Jonas. Tenpas hit 3 times for 6 damage (5 + 1 for Elevation). Due to Papa Jonas’ massive HP pool he didn’t even need to make a Bravery Test for such high damage.
3b. Rexburg wins Activation
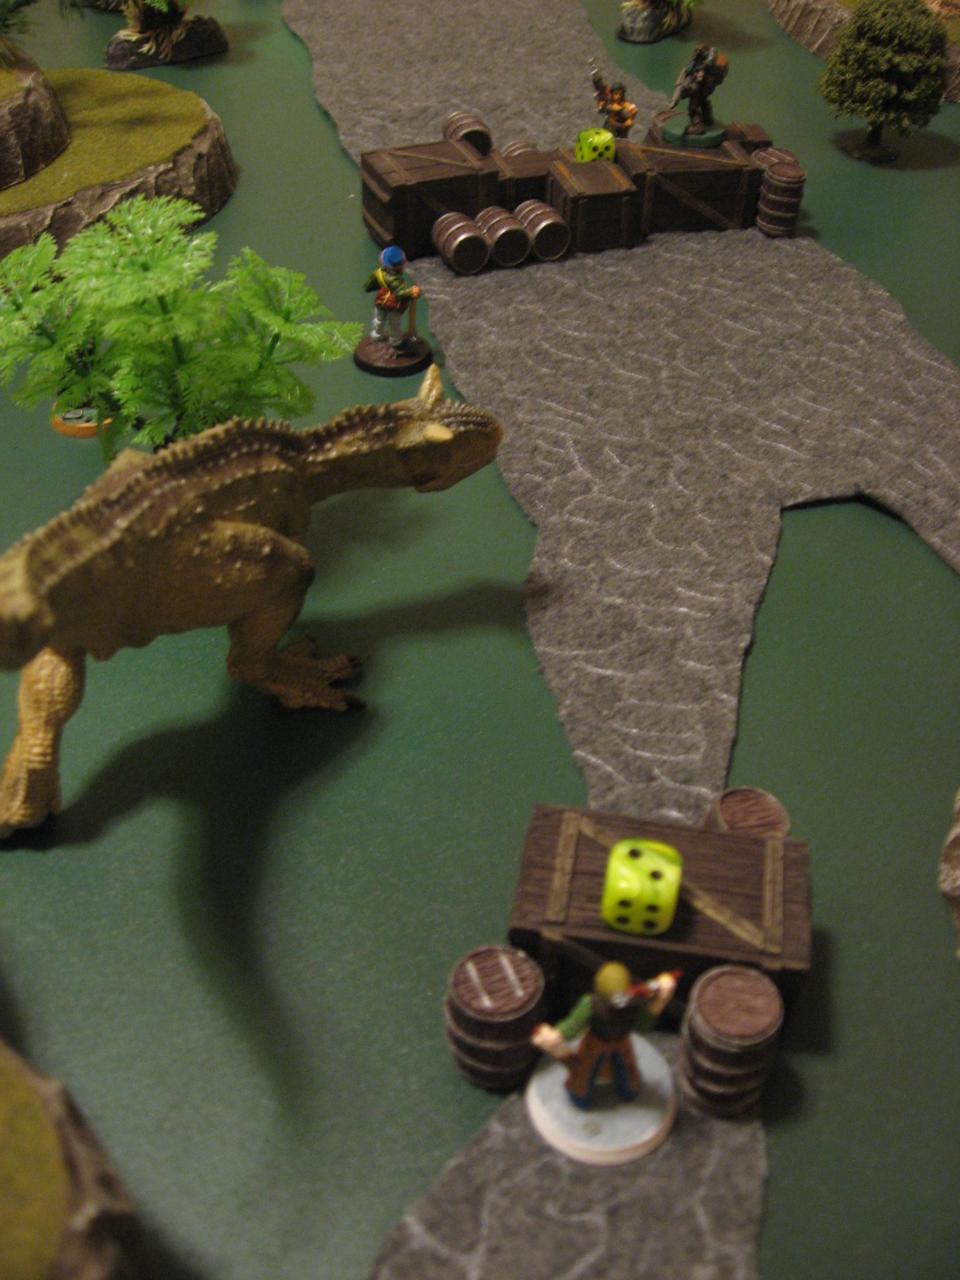
Rexburg: My left flank of Tenpas and Corporal Grove would be a good buffer between the raging dinosaur and the main attack on the cabin. I committed to that idea by moving Corporal Grove to the smaller hill below Tenpas and shooting at Papa Jonas. Grove rolled well and hit for 3 damage, which definitely means Papa Jonas is being whittled down.
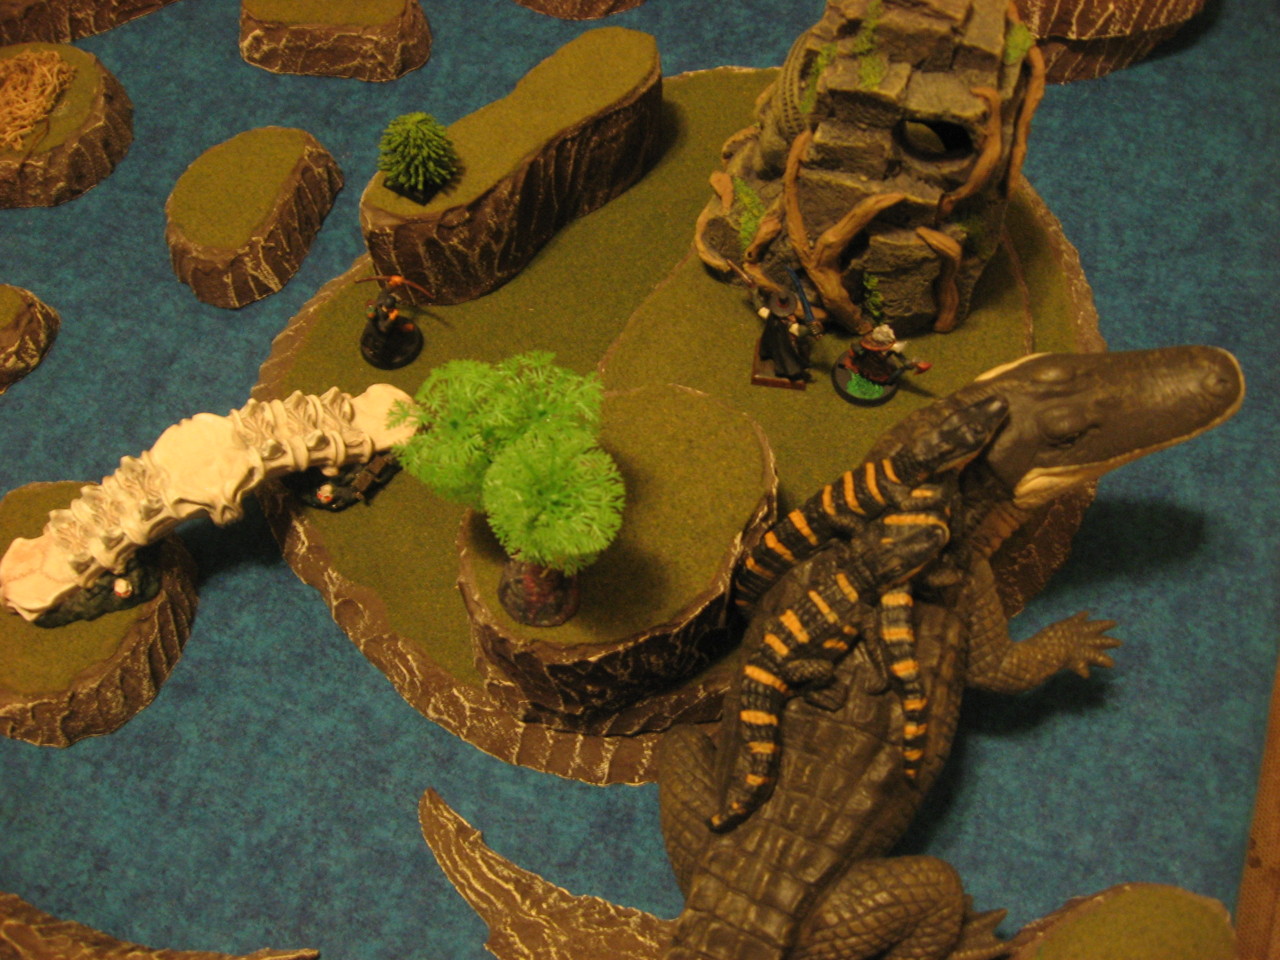
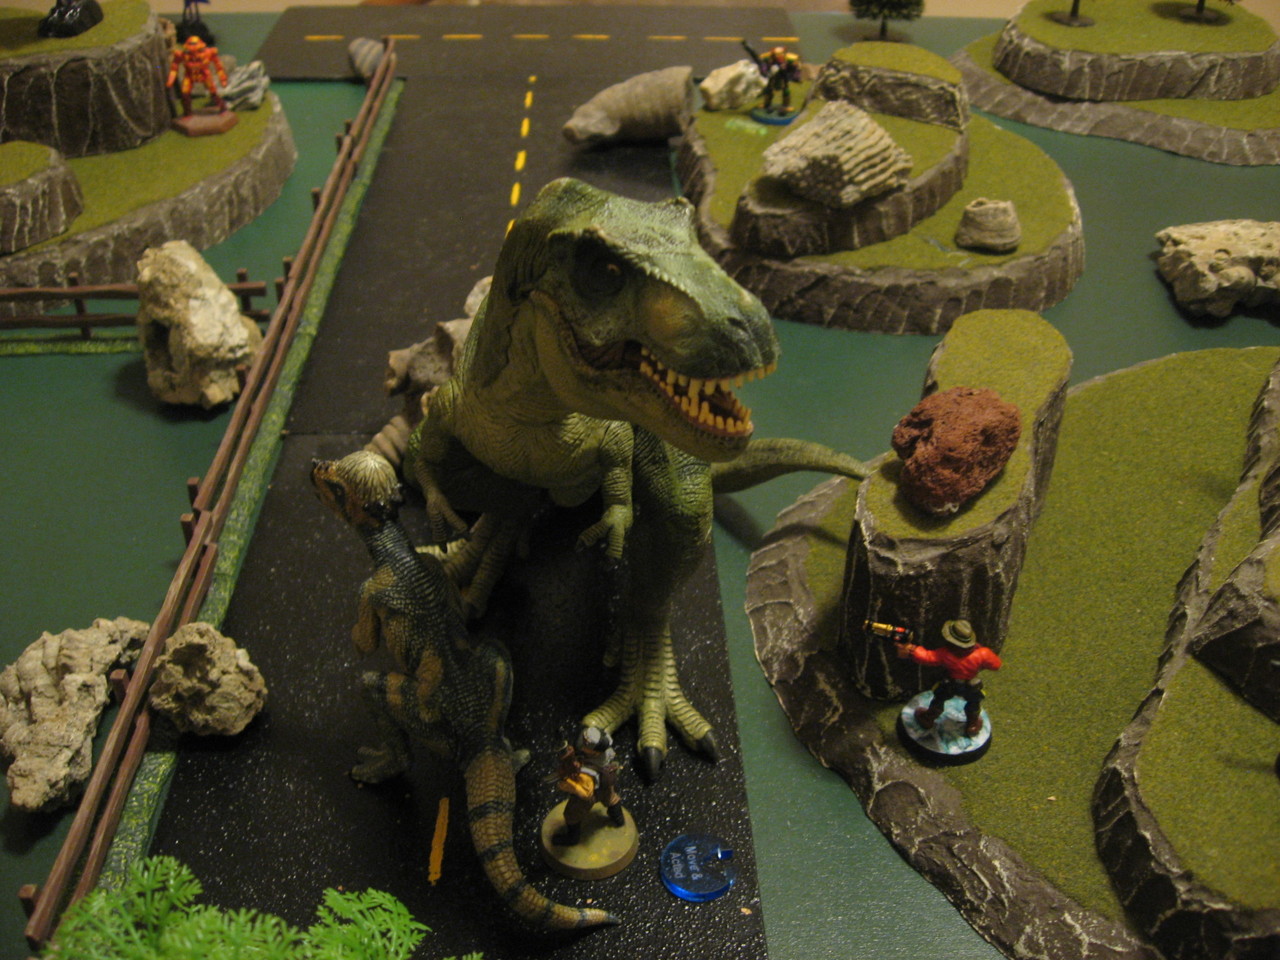
Family: Time to get Bluepatch into the thick of melee. His impressive 8″ Movement definitely helps! I moved Bluepatch (with Papa Jonas mounted) directly towards Tenpas and Grove, and then I tried to Charge with him into melee. Bluepatch was clearly mad as heck since he rolled a 6 on the D6 Charge distance, which brought him into close combat with BOTH Tenpas and Grove. That’s handy! His fury having run its course, Bluepatch was only able to hit Grove for 2 damage.


 3c. Rexburg wins Activation
Rexburg:
3c. Rexburg wins Activation
Rexburg: The appearance of Papa Jonas was inevitable, and I didn’t want it to stall my main advance to the cabin. So Homer didn’t even glance to the left, instead he just blindly Ran forward towards the cabin, reaching the edge of the fence. Captain Toma hesitated a bit more, as I knew the Long Sword would help a lot against the dinosaur. But I could imagine Mama Hanna shooting my Leader to pieces as he marched towards the dinosaur, so instead I kept my eye on the prize of the ol’ cabin. I Ran Captain Toma directly forward and he could reach behind the tree right outside the cabin door. With some good Charge rolling I should be able to reach Sis next turn.
Family: Sis Shiela can hear the heavy footsteps on the porch, and knew that the Neotechnoists were closing in. She took a deep breath and moved back to the window and unloaded on the Captain at short range. Her desperate blaze missed entirely and in fact she even needs to Reload after some extra bad rolling.
Turn 4 – Knock Knock!
4a. Rexburg wins Activation
Rexburg: Getting the first Activation was key since it means I can (hopefully!) get the Captain into melee with Sis Shiela and start avoiding those shots from Mama Hanna. I moved Captain Toma to the cabin door and measured the Charge distance, which was 3″.

I rolled my Charge attempt and made the distance! Captain Toma lunged into the cabin, sped around the corner, and swung his heavy Long Sword at Sis Shiela. I managed to hit 2 times for 6 damage, which was enough pain to cause Shiela to Flee.
Family: Now the bad men really are knockin’ down my door. Mama Hanna saw her daughter embroiled in melee with Captain Toma and was furious. Mama uses her “Get Up!” trait on Sis Shiela to heal +5 HP which brings her daughter back to 9 HP. Then she fires at Captain Toma with her Lever-Action Rifle (still not quite at minimum range) and hits 1 time for 5 damage. Mama Hanna stays where she is in the corner, waiting for more intruders.
 4b. Family wins Activation
Family:
4b. Family wins Activation
Family: Time to see what is happening on the outside of the cabin. Papa Jonas was in the middle of close combat with Tenpas and Corporal Grove. I figured that I could empty his gun into one of them and let Bluepatch do the attacking afterwards without bothering to Reload. To that end Papa Jonas uses his “Crippling Shot” trait and also “Fan the Hammer” on his six-shooter. His target is Corporal Grove. I rolled really well and hit 4 times for 6 damage which kills Corporal Grove! Of course I have to mark Papa Jonas with a Reload token since he just fanned his entire cylinder of laser blasts in one go.
Rexburg: After the Captain’s daring charge Homer is lagging behind a bit, but I don’t want to risk lobbing a grenade through the window since it would hit the Captain as well as Sis Shiela. So instead Homer Run’s up the cabin hill with the intention of closing in on Mama Hanna and shutting down her powerful rifle.
4c. Family wins Activation
Family: My last Activation was Sis Shiela, who was Fleeing. This brought up an interesting rules question though, as a direct line backwards from the nearest enemy (Captain Toma) would run her into the cabin wall. She was 2″ from the cabin wall but needed to Flee 4″, and as the rules state for Impossible to Flee: “…or any other situation where Fleeing is impossible…, they are Stunned instead”. So Sis Shiela is Stunned and can’t do anything but move. Of course she doesn’t want to do that an provoke a Snap Attack from the Captain, so she just stays where she is.
Rexburg: Tenpas is in a rough situation. Bluepatch is right in his face and well inside the minimum range of his Twin Rifle. I don’t have a secondary weapon for Tenpas, and as much fun as punching the dinosaur seems I think I’ll move him instead. I move Tenpas out of melee with Bluepatch which means the dinosaur can make a Snap Attack. He does and hits 4 times (2 of which were Criticals!) for 7 damage. Ouch, that was unexpected. Tenpas doesn’t Flee at least, and he is now outside of the minimum range and can shoot normally. With Corporal Grove dead I don’t expect Tenpas to be in the game much longer, so I use “Both Barrels” while I can against Papa Jonas. I hit 2 times (1 was a Critical) for 5 damage which kills Papa Jonas! Now to face down a Thickskull dinosaur alone. Oh and everyone managed to pass their Bravery Tests for having a Leader die. Alas.
Turn 5 – Mess in the Cabin
5a. Rexburg wins Activation
Rexburg: Although Captain Toma is in melee, he also isn’t that great with his Long Sword (8 MMC) compared to just shooting (7 MMC + 1 for In Melee penalty). So I figured he’d sheathe the sword and unload his pistol from the hip. Captain Toma uses “Fan the Hammer” against Sis Shiela and hits 2 times (1 was a Critical) for 5 damage, which makes Sis Shiela Flee again!
Note: I forgot the 2″ Knockback on Fan the Hammer (again!) which would have knocked Shiela out of melee.
Family: Mama Hanna is still eagerly trying to kill the Captain that is hurting her daughter, so she fires again at an 8+ to hit. Her 1 hit was a Critical which totals 6 damage. Captain Toma grits his teeth and doesn’t Flee though.
5b. Family wins Activation
Family: Bluepatch wants to hurt the man who killed his rider and master, so the dinosaur hungrily moves up the hill and back into melee with Tenpas. I didn’t want to risk a Charge at this point so I just settled for flat out moving in to combat. Anyways Bluepatch bit and rammed well and hit 3 times for 4 damage which kills Tenpas. Now only the Captain and Homer remain.
I had to finish my other Activation which was Sis Shiela. She’s again in a rough situation where Fleeing is impossible so she is Stunned again and chooses to stay where she is.
Rexburg: Time to get some grenades going! Homer moves closer to the cabin door and into line of sight with Mama Hanna and chucks a Kaboom Grenade at her. The grenade bounces around inside but fails to hit the intended target. Homer has to Reload the Kaboom Grenades (aka grab another one from his vest), but that should be easily achieved with his Speed Reload Trait next turn.
Turn 6 – Cat and Mouse in the Cabin
6a. Rexburg wins Activation
Rexburg: My first priority is killing Sis Shiela and getting Captain Toma into melee with Mama Hanna. He holsters the drained and empty pistol and draws his Long Sword to swing at Sis Shiela. Captain Toma manages to hit 1 time for 5 damage which finally kills the youngest Macreegin. After this I moved the Captain directly behind the table that separates him from Mama Hanna. Most importantly he is now inside the minimum range of her rifle, so she’ll have to use the less powerful revolver.
 Family:
 Mama Hanna is blind with rage after seeing the crumpled body of her daughter drop to the floor. She draws her 80kW Six-Shooter (too bad it isn’t more wattage so I could Fan the Hammer with it!) and fires at Captain Toma at short range, hitting him 2 times for 2 damage which kills the Captain! The last survivor of the Neotechnoists (Homer) passes his Bravery Test for having a dead Leader.
6b. Rexburg wins Activation
Rexburg: I want to avoid the dinosaur as much as possible, so I move Homer into the cabin. I plop him down behind the table (woo hoo cover) and use Speed Reload to get his Kaboom Grenades ready to throw again. I fail to hit Mama Hanna again though!
Family: With all his enemies taken out of action outside, Bluepatch Runs towards the cabin and the remaining commotion in the house.
Turn 7 – Quick and the Dead
7a. Rexburg wins Activation
Rexburg: Simple turn this time. Homer shoots his Blunderbuss at Mama Hanna at short range and finally hits for 6 damage. Mama Hanna doesn’t Flee though. Then I move Homer to the opposite edge of the cabins table, just inside minimum range for Mama Hanna.
Family: Back to the six-shooter it seems. Mama Hanna fires at Homer with the pistol and hits for 1 damage, but the Cover of the table negates the damage. Bluepatch continues his Run towards the cabin door.
Turn 8 – Behind You!
8a. Family wins Activation
Family: Mama Hanna sees an opportunity to get the drop on her opponent. Homer is busy facing the corner, but she sprints past him and snaps off a shot at his back! Because Mama Hanna is behind Homer she gets the Surprise Hit rules, which means a Critical Hit happens on 10+ instead of 12+. And this is exactly what she needed as her 1 hit was a roll of 10, which totals 2 damage. Unfortunately her other rolls had a 1 in it so she needs to Reload. Outside Bluepatch gets to the door but can’t fit inside. He starts slamming his thick skull against the frame though.
Rexburg: Yelping at the pain in his back Homer spins and unleashes the Blunderbuss on Mama Hanna, but fails to hit.
Turn 9 – Something is Outside…
9a. Family wins Activation
Family: Mama Hanna continued her move away from Homer and is able to get outside the minimum range of her rifle. Just in time too since her pistol is empty! I rolled terribly though and missed with all my attacks. Bluepatch continued his assault of the cabin doorframe, hoping to snap enough timbers to widen an entry.
Rexburg: Jamming another handful of shrapnel into his Blunderbuss, Homer fires the crude weapon at Mama Hanna. The shot blasts through her torso for 6 damage which kills the mother of the Macreegin family.

At this point the game concluded. We hadn’t decided on rules for dinosaurs getting into the cabin, so we weren’t sure if Bluepatch would be able to reach Homer. I think that Homer would likely throw a grenade and it would scare of Bluepatch, since no humans were around to direct the dinosaur. All in all both players decided it was a draw.
After Action Report
Well the game was a draw, but only thanks to the cabin walls keeping Homer safe from Bluepatch. In a straight up fight, at their remaining Hitpoints and armament, I think everyone agreed Bluepatch would probably win. But the safety of the cabin certainly is a factor, as is the fact that the Thickskull dinosaur was on his own and may have been easily frightened away by the grenades.
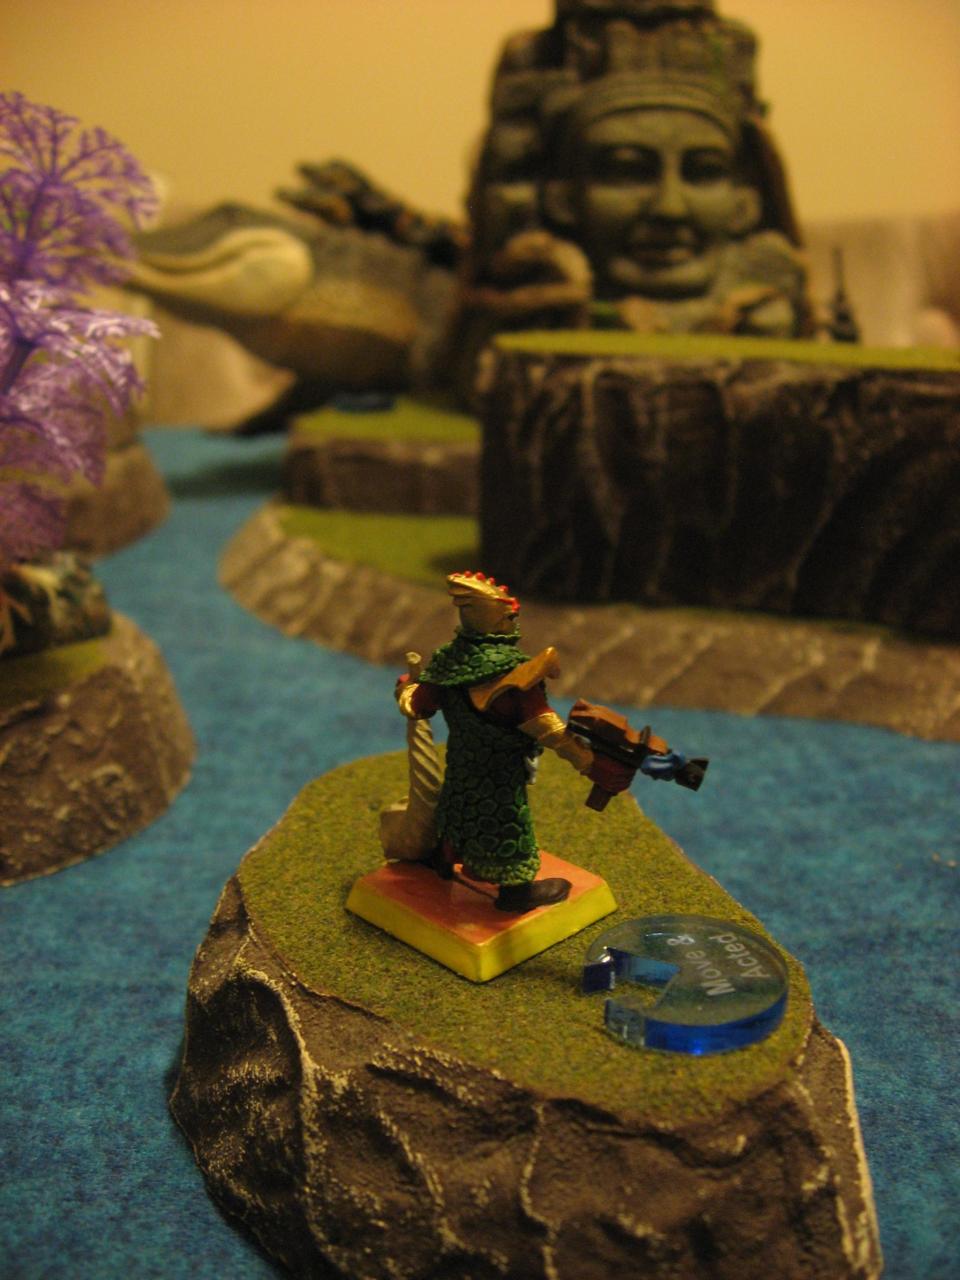
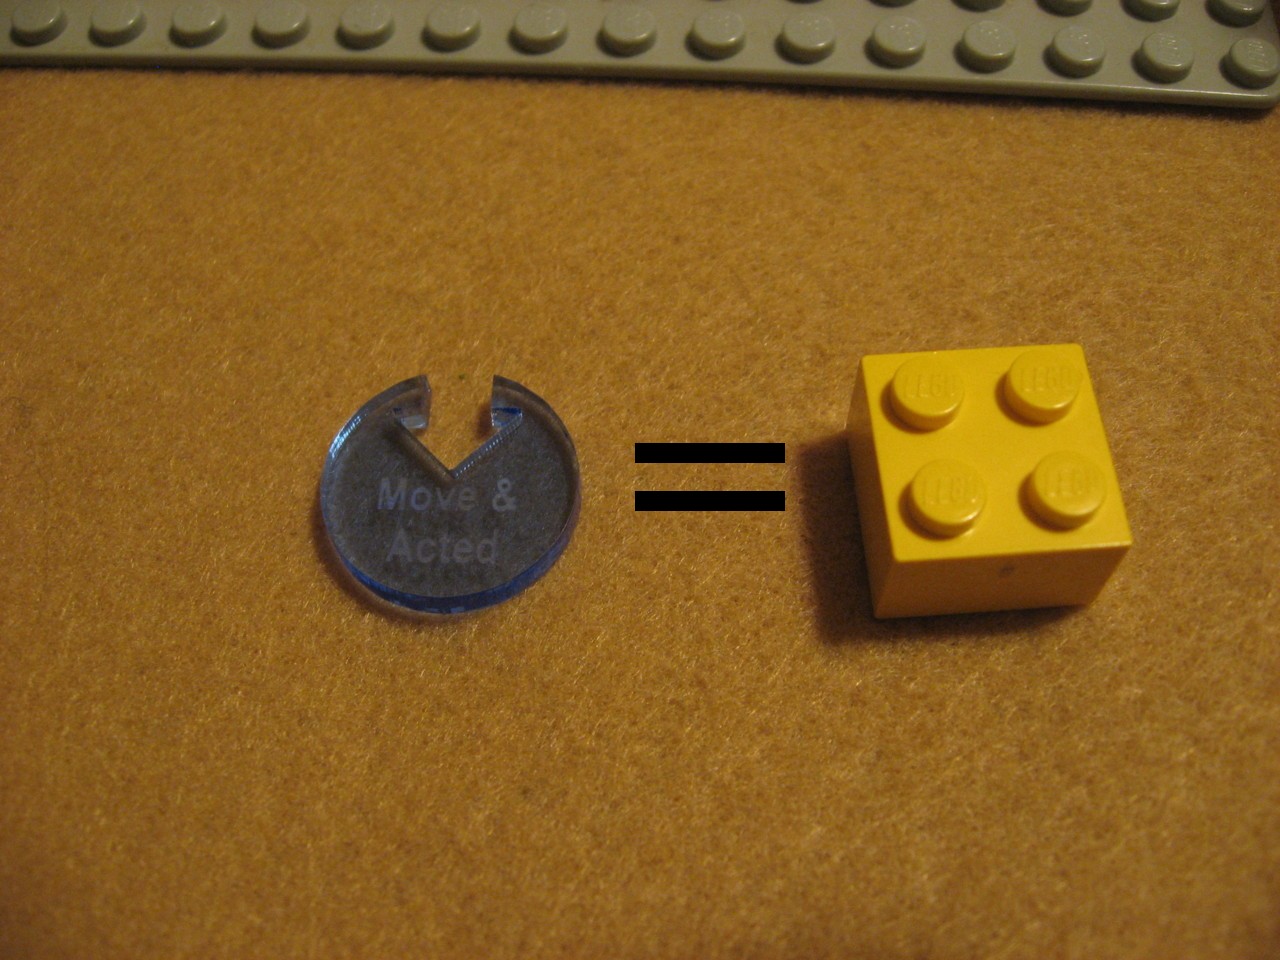
The Litko tokens I had made were really great and lent a very professional feel to the game. I do have one regret and that was making a set with the text “Move & Acted” on it instead of “Moved & Acted” (both past tense). Minor grammatical error but now that I’m noticed it I can’t unsee it, haha. But yeah the different colors and shapes worked well for easily seeing status on a character, and upgraded the game from the real homebrew feel my old wooden tokens gave.
Anyways a bit from each player:
Rexburg: I think I played that about as well as I could have hoped. Assaulting a dug in, fortified enemy is never easy. Having Papa Jonas and the dinosaur deployed later in the game was both a blessing and a curse. One the one hand I didn’t have to worry about him right away, but also couldn’t start to whittle down the bigger dinosaur Hitpoint pool. Plus he sure deployed a lot closer compared to having to march across the whole field…I mean getting into melee with two of my troops in his first Activation was impressive. Also my mistake for keeping Tenpas and Grove so close together.
Captain Toma was my MVP I think. He survived the march up to the cabin, he tore inside and caused havoc, and generally did exactly what I hoped he would. Homer was a bit of a let down due to constant misses with his grenades and Blunderbuss, but he redeemed himself by killing Mama at the end. And being the only surviving member of the posse, of course.
Family: Well I guess this is my punishment for housing a Neotechnoist soldier who should still be on active duty. I had a rough start with the early loss of Brother Jerrid and Private Verhust, but I think I was able to get some momentum back, and the later game appearance of Papa sure helped. My weapons felt a little futile compared to the Neotechnoist raiders, but then again I had a full posse WITH a dinosaur whereas they just had humans and a bunch of fancy equipment.
Having Sis Shiela stuck in combat like that was a bit frustrating, but I didn’t want to risk a Snap Attack by breaking free. Either way Captain Toma died, but it took a lot more firepower than I would have liked. An enclosed space like that is tough for Fleeing though, but also pretty fun to bust out the old Advanced Heroquest tiles.
When Private Verhust recovers I might have to kick him out of the Macreegin homestead though…
Rule Questions
A couple of questions came up during the game around v1.2 of the rules. Here is a Q/A approach to those issues as well as the changes that have been taken in the upcoming v1.3 to fix or clarify them:
Q: Can Snap Attacks be performed in melee with a ranged weapon?
A: No. The rules have been clarified to say “…any opponent with a melee weapon…”
Q: Can an entity change Facing after winning a melee? If not what Facing should it have?
A: No, an entity must keep their current Facing. The rules don’t explicitly say what to do, but the Facing section does say it can only be changed in the Maneuver Phase and once decided it remains set. So completing a melee (Action Phase) would keep the same Facing until the next Manuever Phase when the entity could change their Facing as desired.
Q: Also on the topic of Facing can an entity that just Activated shoot a way it isn’t Facing and then move, or does it have to move/change Facing first?
A: The entity must use their Manuever Phase to change Facing (and do any movement they like) before shooting, since otherwise the target isn’t in their arc.
Q: Fleeing when inside the cabin where the Fleeing entity only has 2″ of space but needs to move 4″ backward. What happens?
A: This is covered under the “Impossible to Flee” section of the rulebook, which states “…or any other situation where Fleeing is impossible…, they are Stunned instead…”. So the entity would be Stunned if they can’t Flee normally.
Complete Turn Log
Read the rest of this entry »

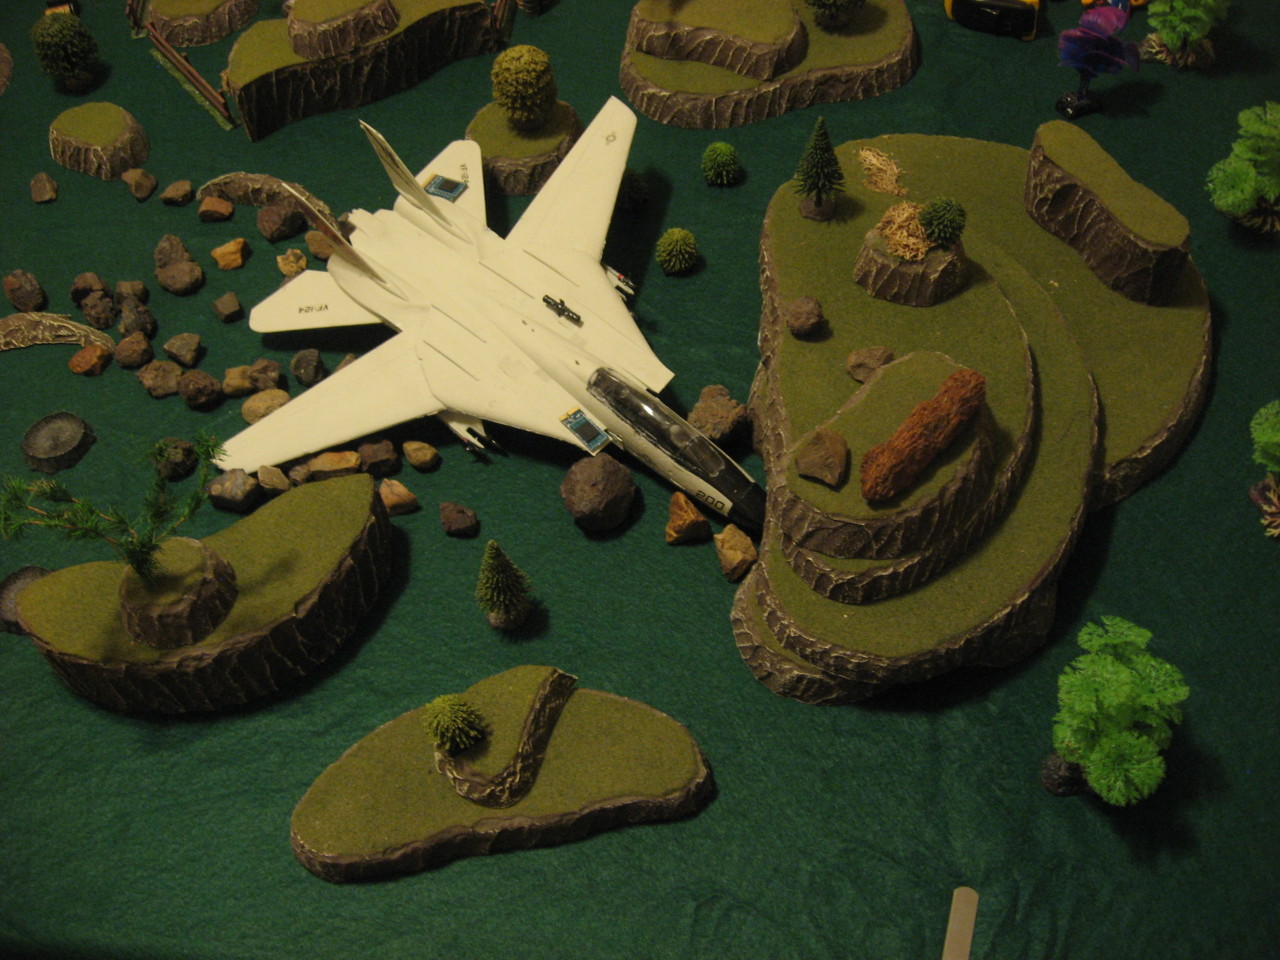
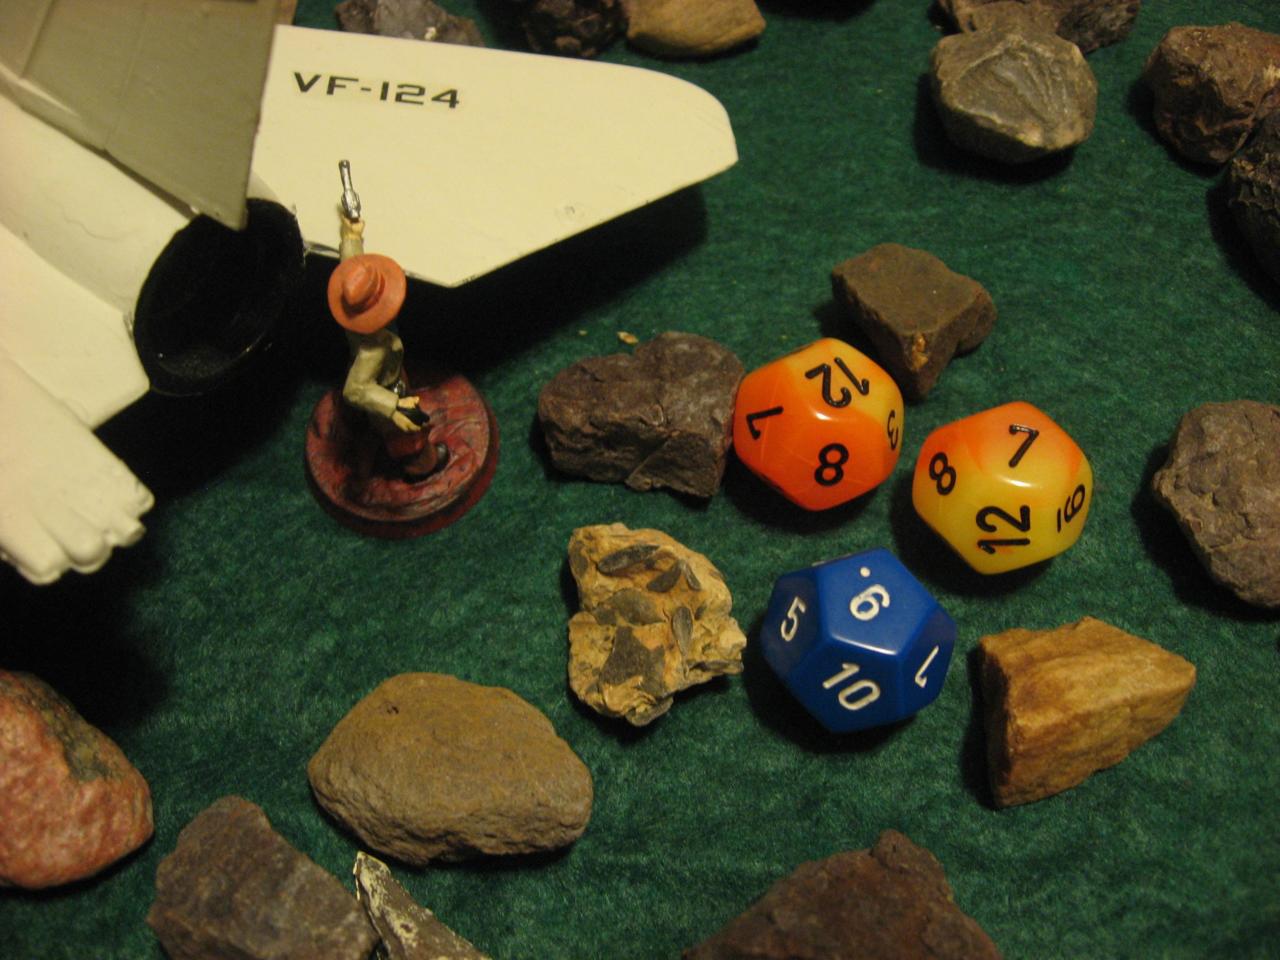
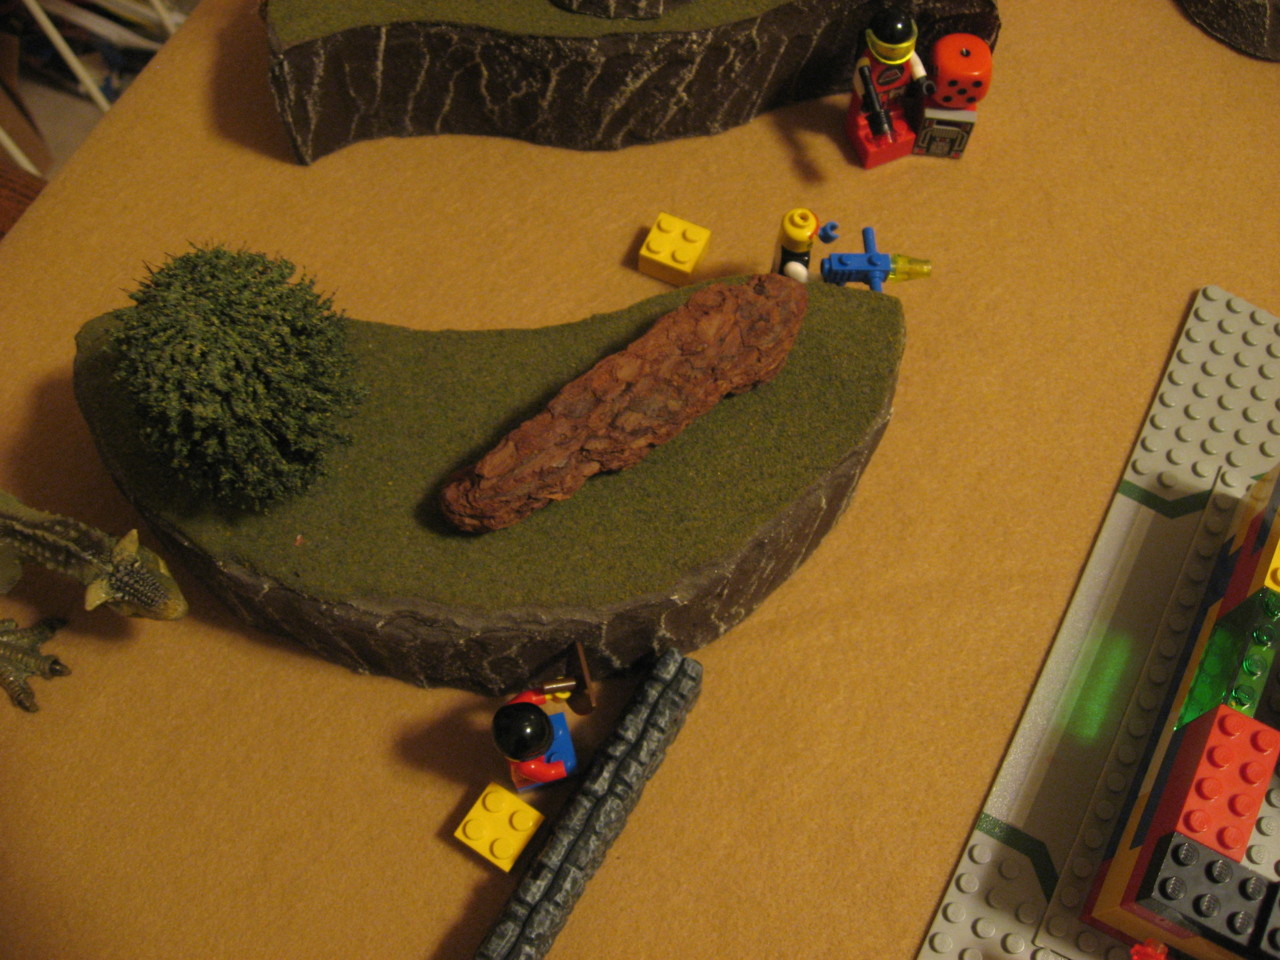
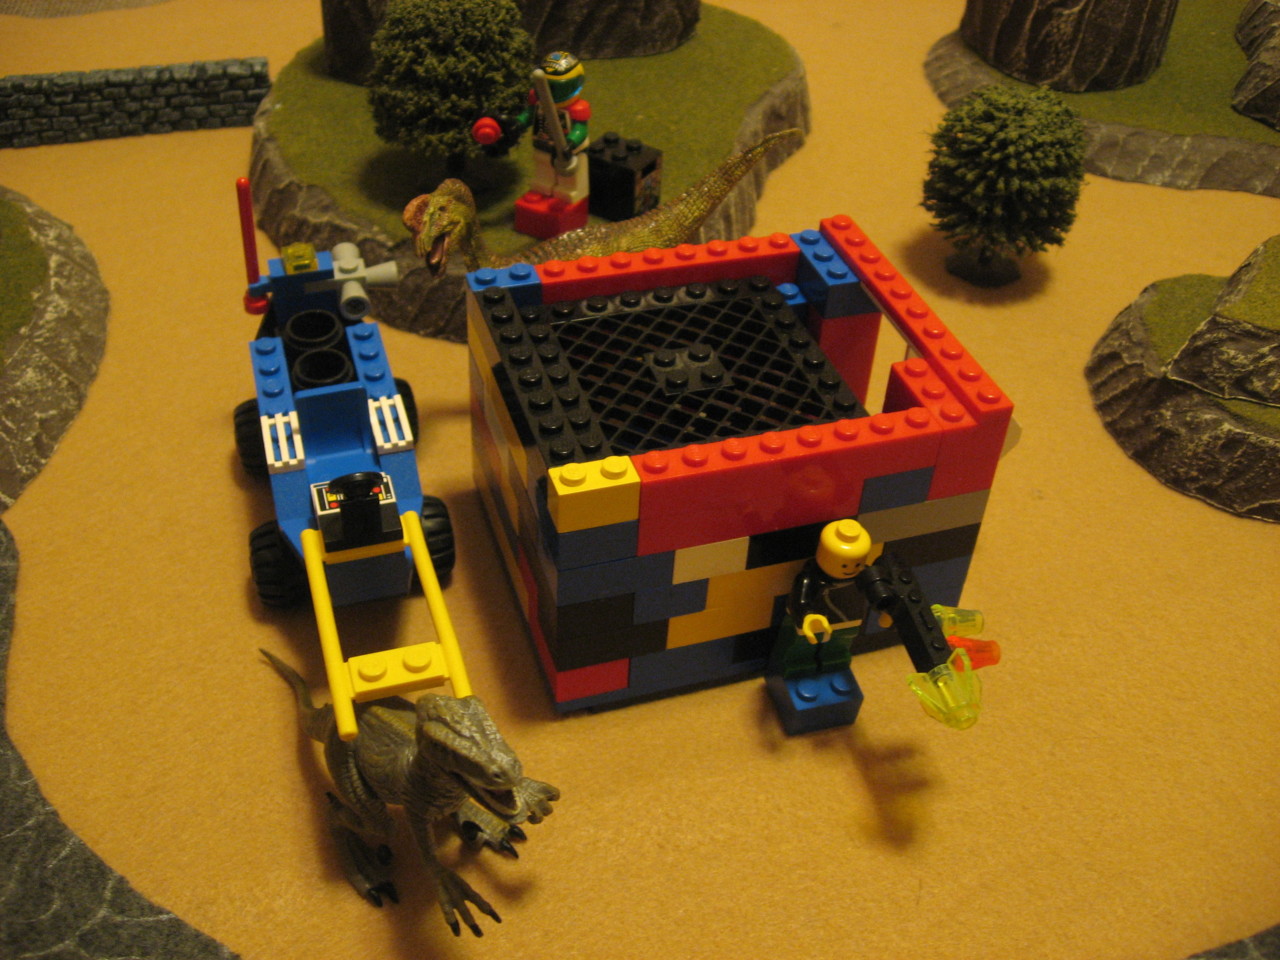
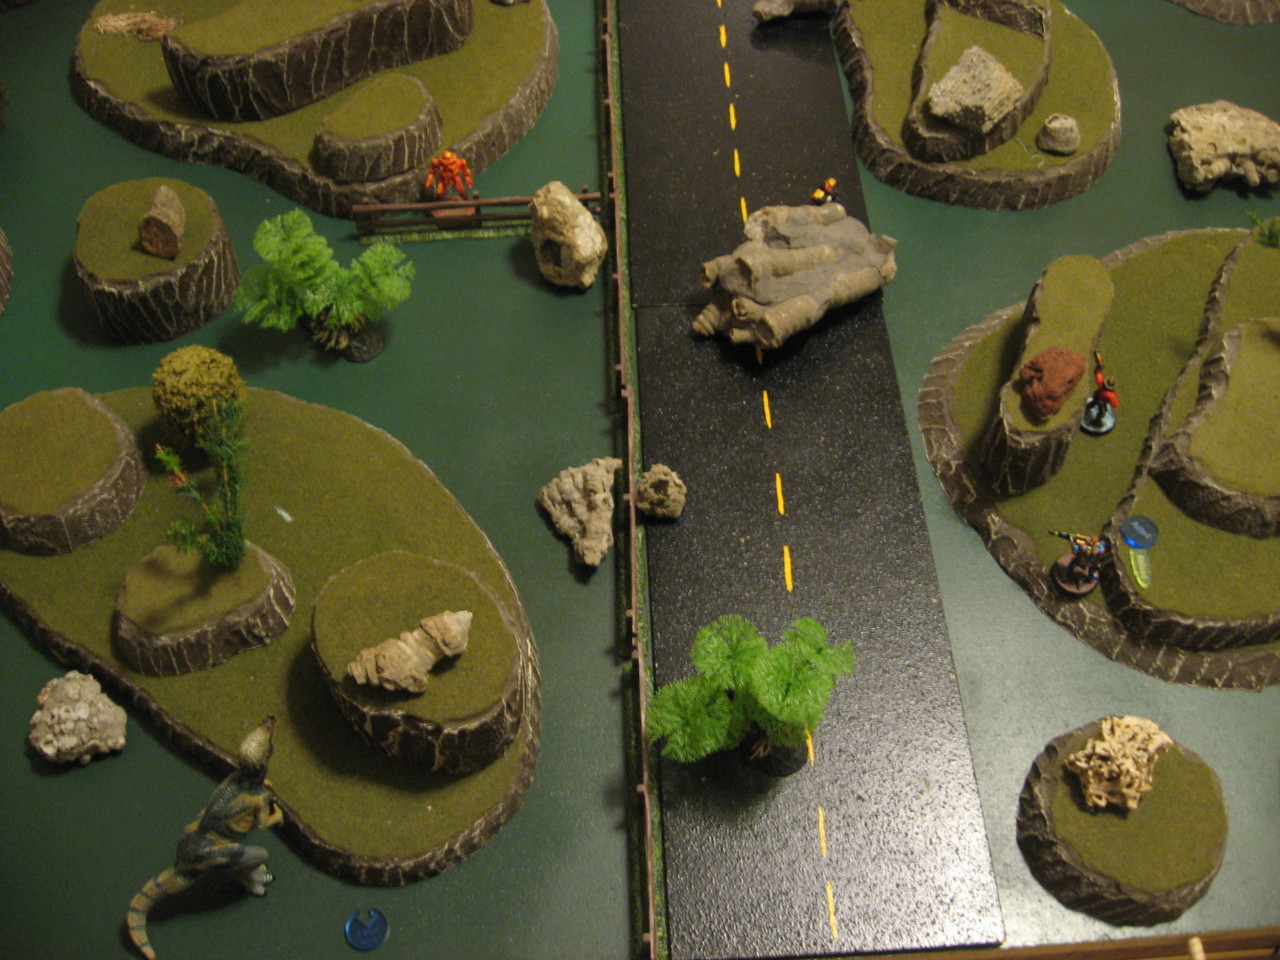
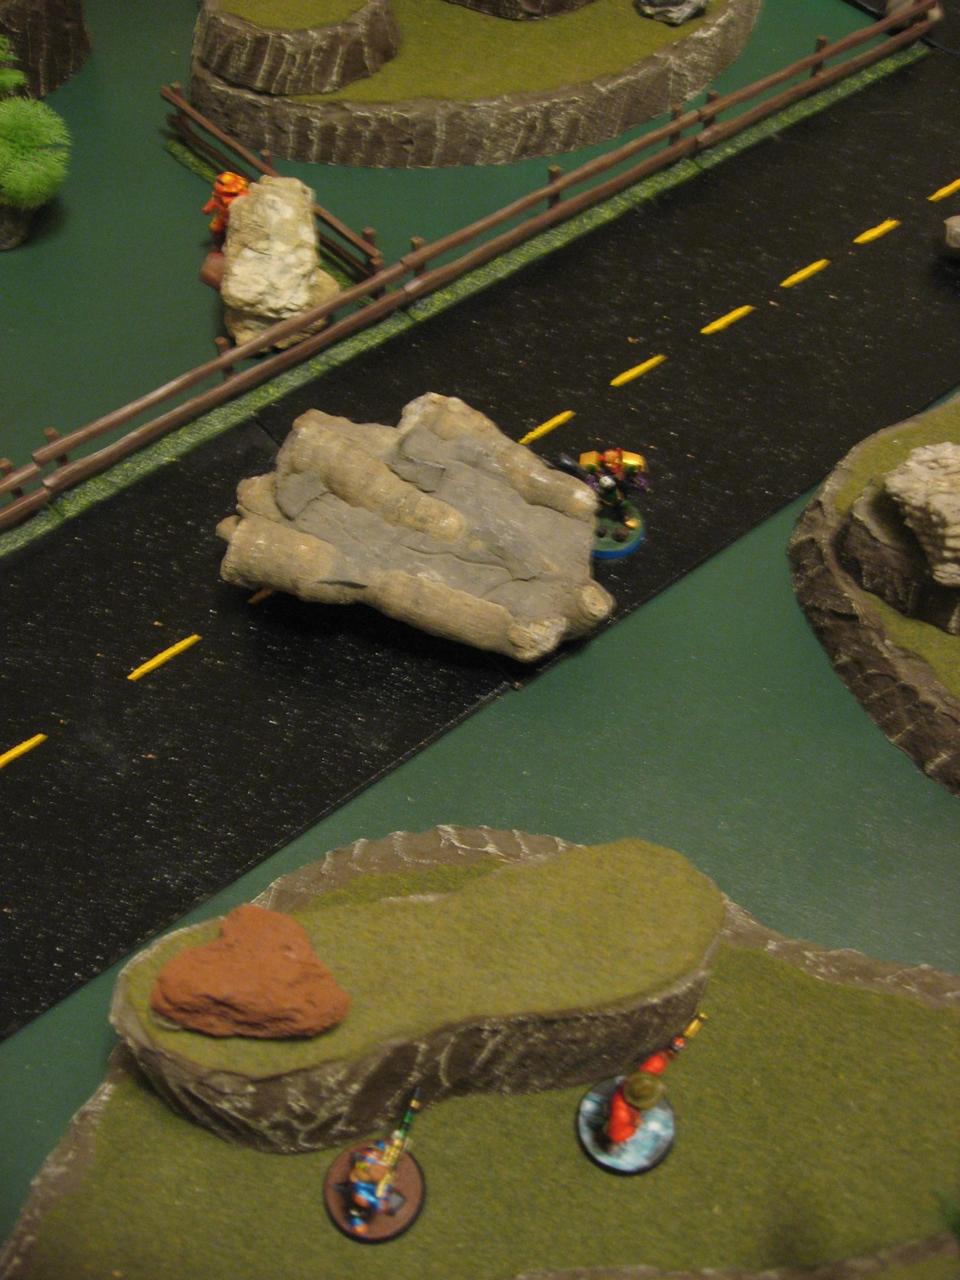
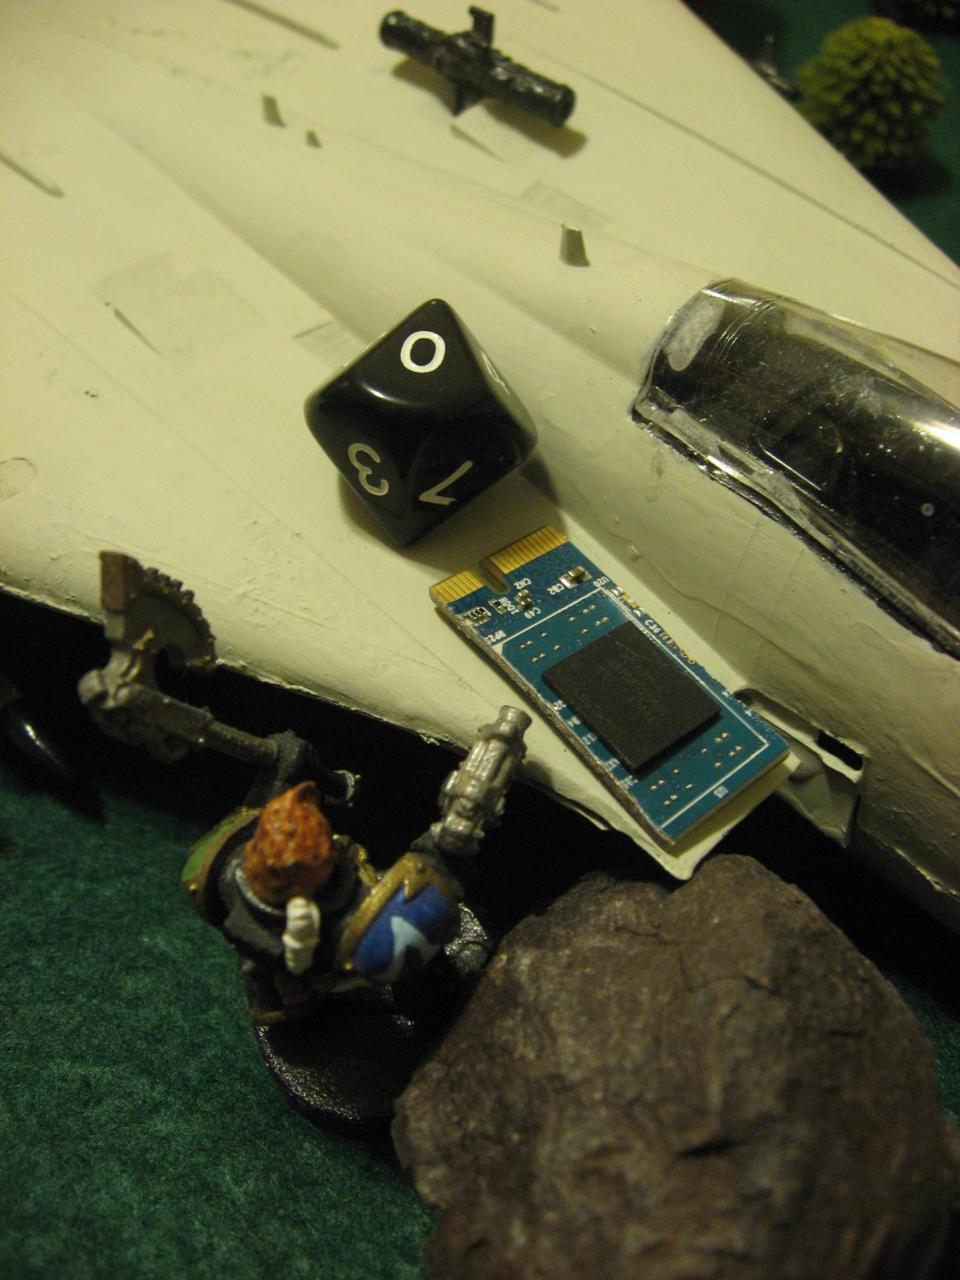
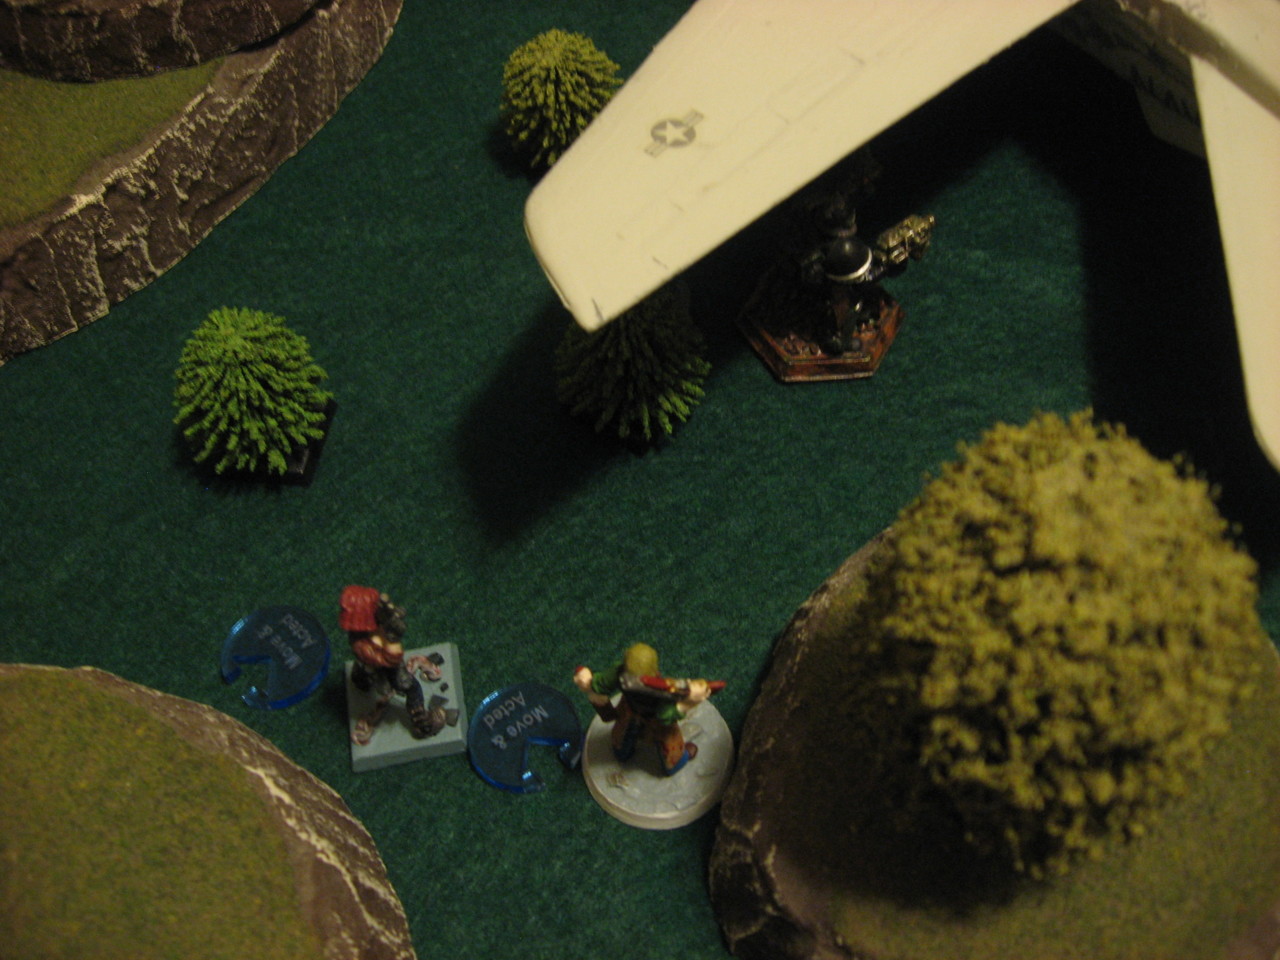
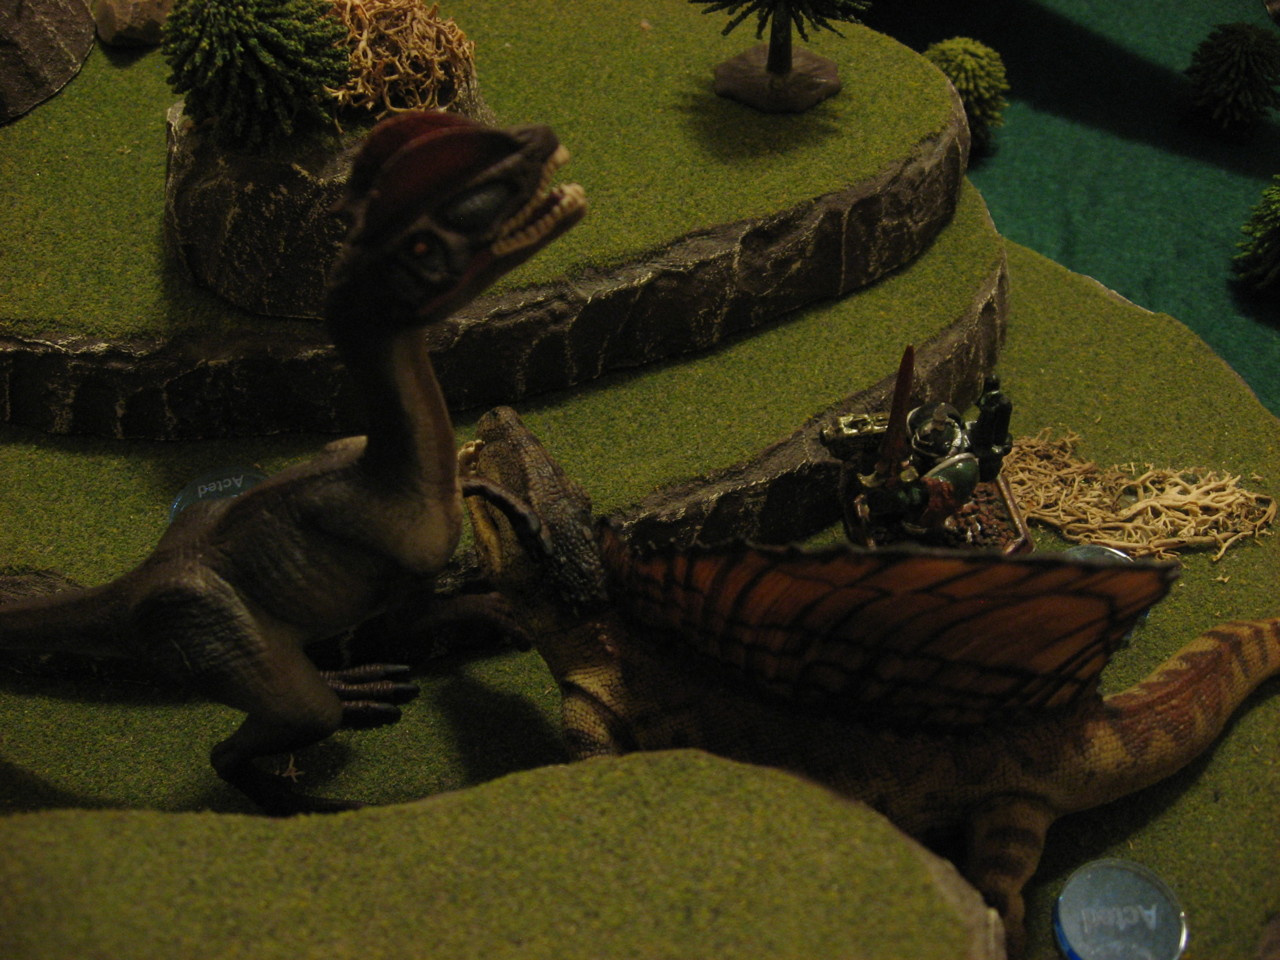
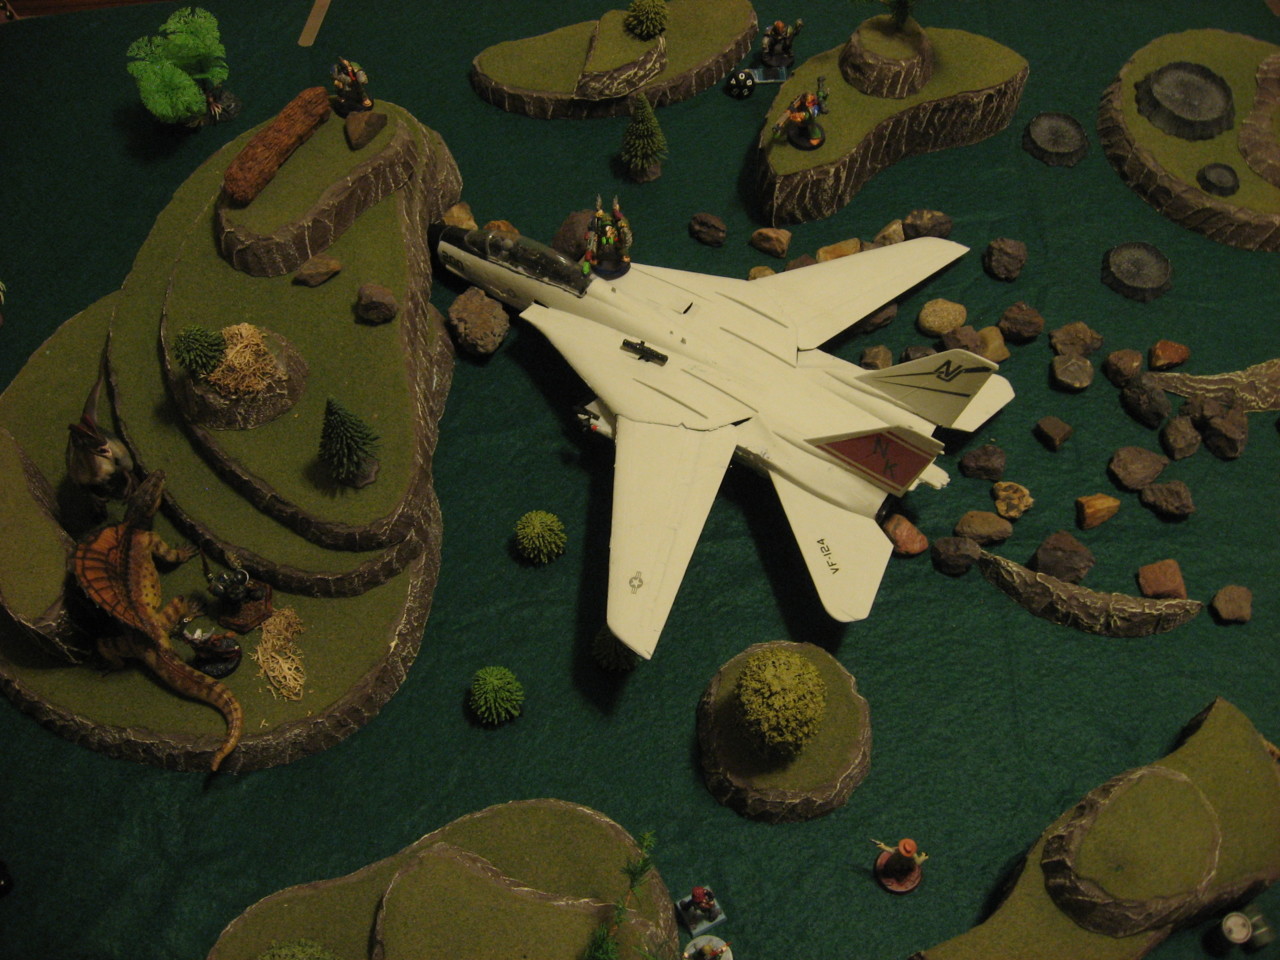
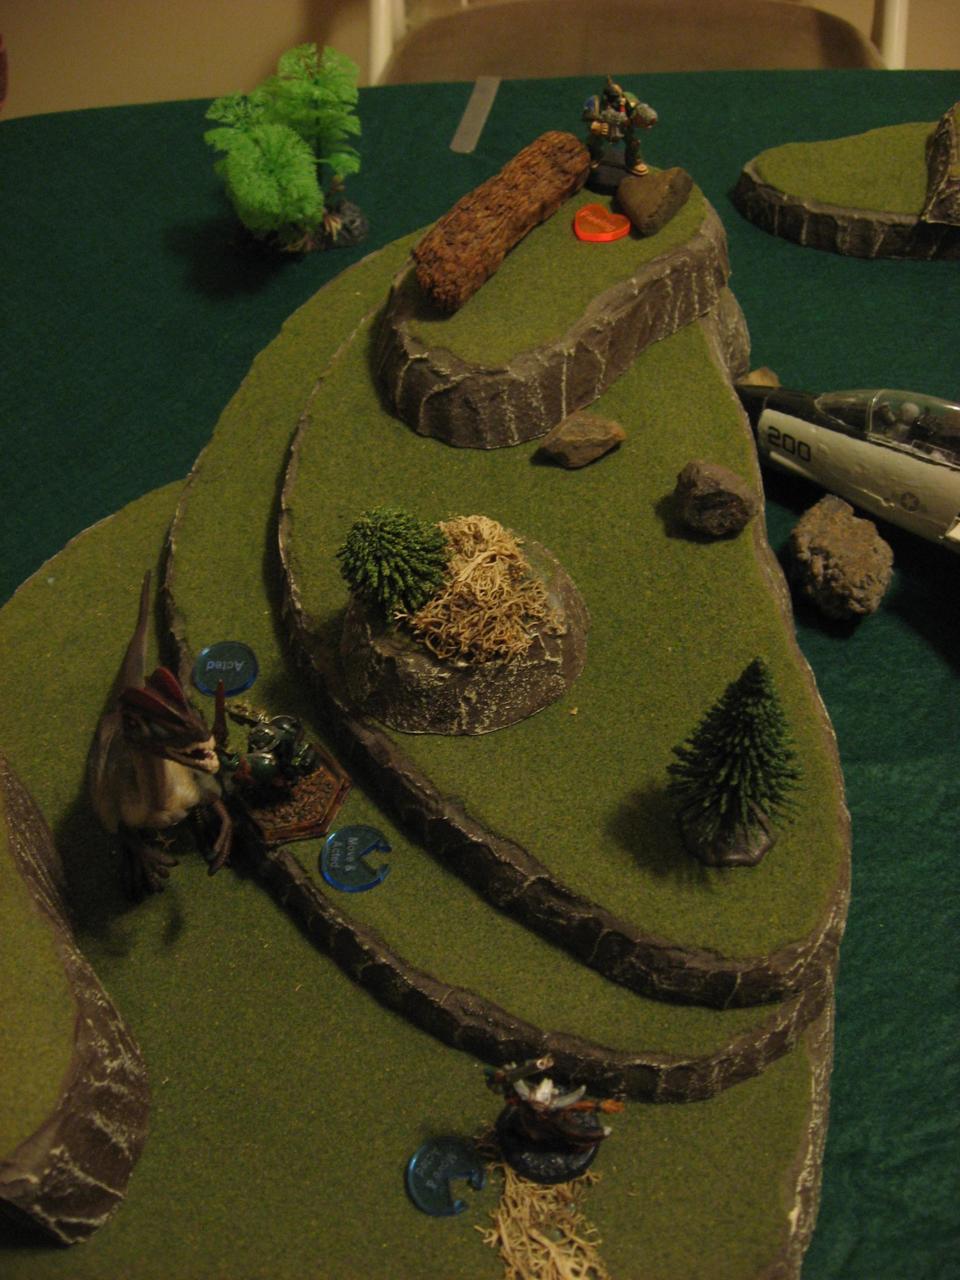
 The central feature of the table was the crashed and decaying F-14 Tomcat. I used a bunch of trailing rocks to make a slide/crash zone and hopefully give some sense of weight to the plane. The pilot was likely heading for the softer jungle at the edge of the table, but fell short and crashed into a solid stone hill. Otherwise an old corral/pen containing barrels and a sabertooth skeleton, a few hills and the usual trees, and the table was set.
 For this game Secret Objectives would be used. Specifically the Delta Commando Squad had to “Smash & Grab” the black box and engine pieces from the airplane. The Eastwood Rovers had to “Demolish” the same pair of objectives. And there was a main public Objective of “Capture” with the F-14 Tomcat being the contested objective.
 The black box and engine parts were represented by pieces of actual computer RAM, which looked pretty neat and fit well! They would have DEF 2 and HP 10.
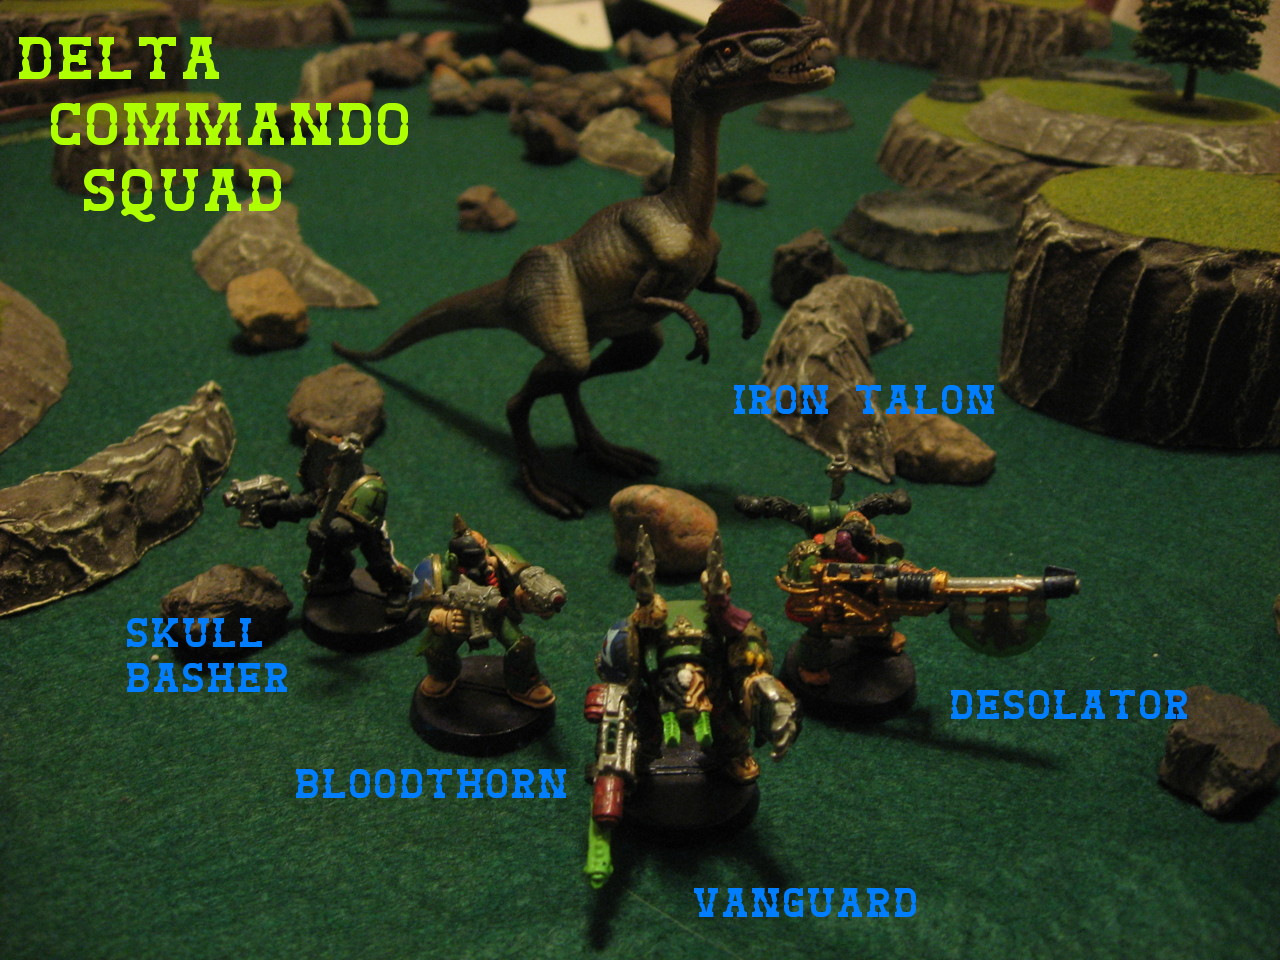

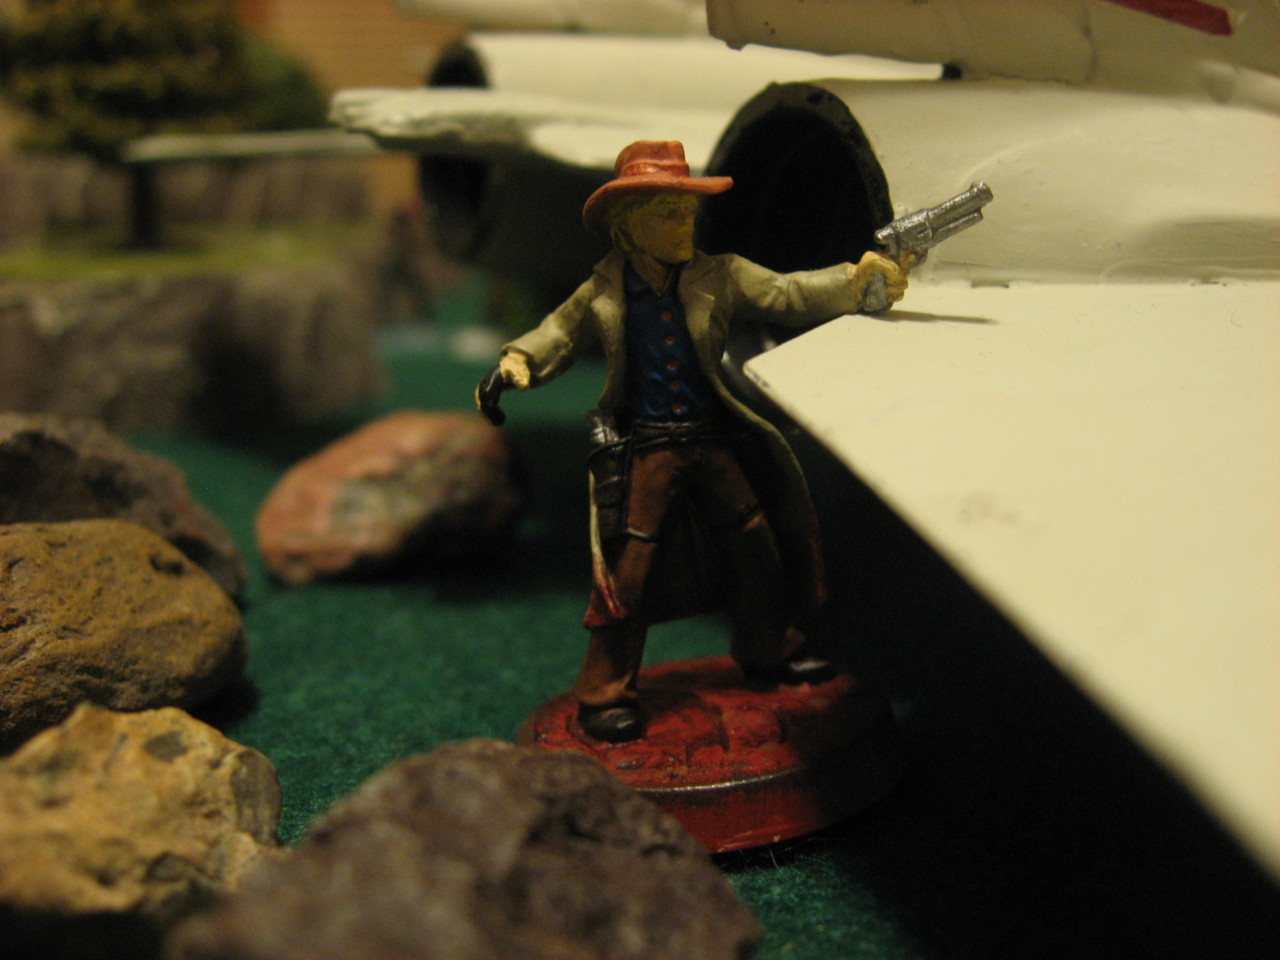
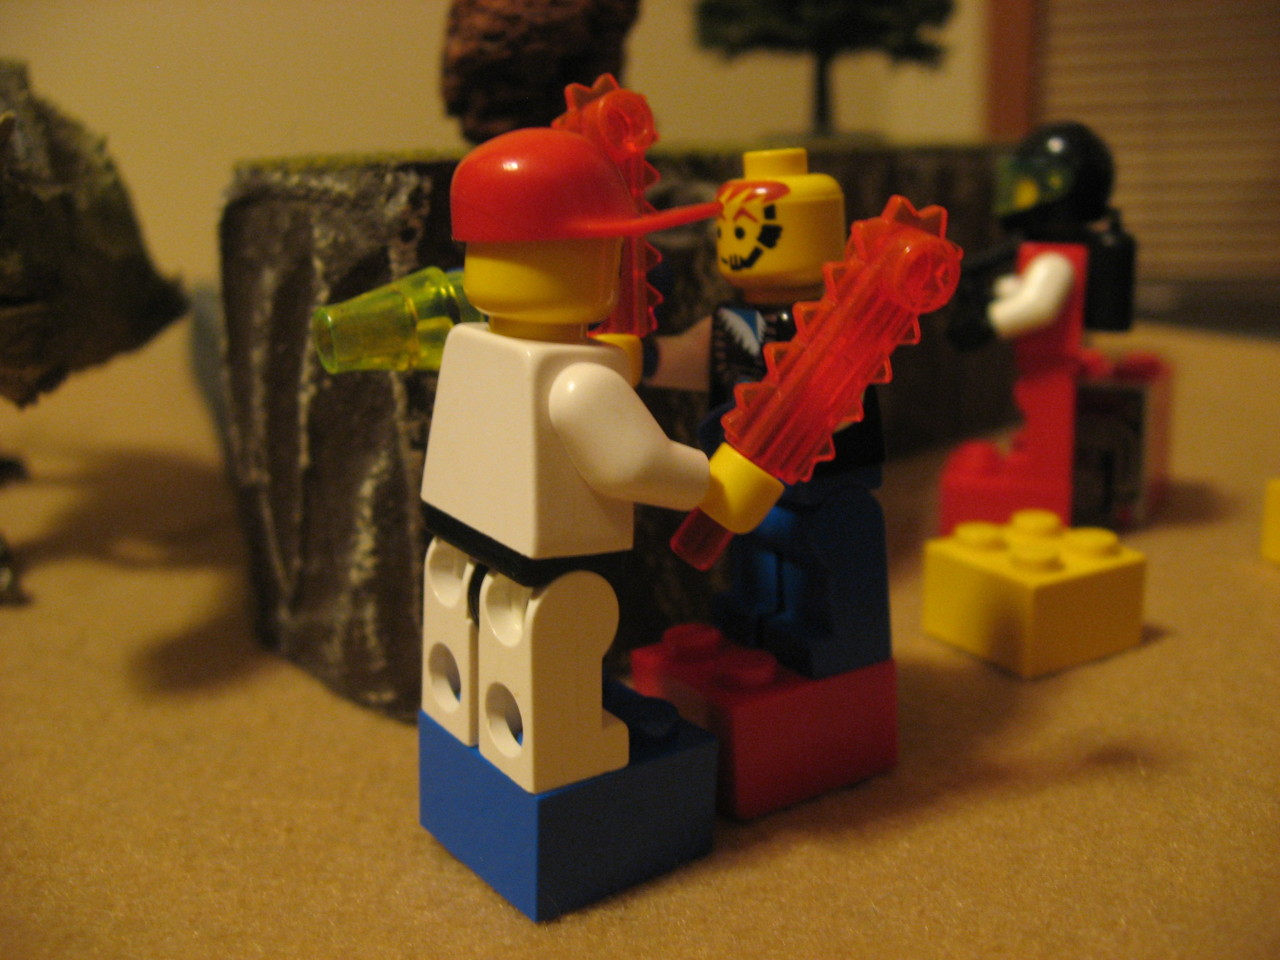
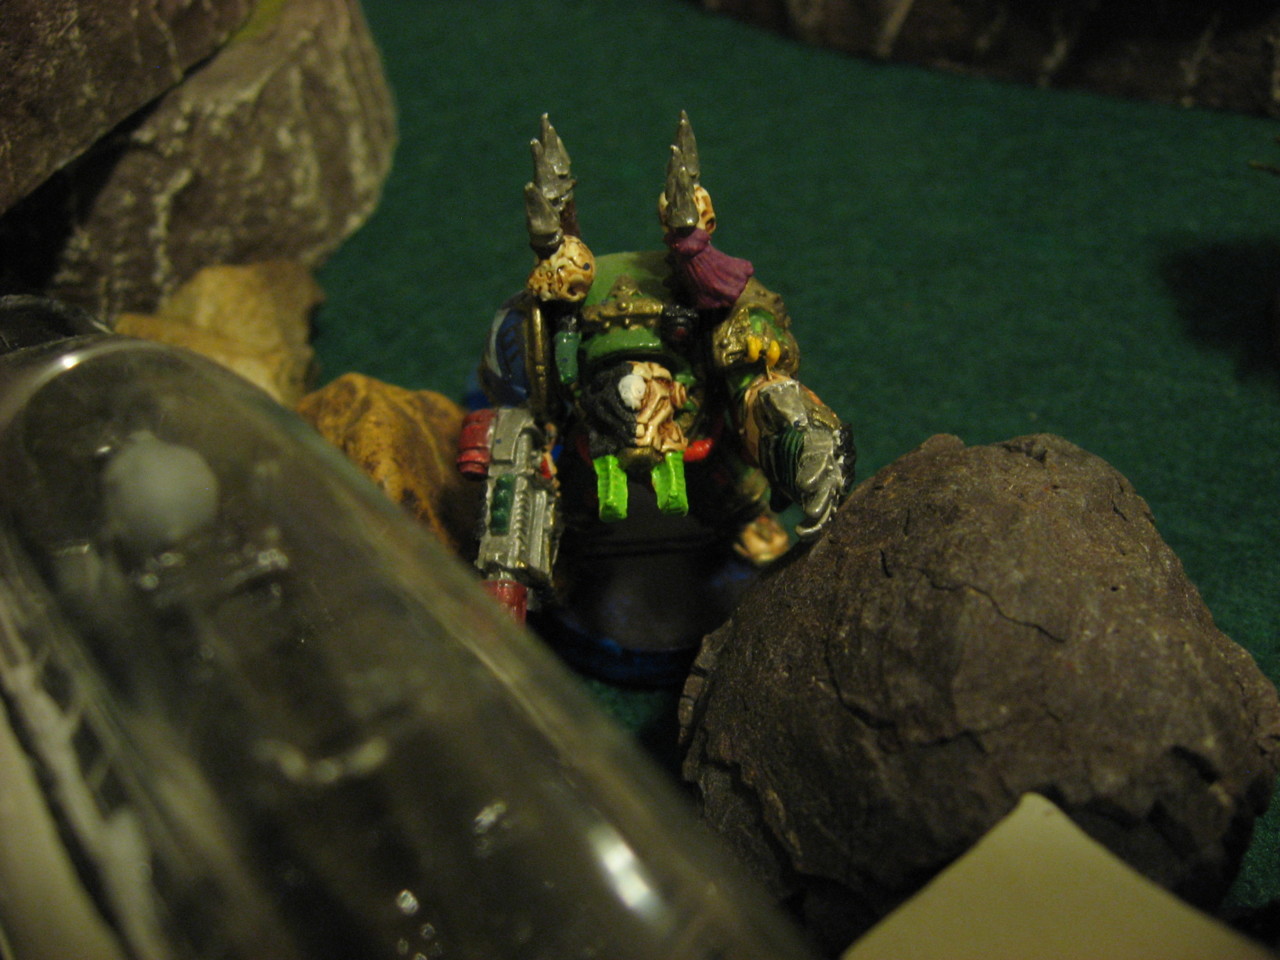
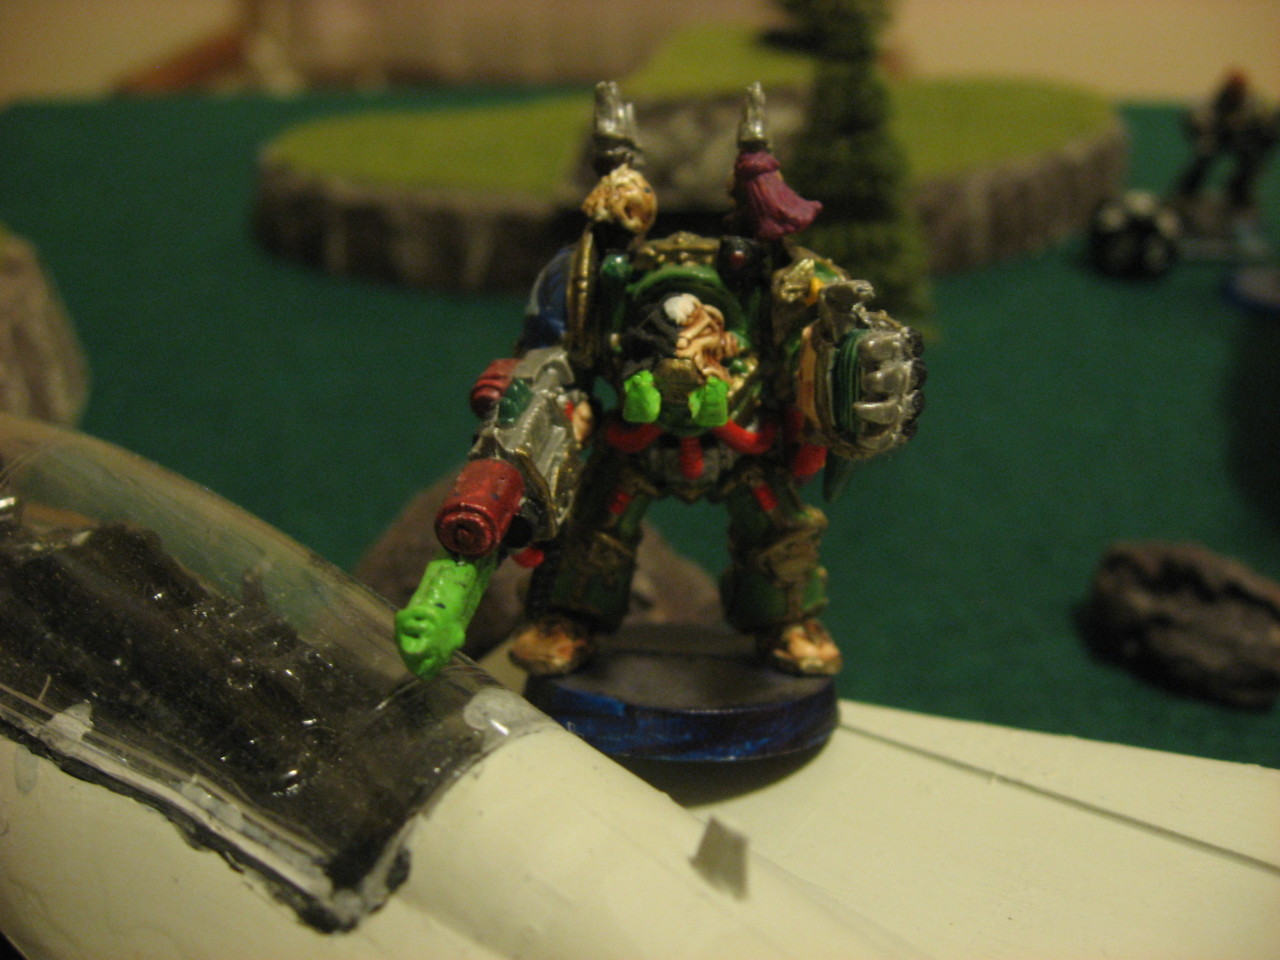
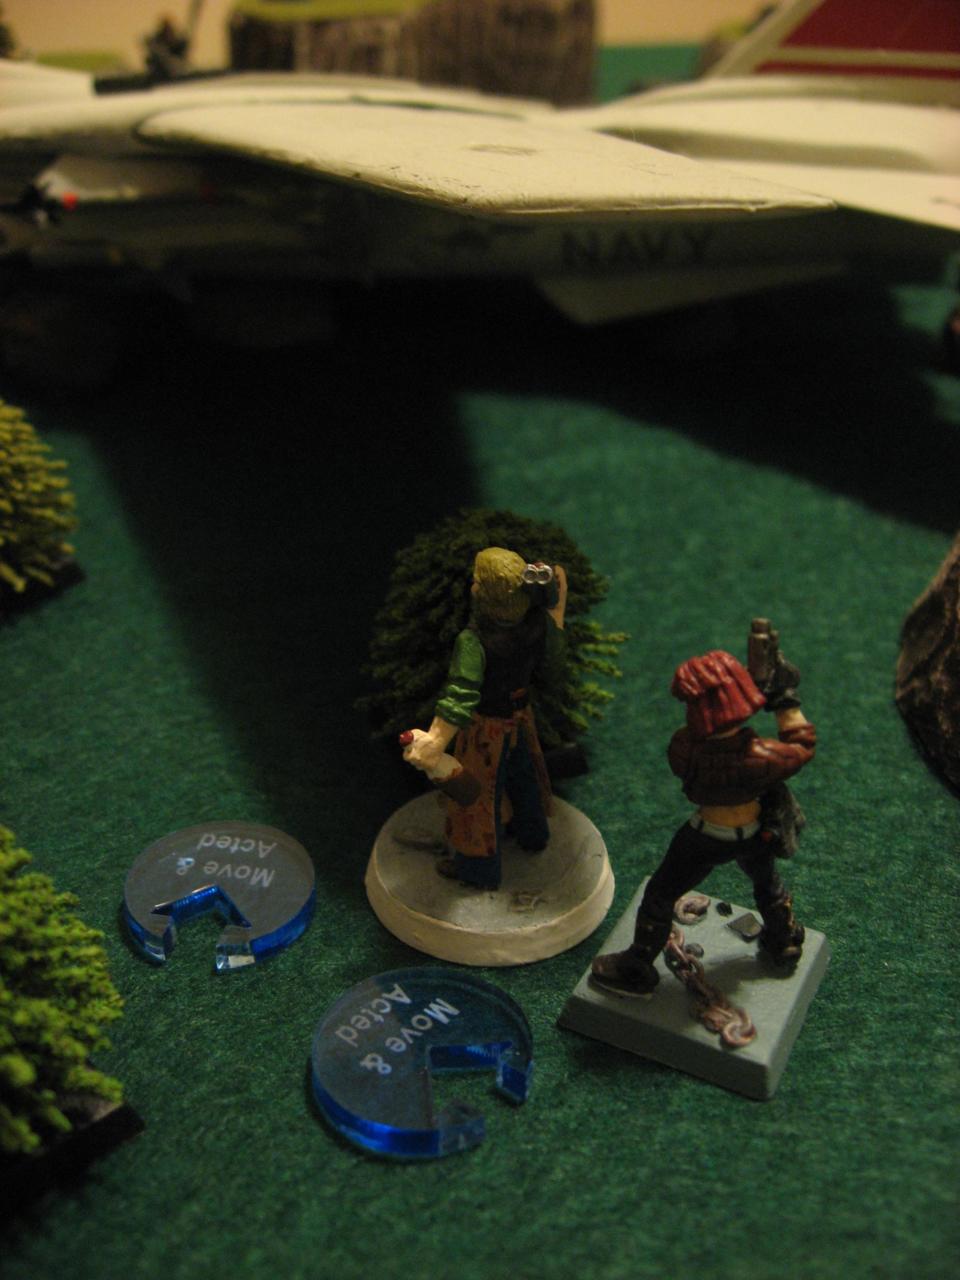
 I think this is the debut of one of my new-ish (notice a trend?) miniature that looks vaguely like Clint Eastwood from his spaghetti westerns. I mean not as much as another mini I have, but certainly a generic looking cowboy fellow. I had painted a “fan the hammer glove” on his hand, to help grip the hammer. Otherwise the miniatures should look familiar, except maybe the defector Plague Marine. He was actually from an old, old game I wrote called “Twilight” (yes, before the movies), which is why he’s customized for an RPG and on a hex base.


 Unfortunately for the Delta Commando Squad player, Iron Talon had a 1A-5D claw, Eiger had 6 Hitpoints, but because Iron Talon had 1 Panic he suffered -1 Damage. Amazingly though the attack was a Critical hit, resulting in exactly 6 damage, so Iron Talon killed Eiger. But Sister Sara was quick to finish up Iron Talon, similarly killing the wounded beast.


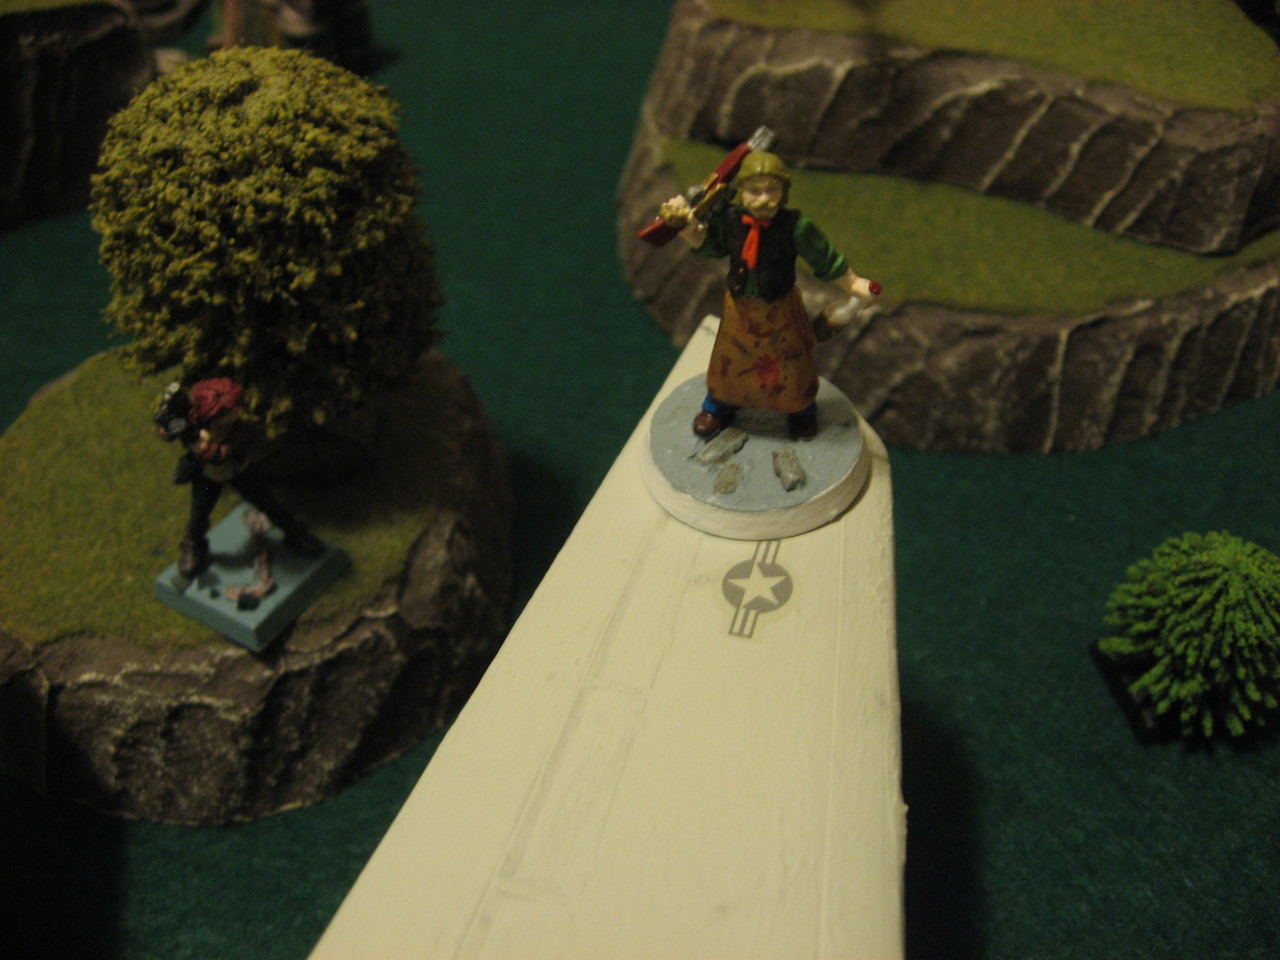
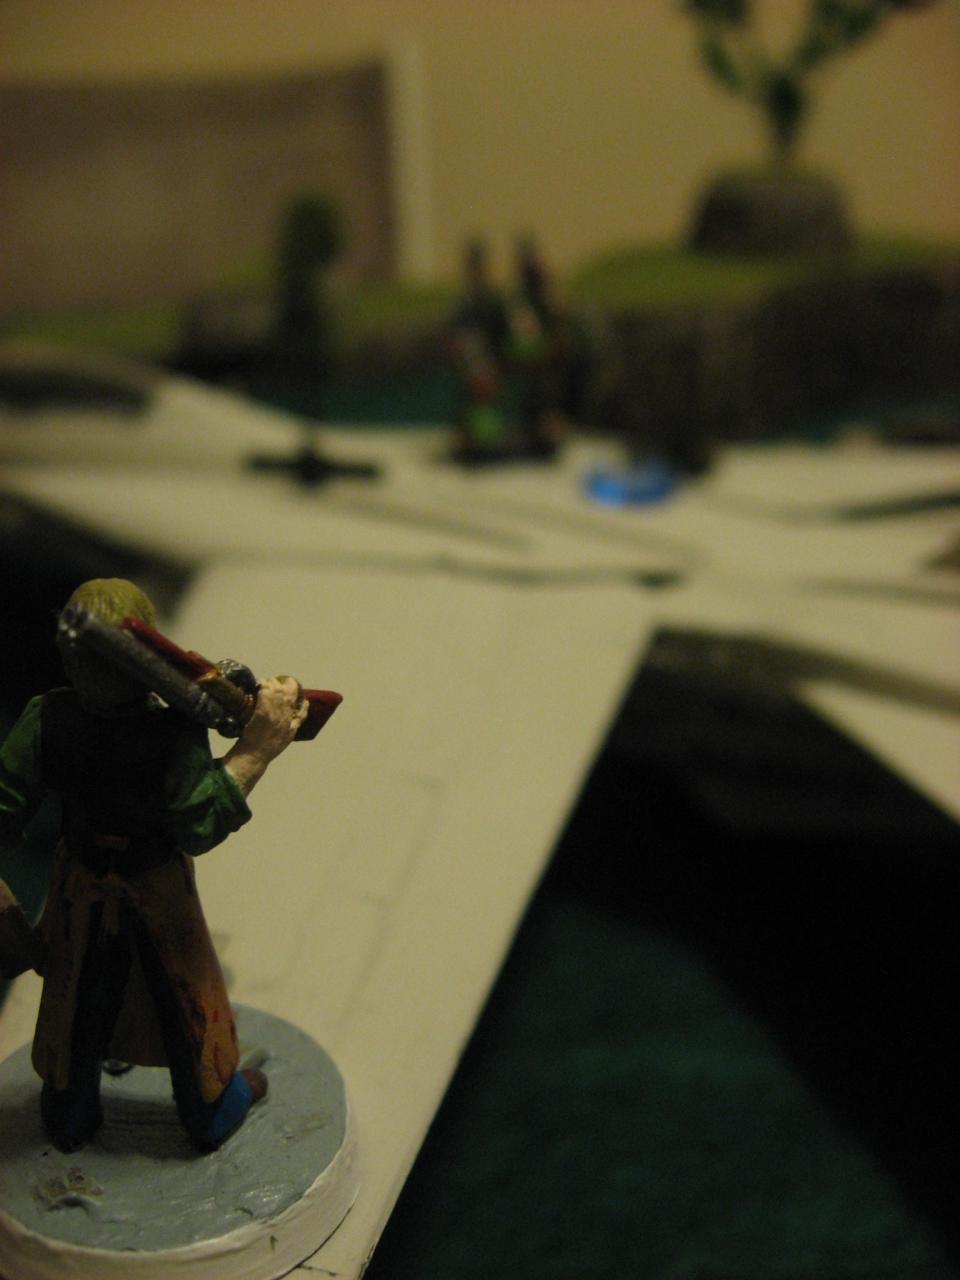
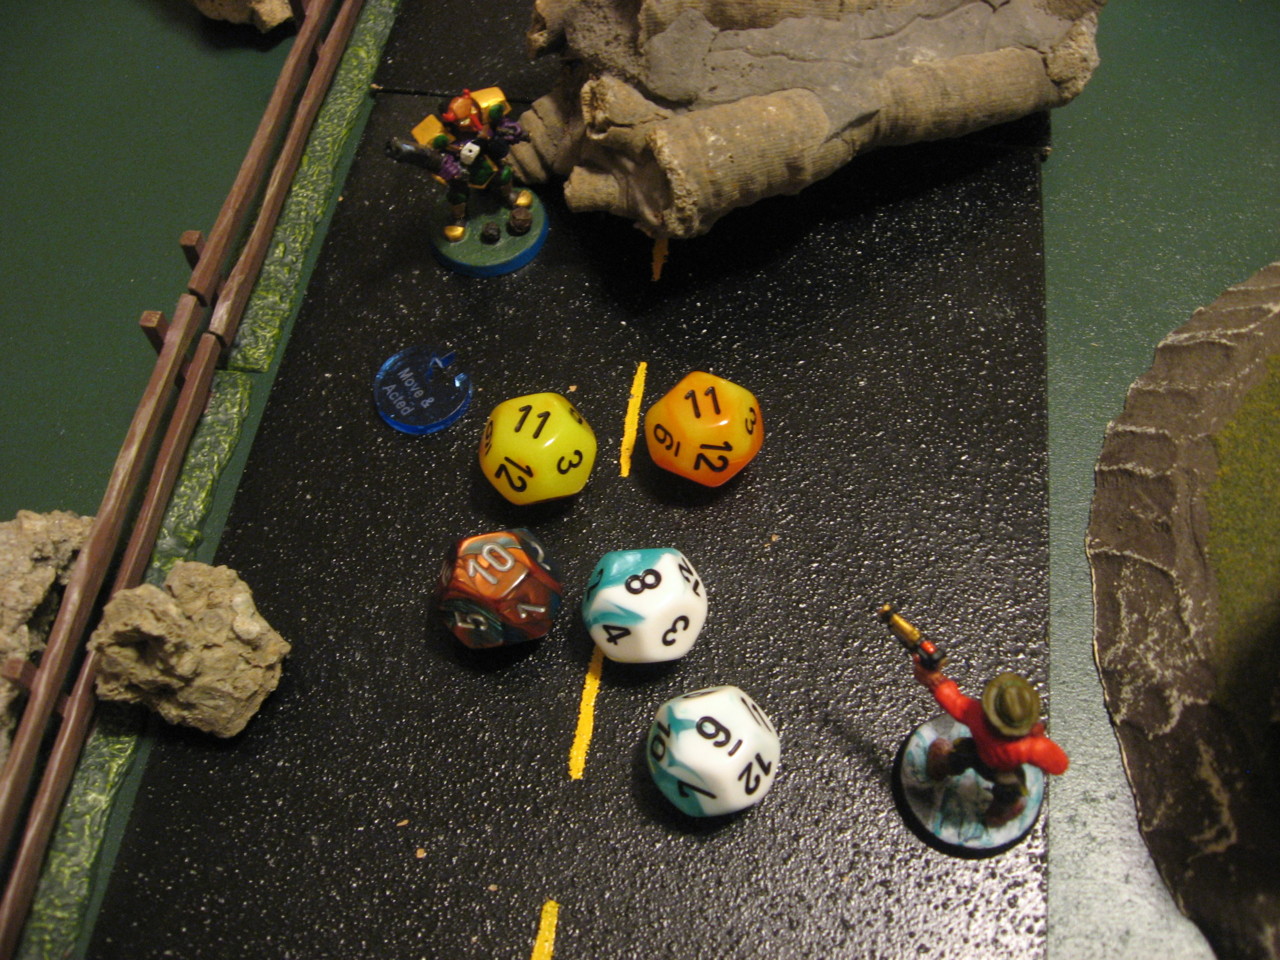
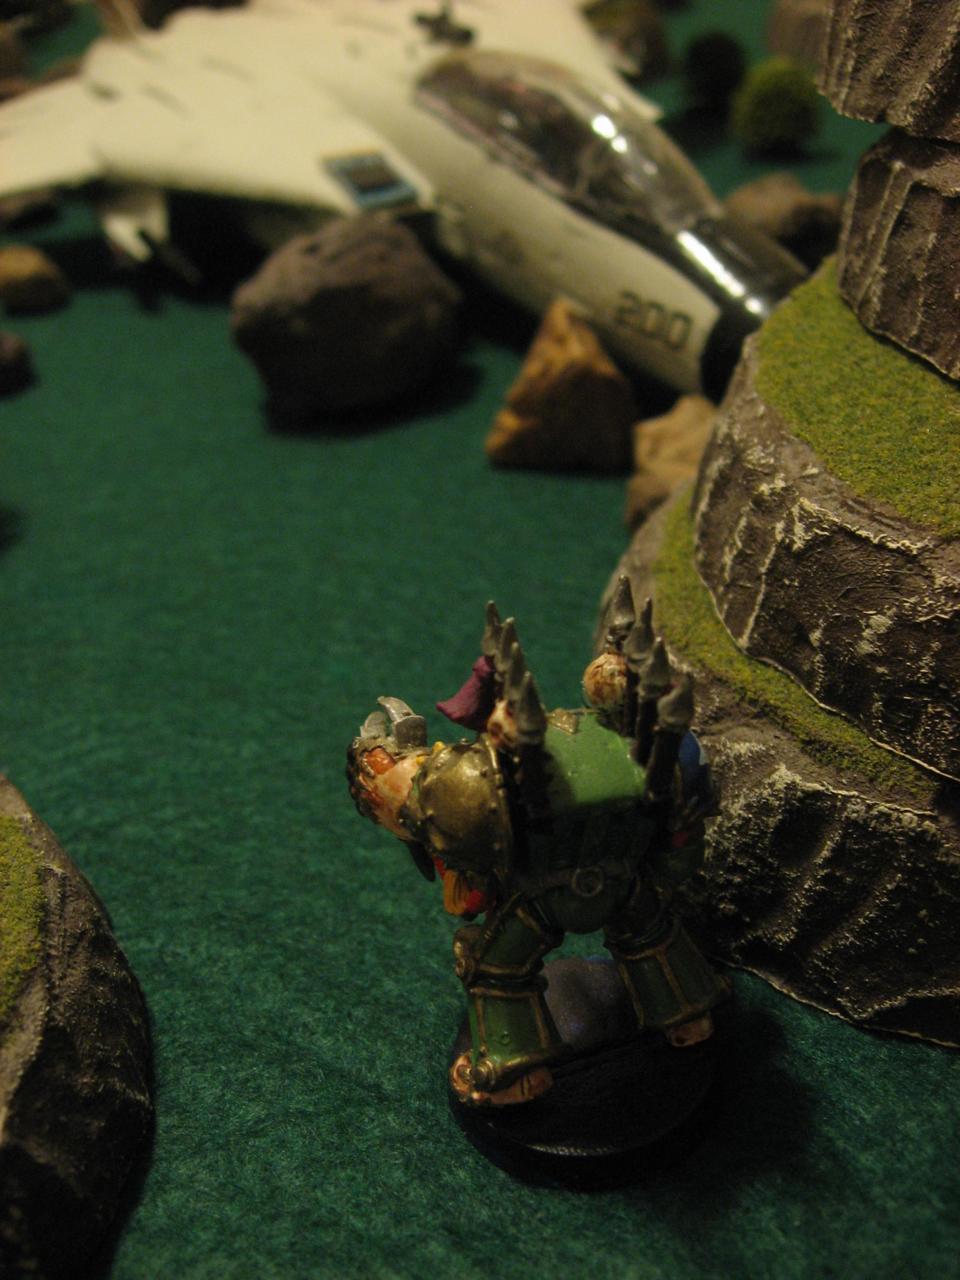
 So far Dominator has been called a defector. But from the Delta Commando Squad point of view, he’s a stone cold traitor. The voodoo of dice agreed, as Bloodthorn lined up a pretty tough shot from his elevated perch. Then proceeded to 1-shot Dominator with an amazing roll. He hit for 10 damage, and Dominator only had 8 HP. So that was a surprising turn of events.