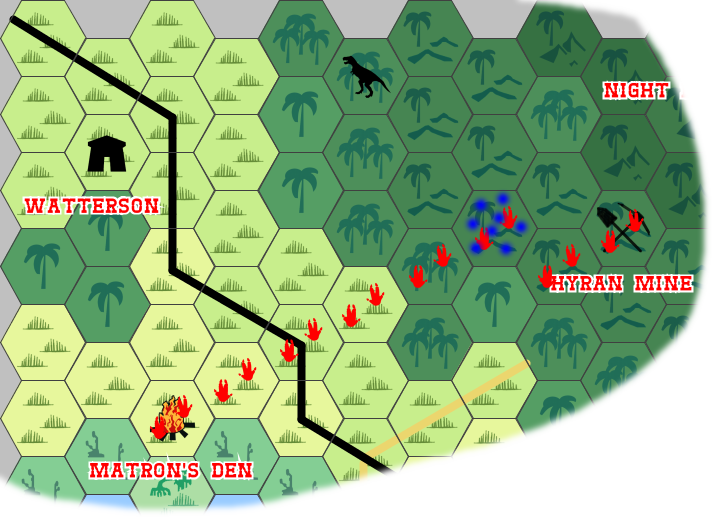
Another thrilling adventure in the Windy River test campaign. In this case the Drylands Expedition posse had just reached Hyran Mine, after facing some roving Savages mere hours ago.
The land had slowly been turning from lush jungle to blasted lava rock with looming hills and sparse vegetation. As the posse approached the mine they heard the roar of dinosaurs, blasts of weaponry, and shouts of command. Hyran Mine was under attack!
This was my second Dinosaur Cowboys game in my new games room, hooray! This was also one of the most…swingy? games I’ve played yet. Just when I thought one side was out of the running they’d make an impossible shot to come back. Definitely edge of the seat every turn. The game was also longer than normal because multiple posses were involved. As with any “natural deploy” scenarios I found this to be very thematic and fun, much like the older campaign game where a caravan was ambushed.
Encounter Overview
I wanted a large conflict at the mine representing a raid by the Night Dagger bandits (who camp across the mountains). So there would be two posses of Night Daggers involved. The first would be a complete and valid posse, aptly named Night Daggers Attack Force 1. The bandits would deploy on a random long table edge. They would be fighting Lynn and her gang named the Hyran Mine Defense Force, who deployed as if they were hauling ore and not expecting an attack.
At the start of turn 2 the Drylands Expedition would finally reach the table and deploy on the long table edge opposite the Night Dagger Attack Force 1 deployment zone.
Then at the start of turn 3 the Night Daggers Attack Force 2 would deploy from the short table edge furthest from the mine, to represent them being a second wave fresh from the bandit camp. Most importantly the Attack Force 2 would have “Toxic Guns” (same stats as the Auto Shotgun). The idea here is they are trying to capture a few Savages to be their own slaves. This second force didn’t have a Leader, and was just three people with the special guns.
Toxic Gun: Same statistics as “Auto Shotgun”. Anyone hit will receive a Wound (unless they get an antidote in 24 hours), and will automatically be considered Taken Out of Action at the end of the game (even if they were still alive).
Table Setup
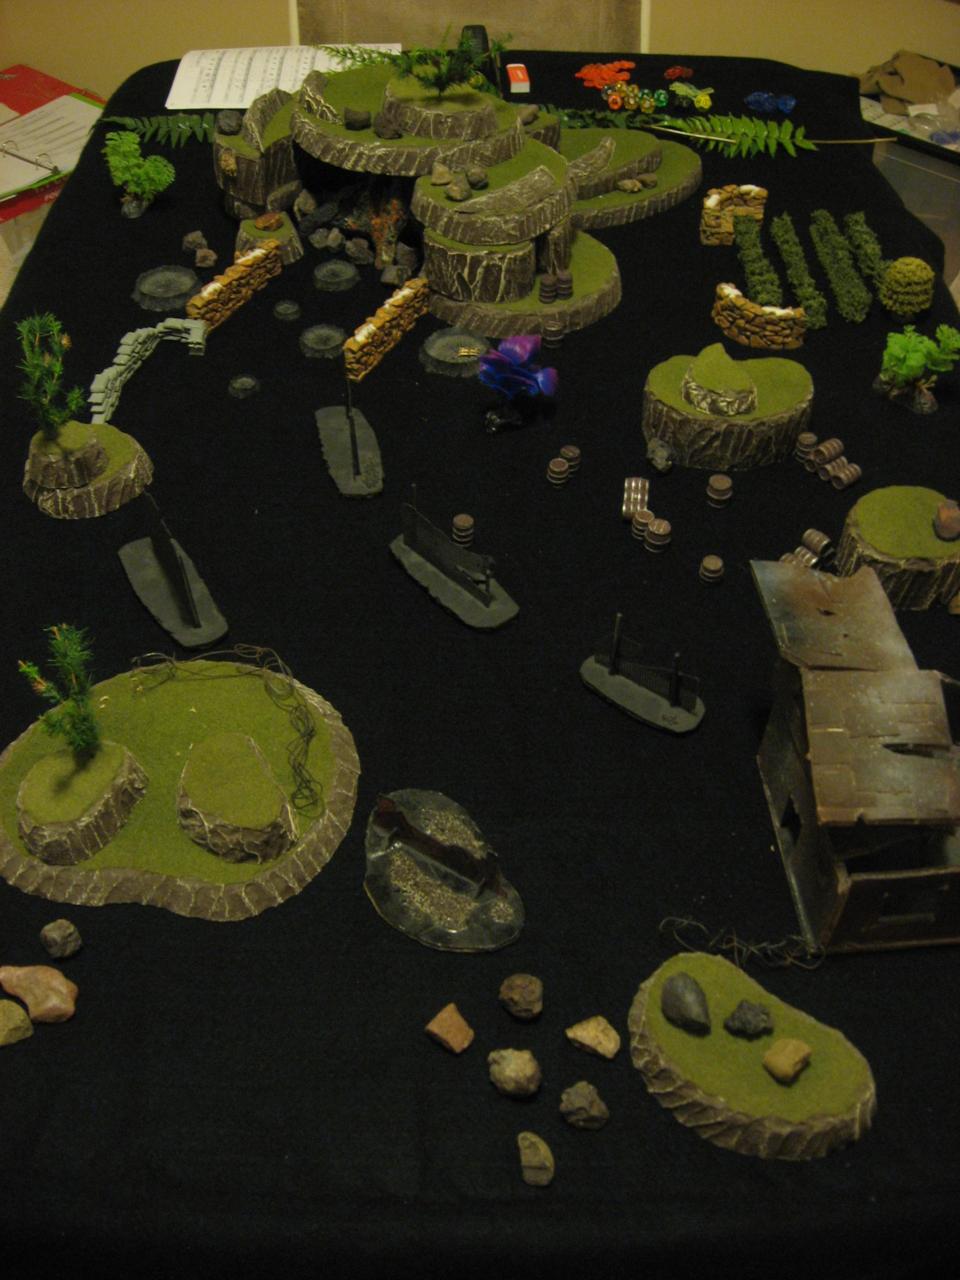
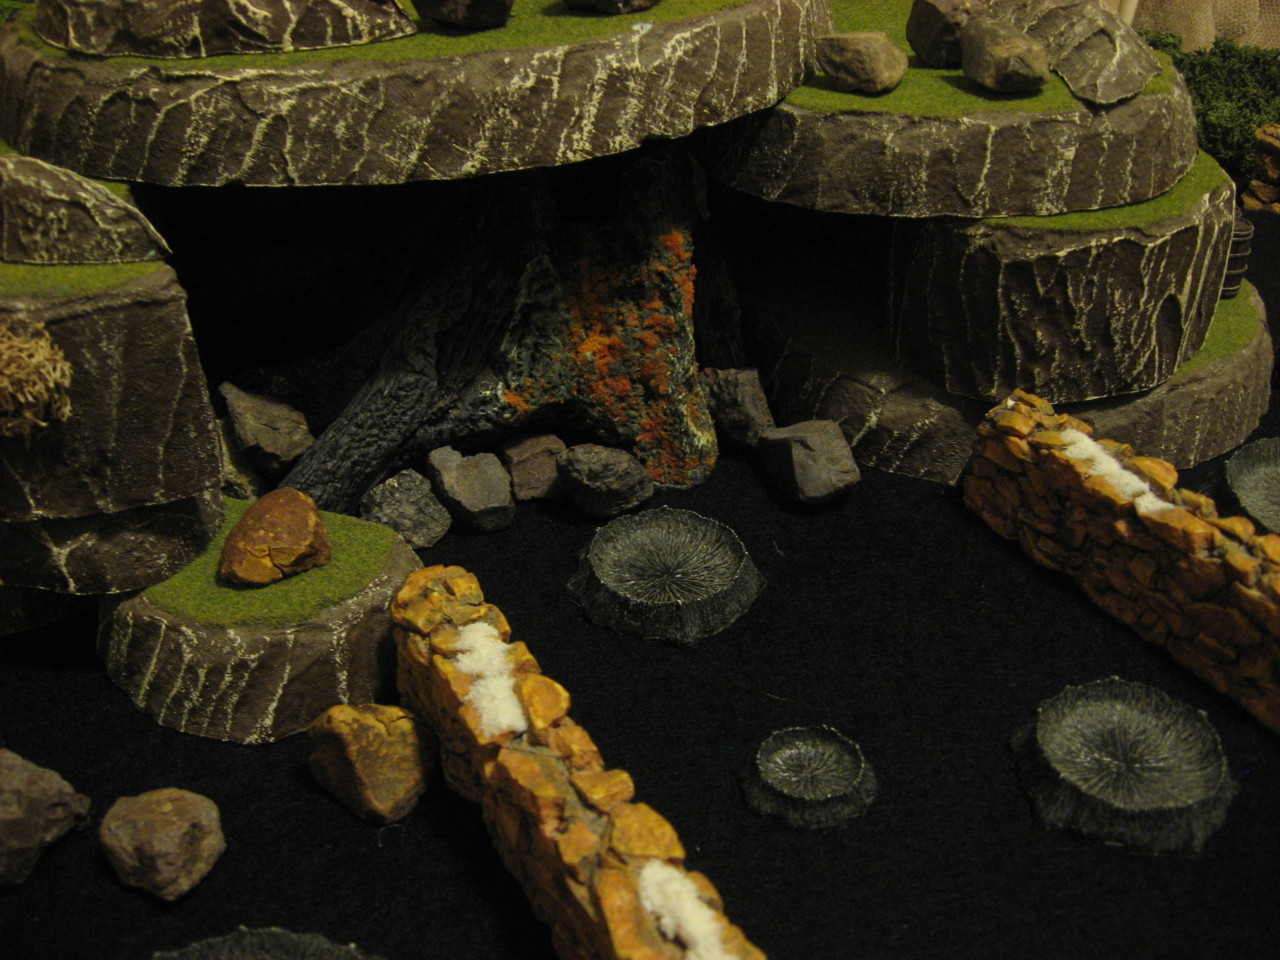
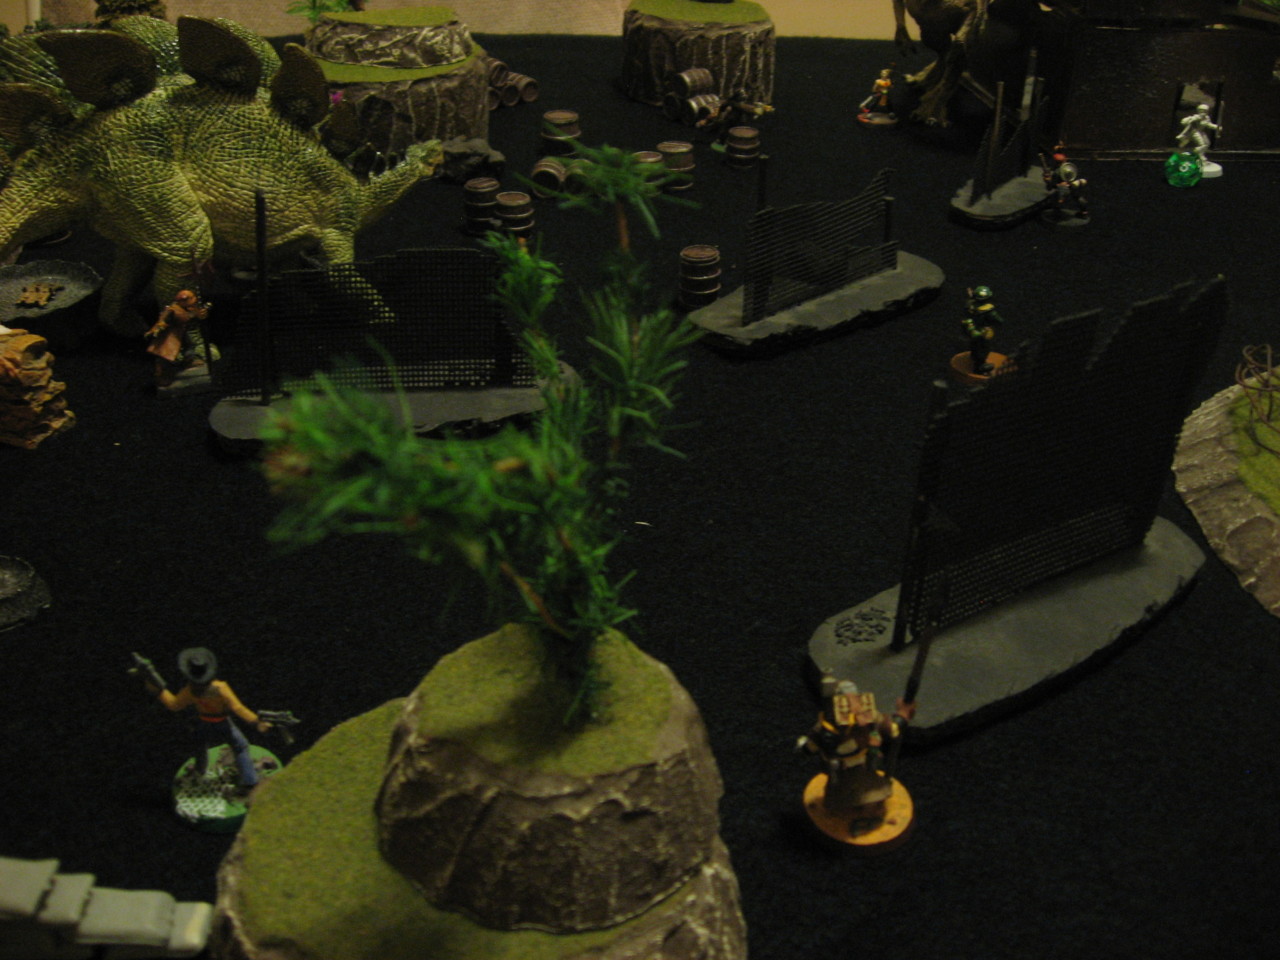
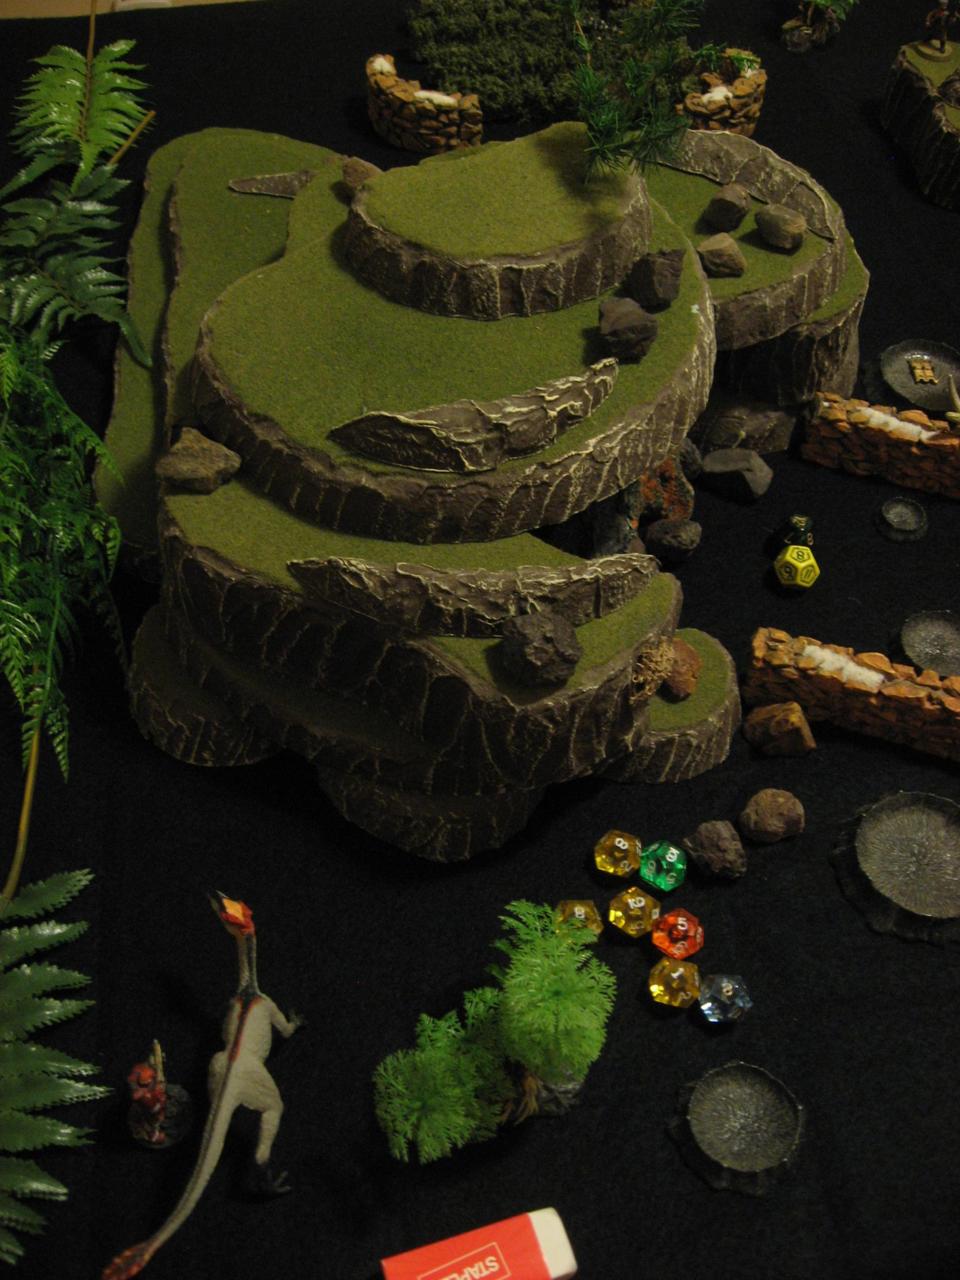
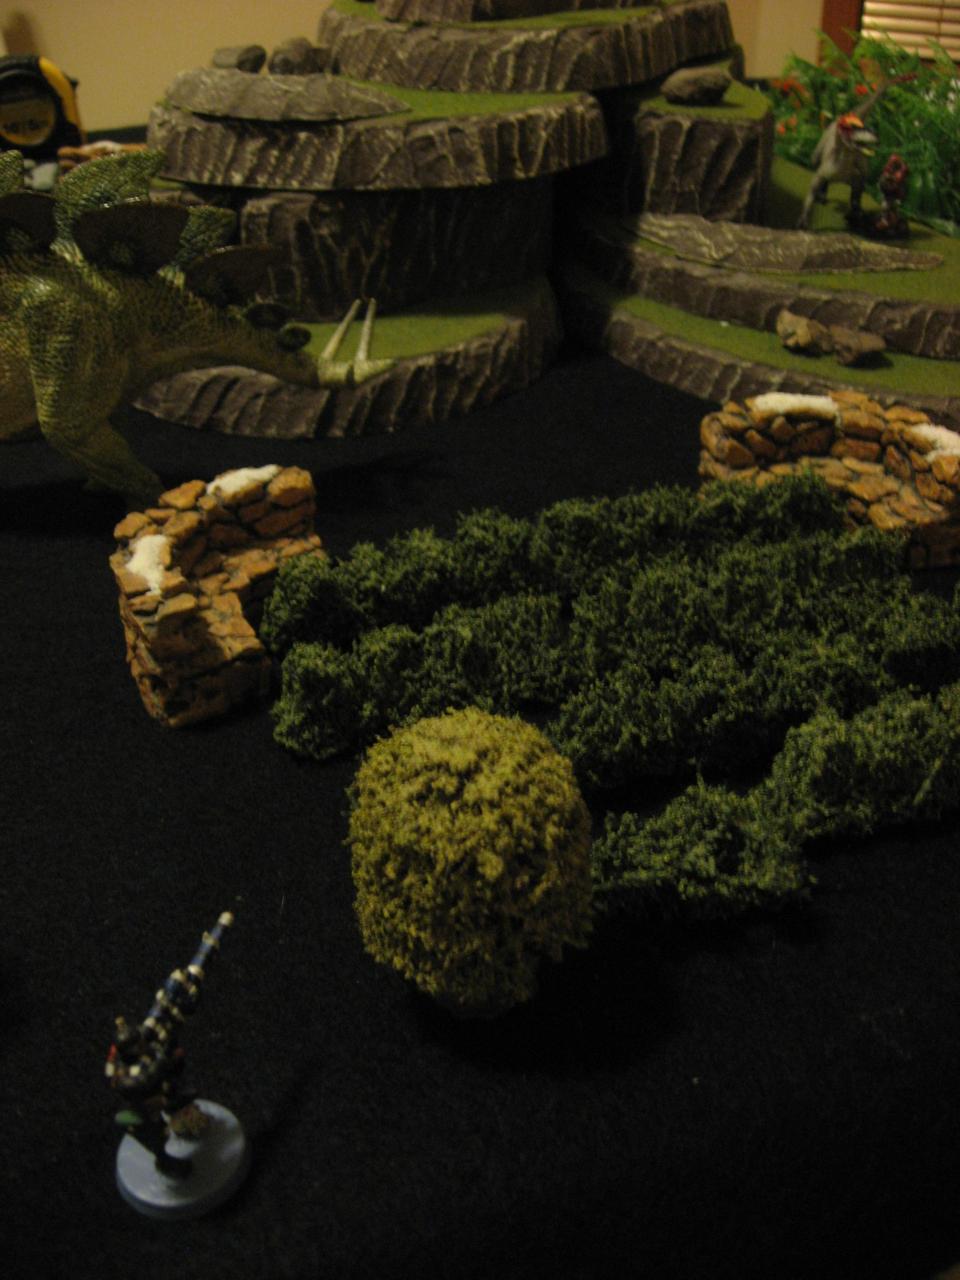
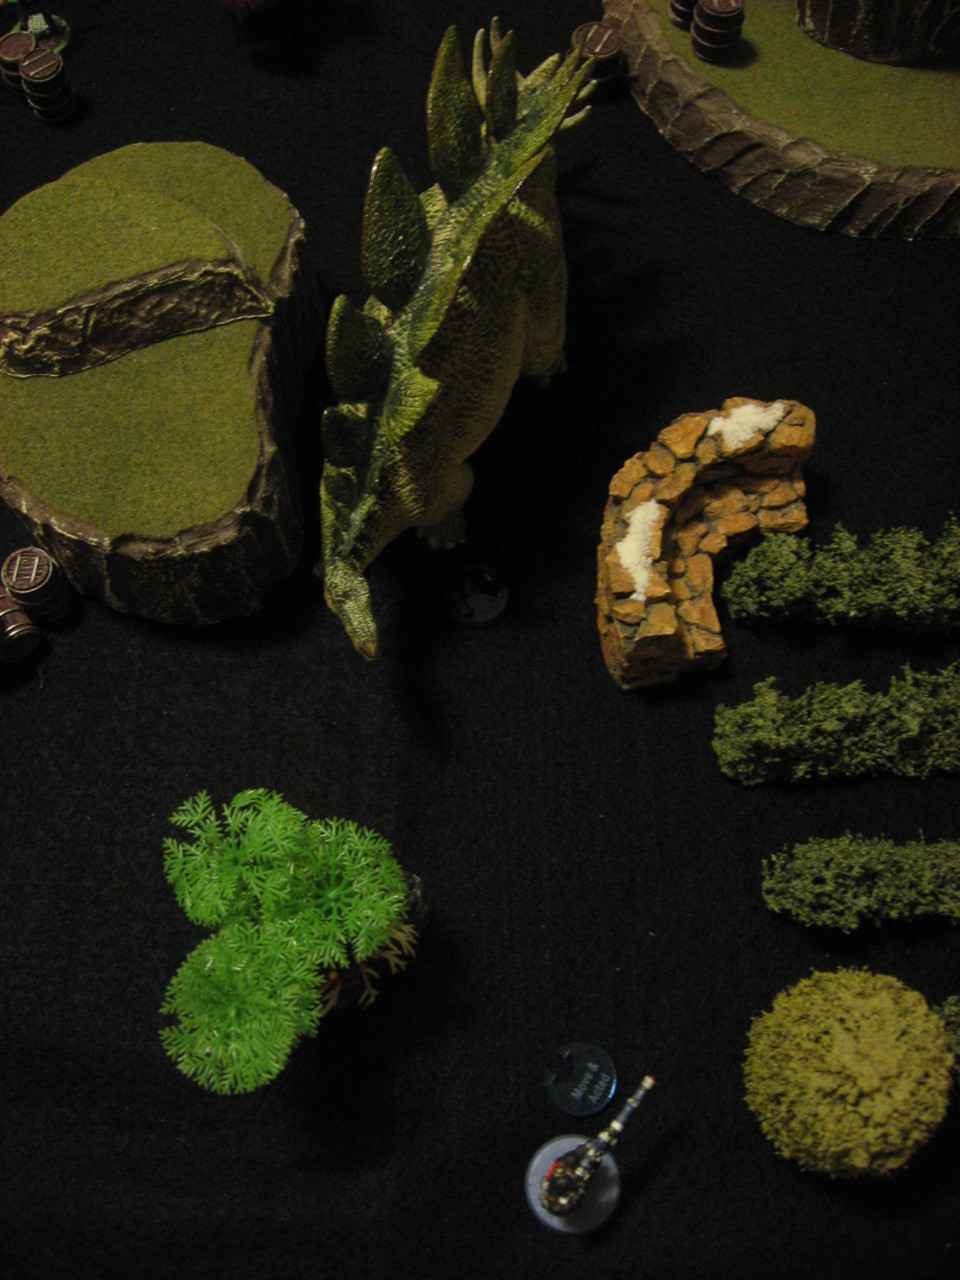
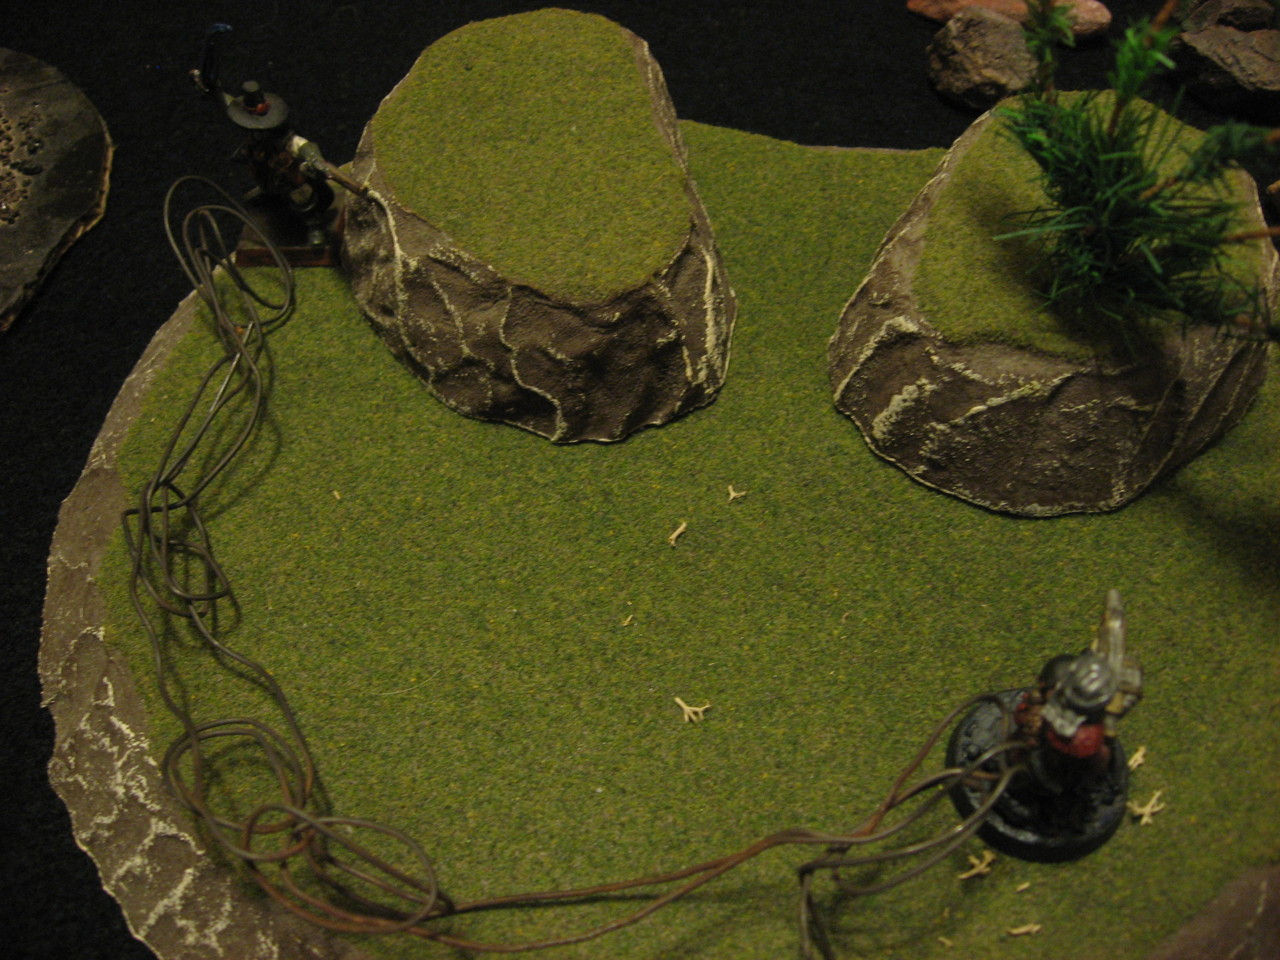
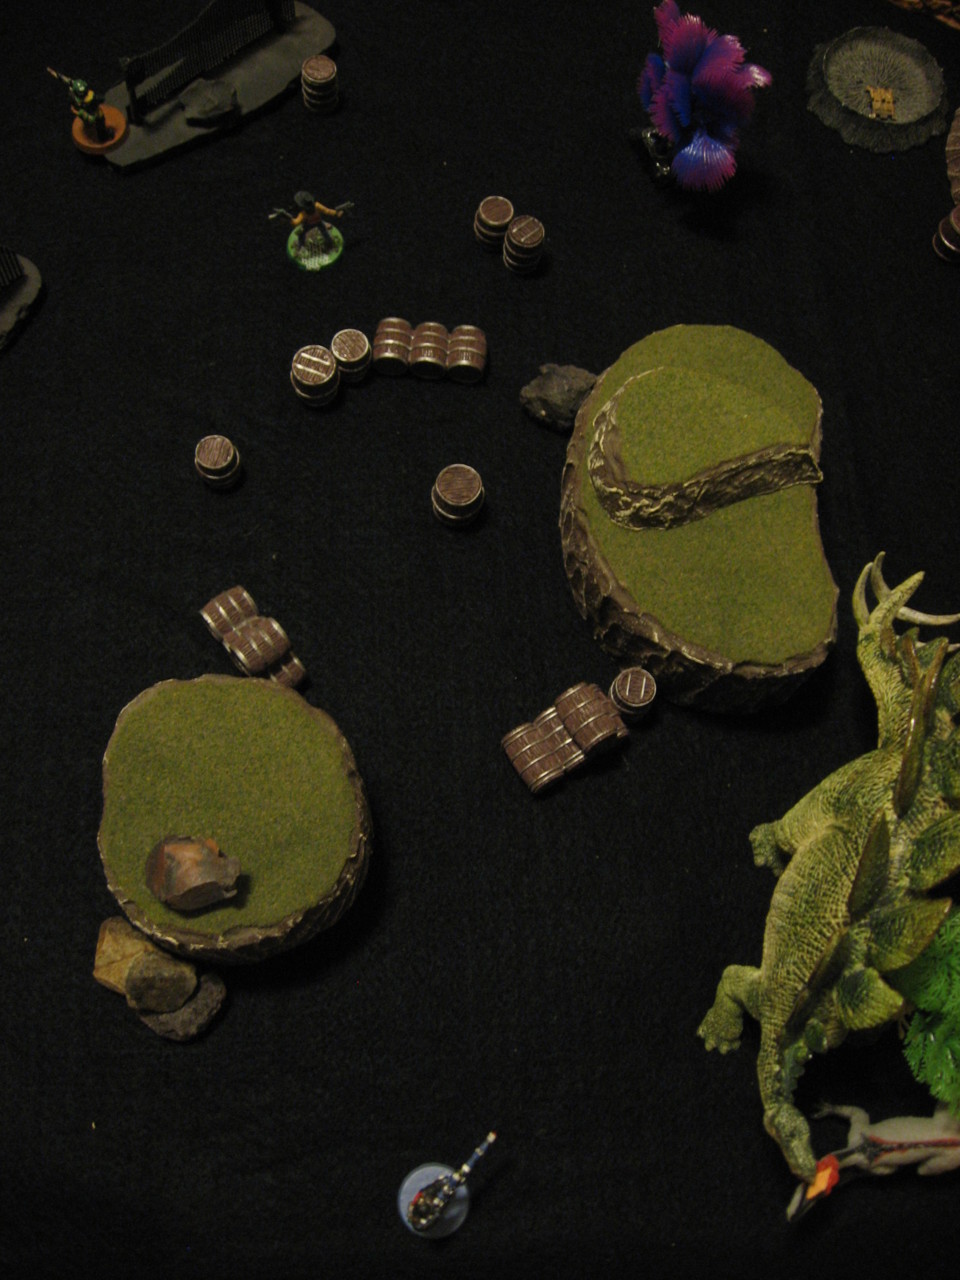
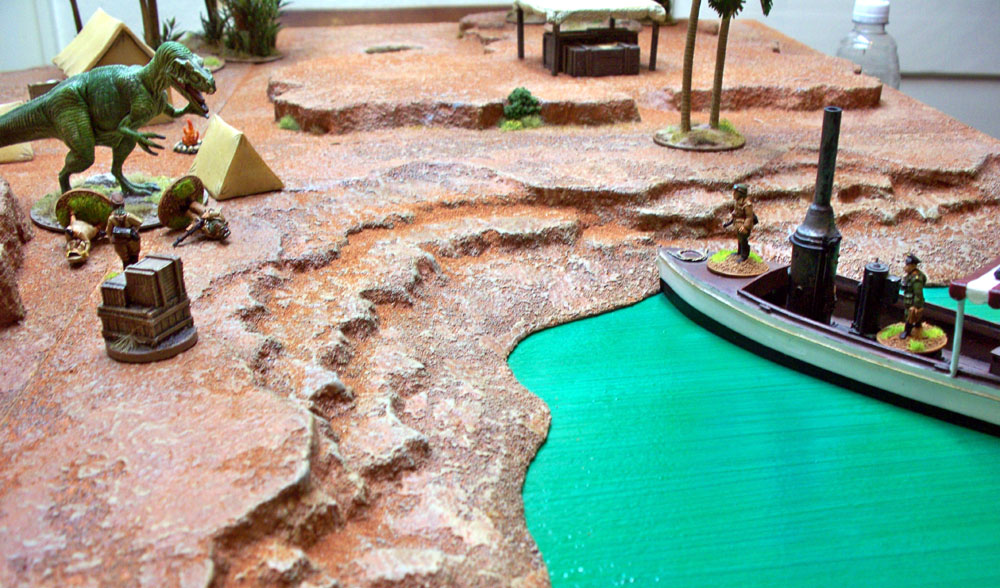
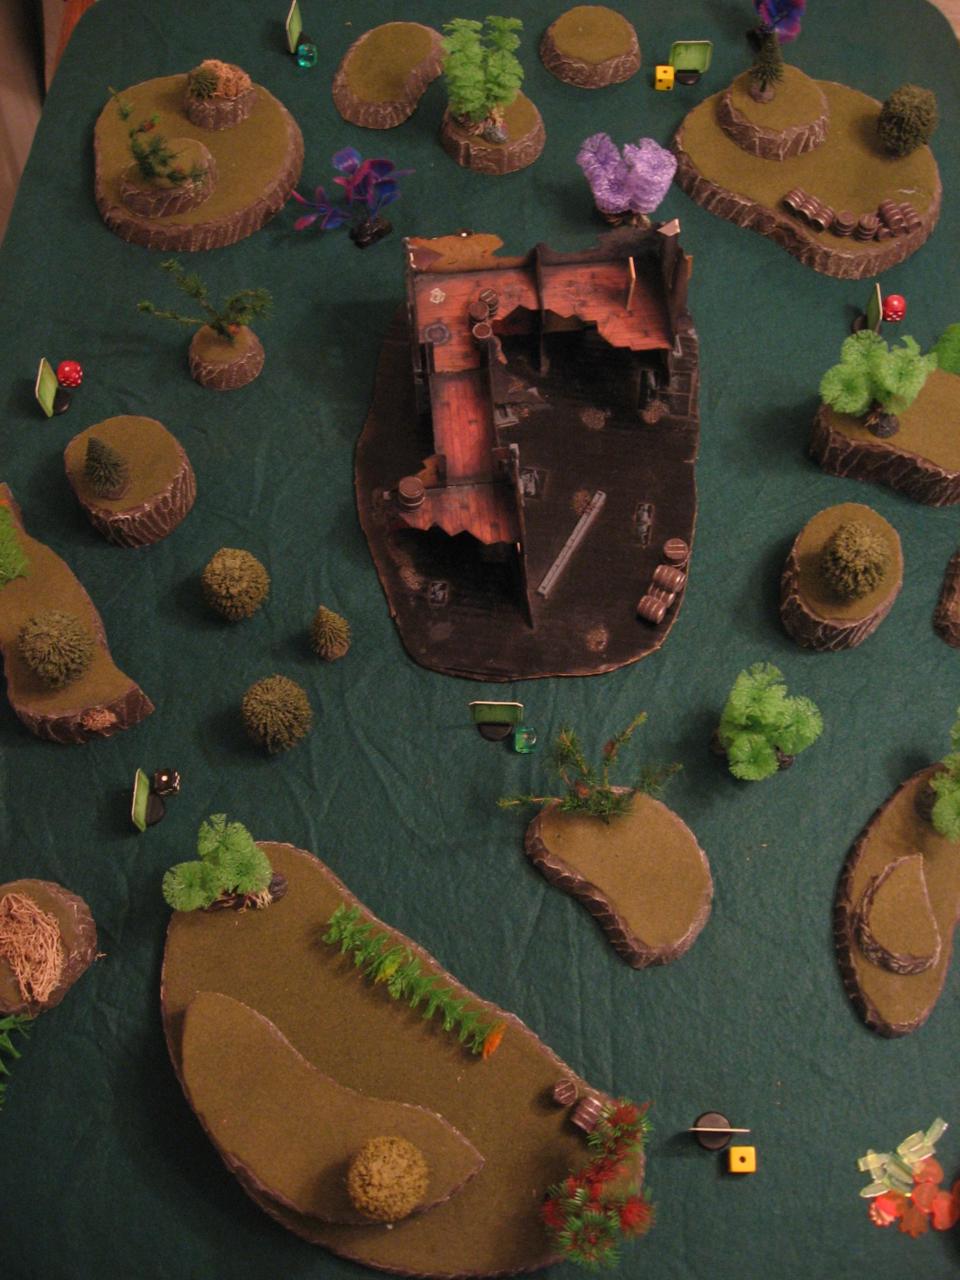
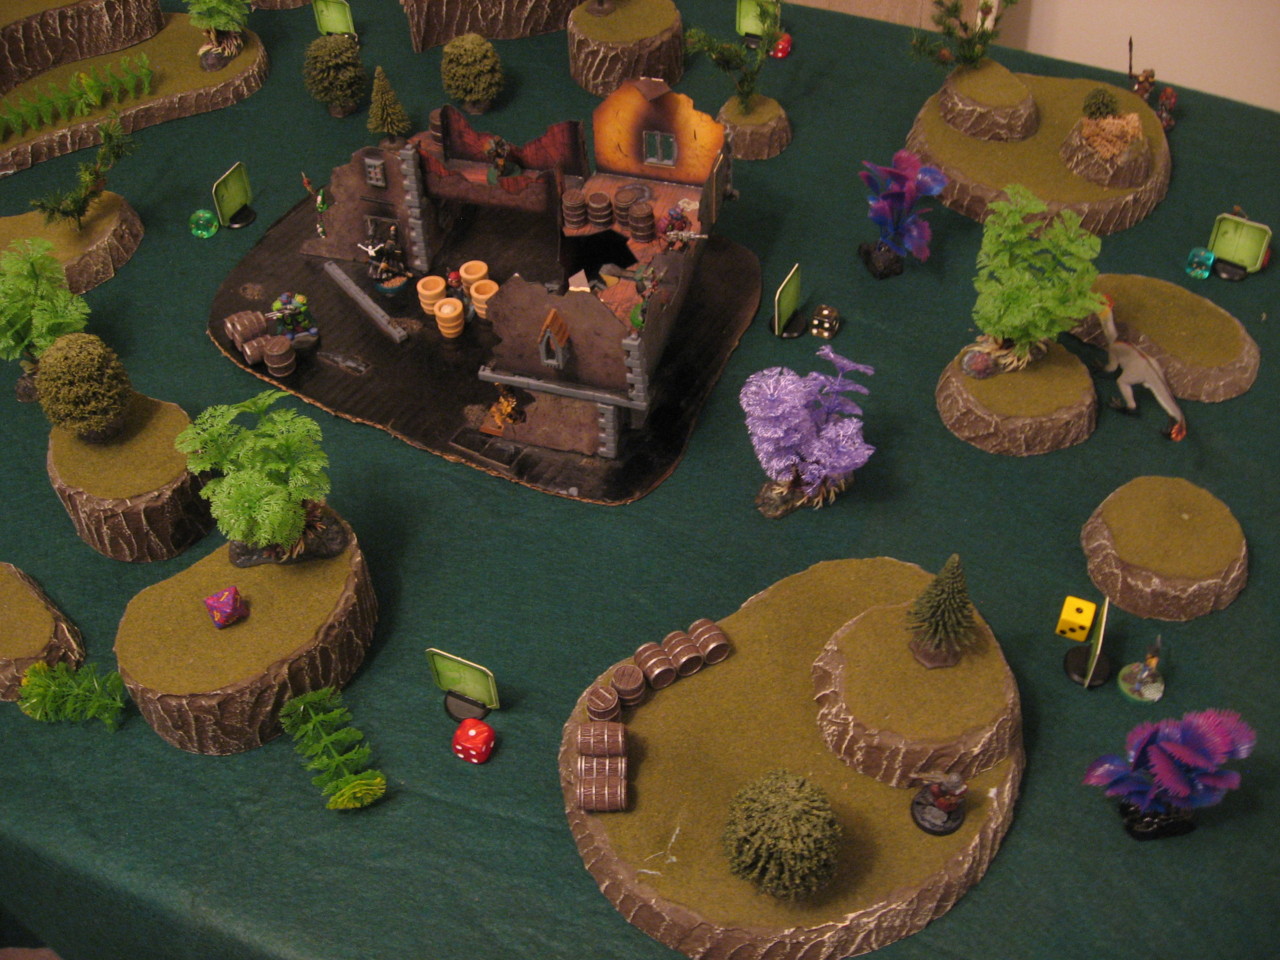
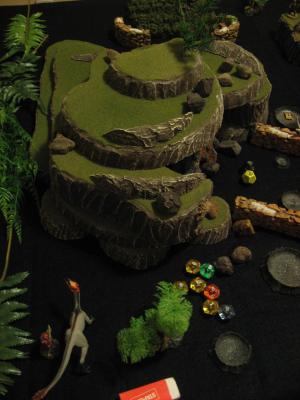
I went for a thematic table setup, with stacks of terrain covering my aquarium volcano piece to sort of look like a mine. Then a long, loosely barricaded road leading from the mine to the foreman office (where Lynn lived). I put an orderly orchard in the corner that sort of ended up looking like an Italian vineyard. I also created a little supply area with tons of crates and barrels. Otherwise the terrain was pretty open with a few rocks and hills scattered here and there. As much as I love trees for scenery I tried to keep the total number down to represent the rocky nature of the mine. The actual mine was technically a “Gold Mine” Feature from the rulebook, but everyone was so busy fighting for their lives they didn’t have time to grab any extra Neodollars in raw ore.
General table overview

From left to right: Mine entrance, ore hauling road, crop orchard, supply cache


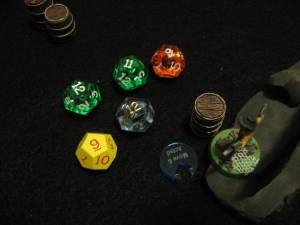
Posses
Drylands Expedition (0/152 IP, 75/1700 ND): (PDF Roster) This posse should be familiar to anyone who’s been following the campaign. The latest upgrade was a Heavy Repeater for Gibson Crawford and a smattering of Hitpoint boosts.

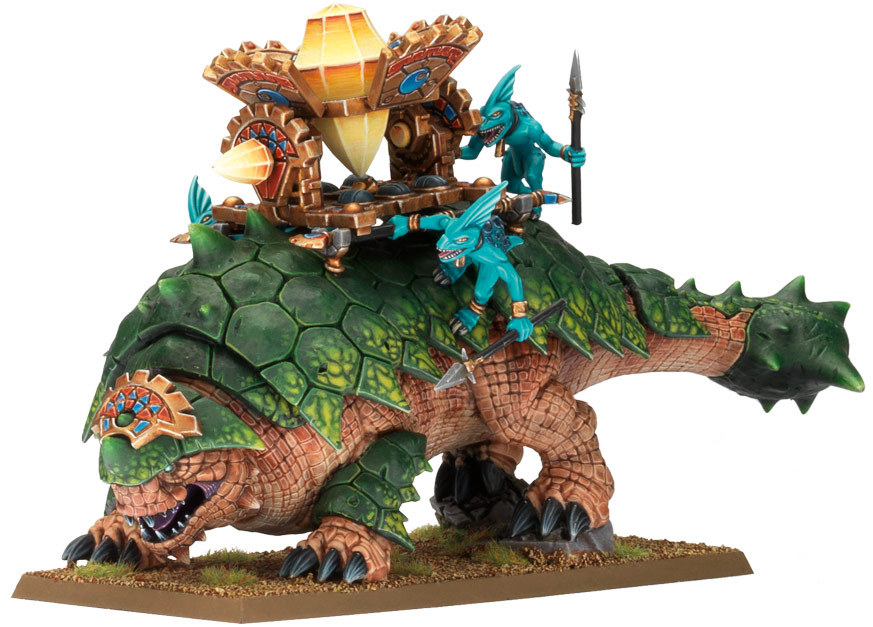
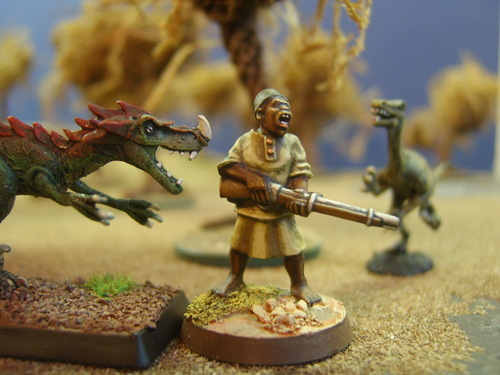
Hyran Mine Defense Force (211 IP, 2160 ND): (PDF Roster) This posse would be treated as an ally of the Drylands Expedition, so they’d both use the same Initiative roll, could share Yeehaws!, apply beneficial Trait abilities to each other, etc. I went with a realistic mining force that was caught unaware compared to an optimized roster. Lynn Hyran is the leader so the “Rally” trait made a lot of sense for her. One of her guards is named Emmitt and he got a nice Double Barrel Shotgun for keeping the Savages in line. Then three indentured Savages, from those captured in a raid to others serving a crime sentence from the towns on the plains. Their names were somewhat stereotypical with Falls Hard, Cough of Thunder, and Many Stones. They had a variety of crude melee weapons and tools for mining (like a Bundle of Dynamite). The dinosaur for this posse is “Ore Hauler”, a Plated beast used to running massive bundles of raw stone from the mine.

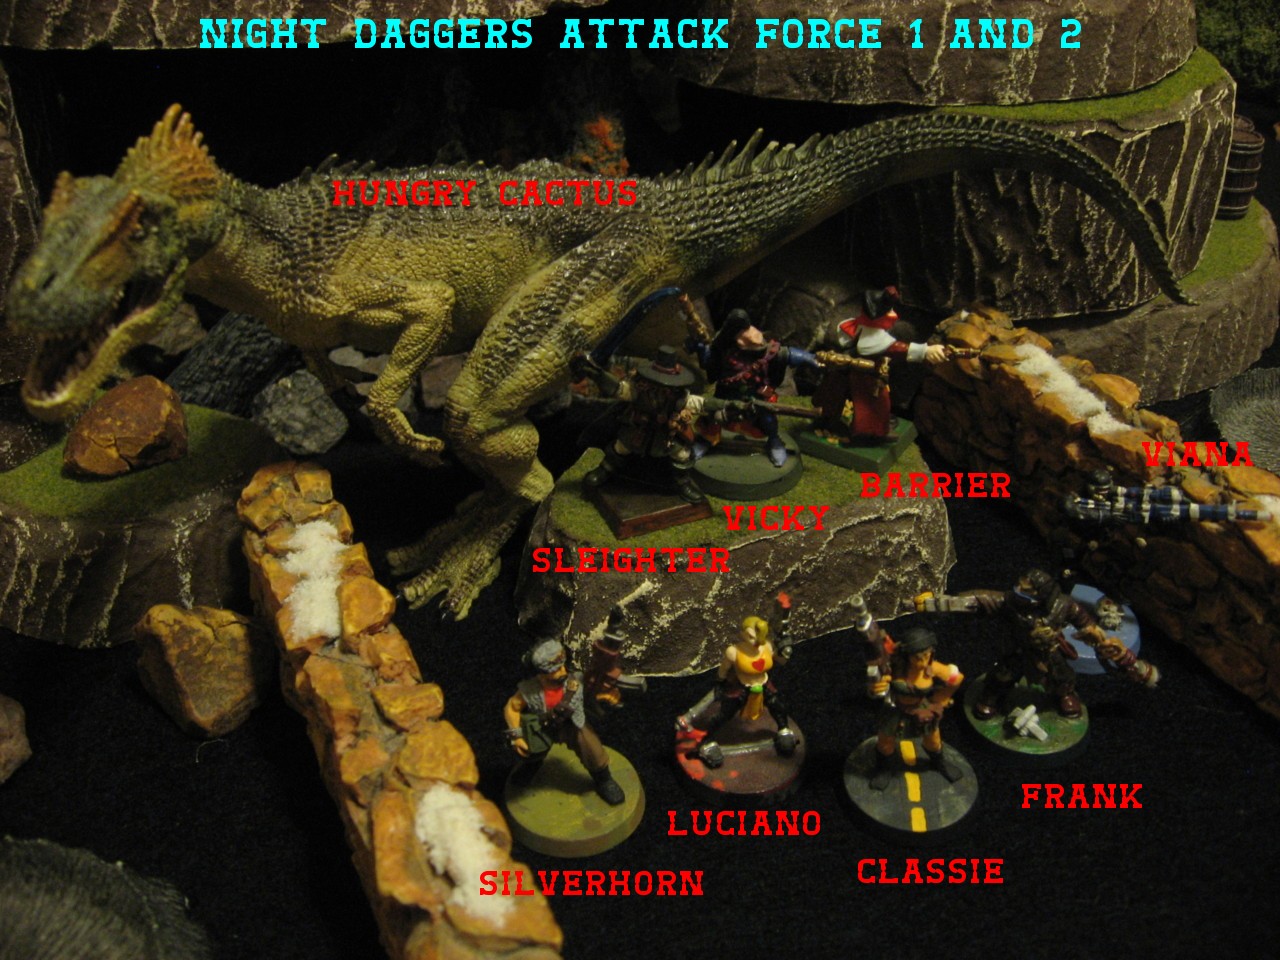
Night Daggers Attack Force 1 (218 IP, 2470 ND) and 2 (141 IP, 1390 ND): (PDF Roster 1, PDF Roster 2) I wanted to go with a fairly optimized ranged gang for Attack Force 1 to really challenge the Drylands Expedition, since the last random encounter was so brutal for the melee opponents. The leader Classie has a solid Light Repeater and “Go For The Eyes”, which is a classic combination at this point. I went a different route for Frank by giving him TWO Double Barrel Shotguns so he can use “Both Barrels” on one and still have a duplicate weapon. In theory he could throw out 4A-5D twice in a row if he emptied both guns. Silverhorn has a crude Assault Rifle and Stun Grenades (with the “Thrower” Trait these are 3-15 distance). Luciano was meant to ride their dinosaur, so she was tough as nails with 4! Defense and 15 Hitpoints! A Whip seemed like a suitable weapon for a mounted cowgirl. Finally Viana was a dedicated sniper with the deadly 500kW Lever-Action Rifle and RTN 6. Finally the gang has a Terror dinosaur named “Hungry Cactus” with some bonus HP for a total of 27 HP.
Attack Force 2 had the simple goal of hitting as many people as possible with their Toxic Guns. All three members are pretty much duplicates of each other, with good Defense, a nice amount of Hitpoints, plenty of healing with the Large IRP medical device, and of course their Auto Shotgun that would stand-in as Toxic Guns.
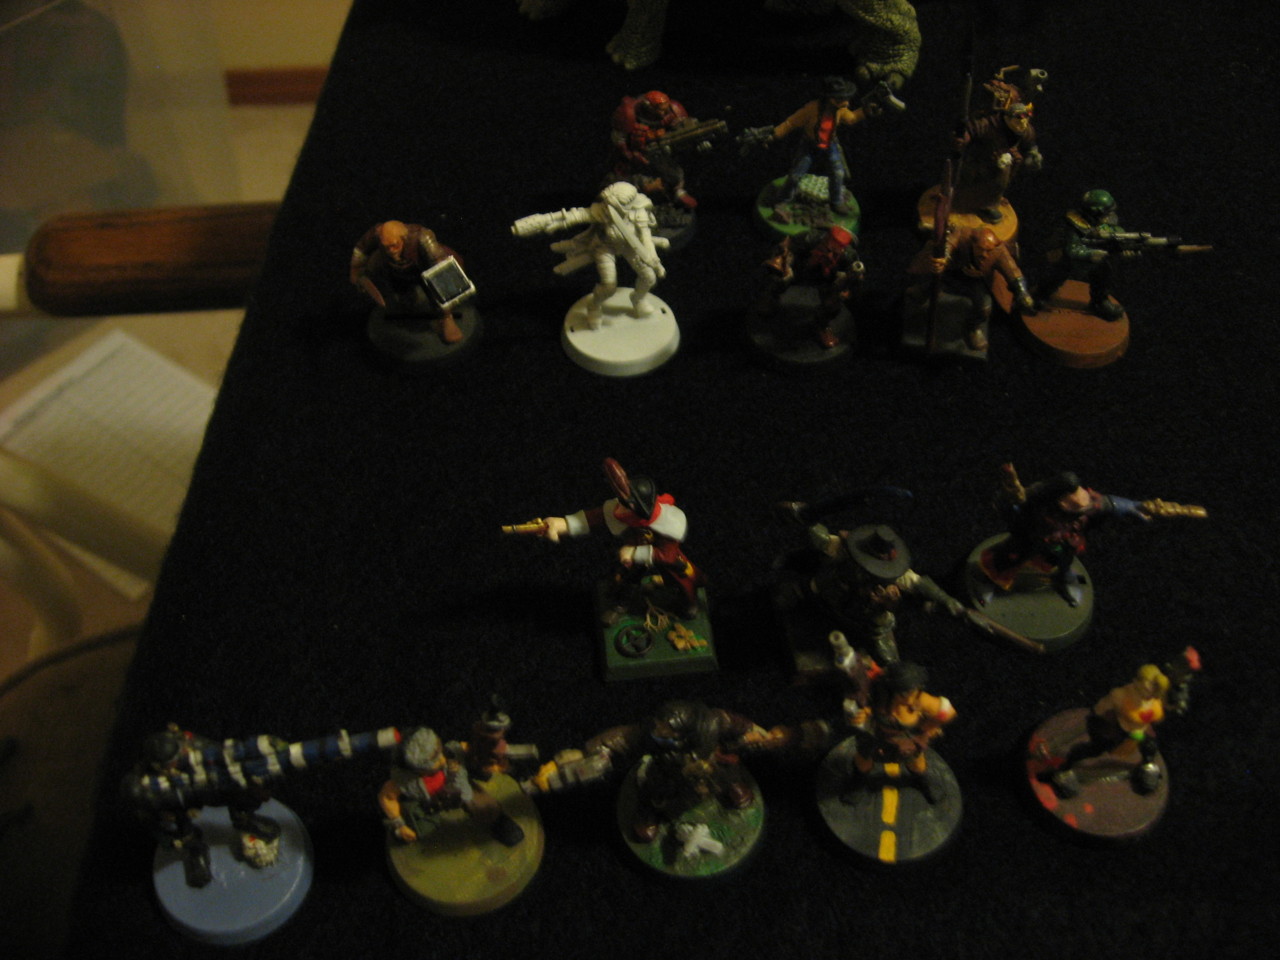
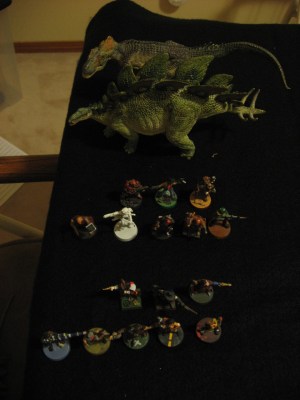
Here’s the whole ugly mess of them:

Deployment
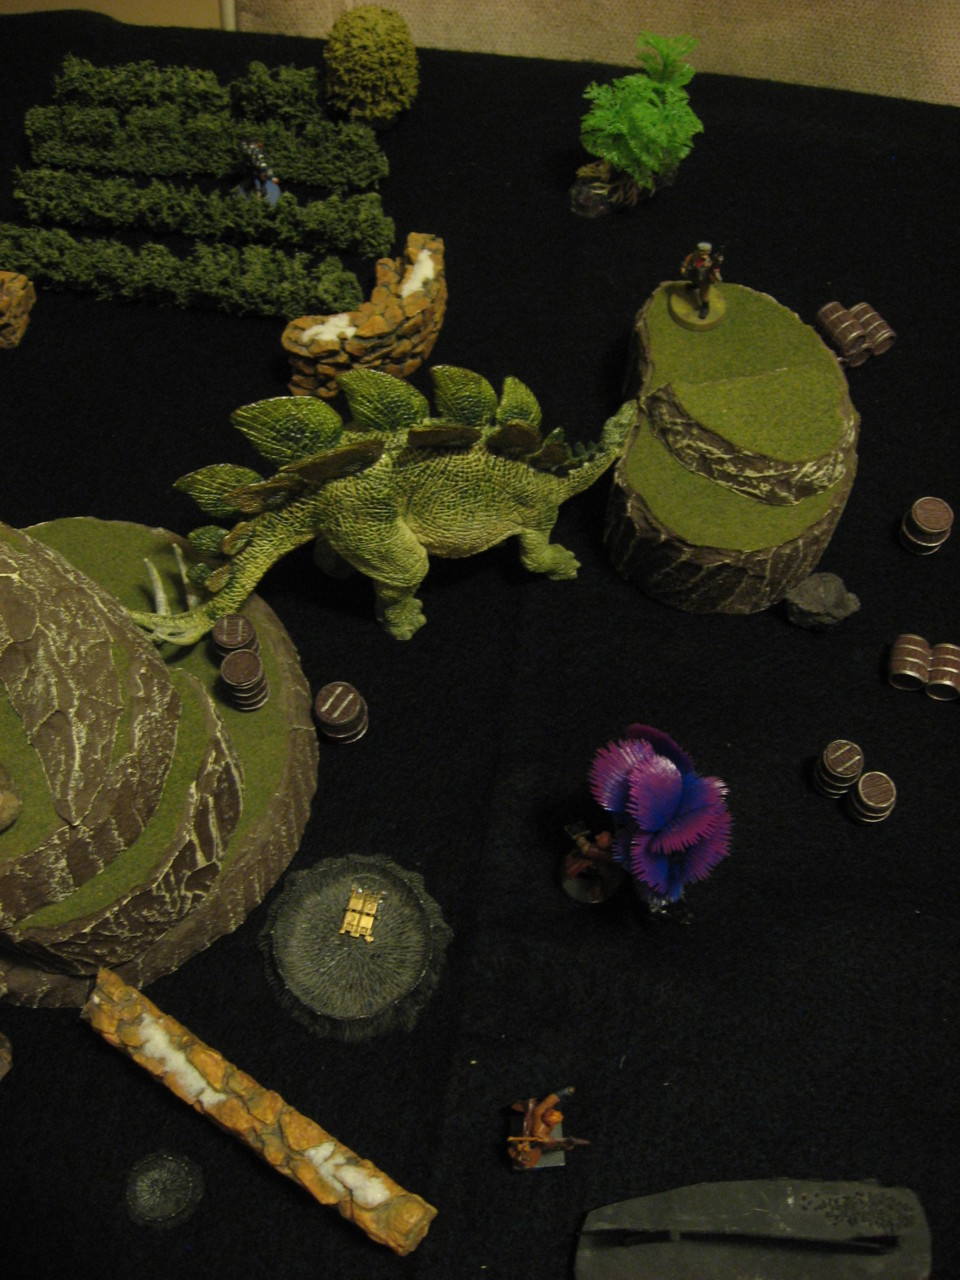
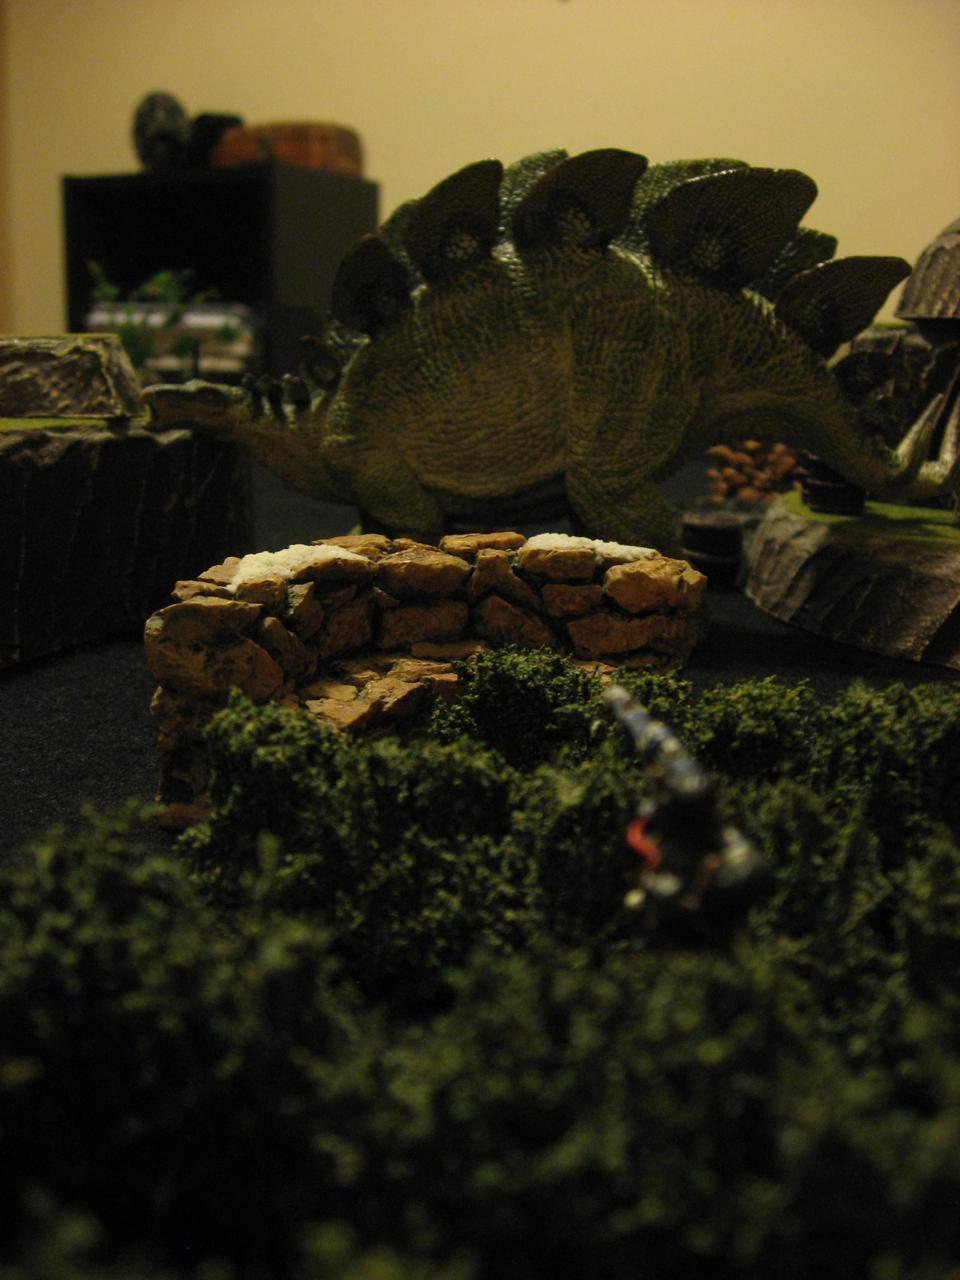
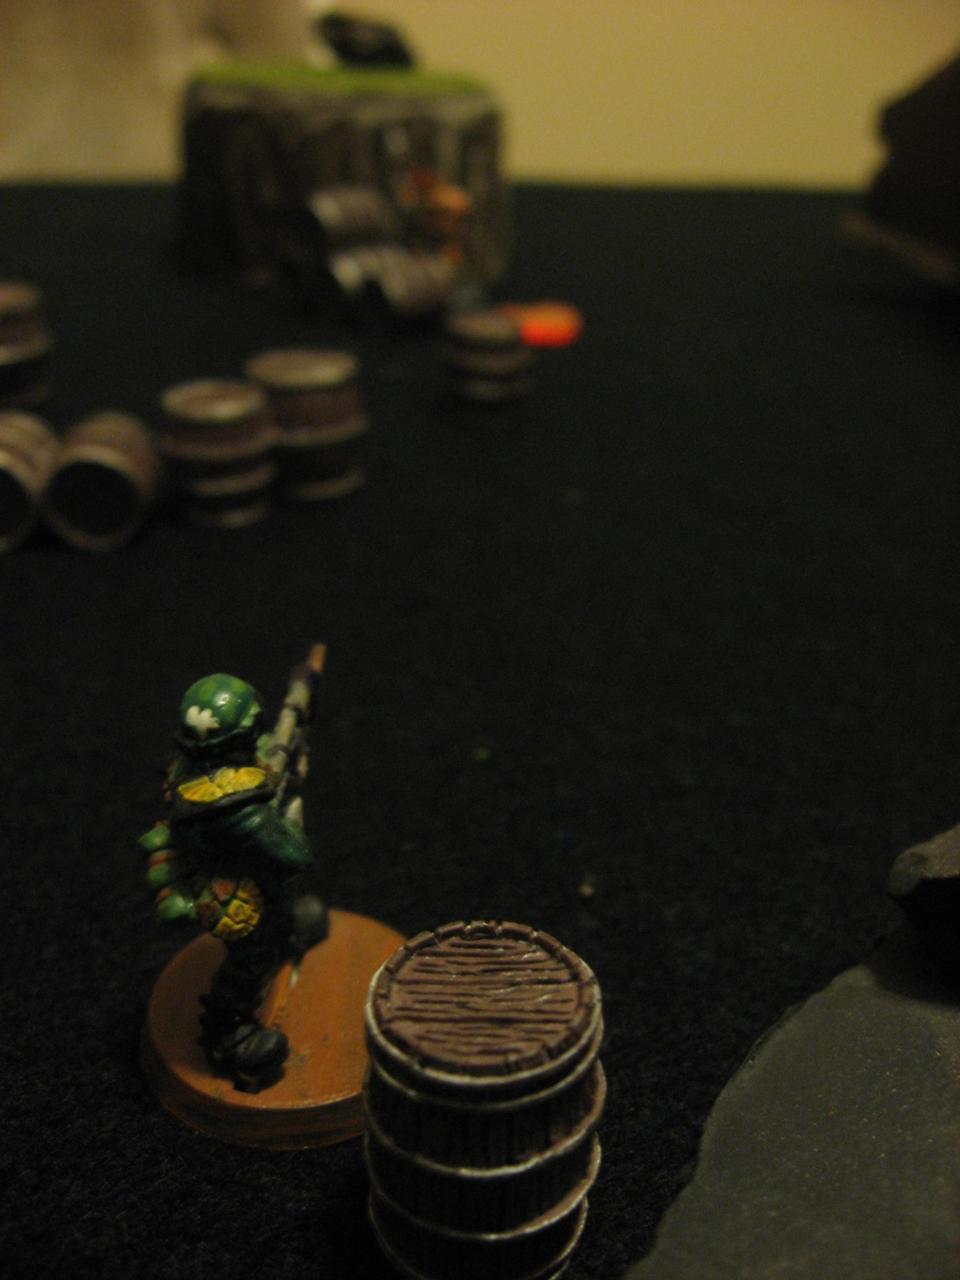
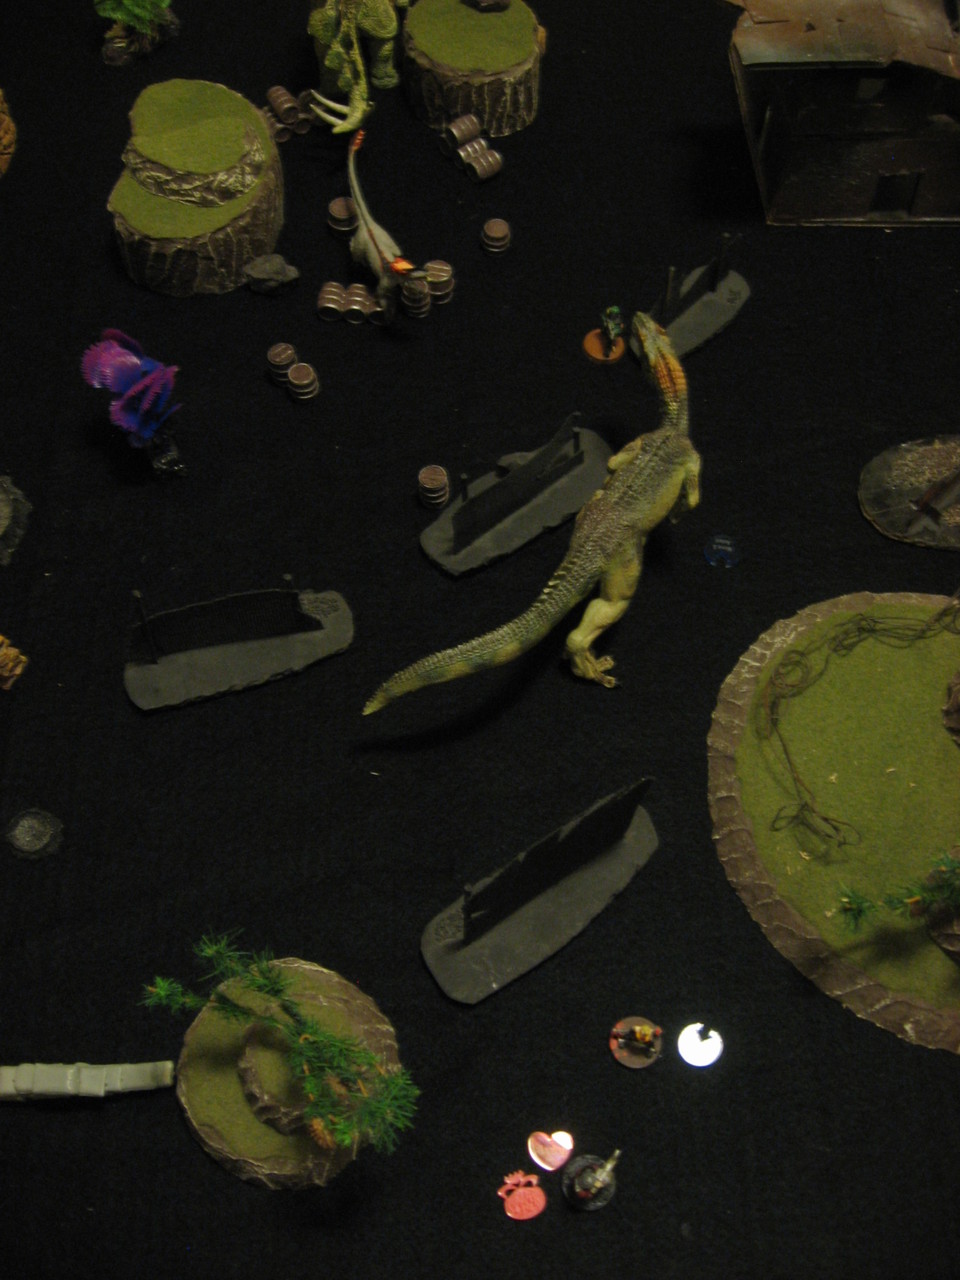
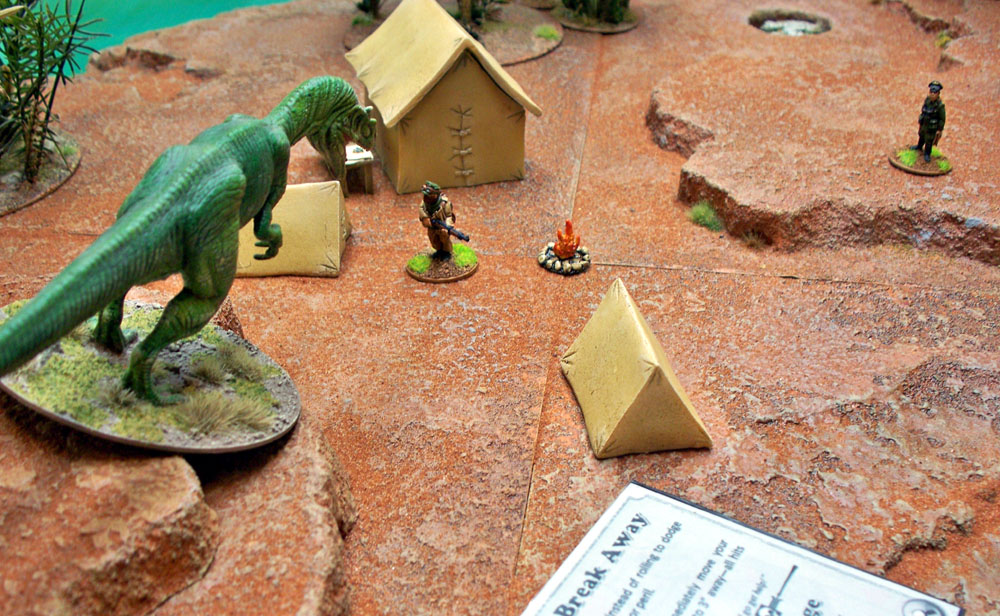
As was mentioned the Hyran Mine Defense Force deployed as if today was any other work day. That meant two Savages escorting Ore Hauler, Emmitt the guard overlooking the process, Lynn overseeing her mine from the door of her house, and another Savage further ahead of the convoy, perhaps to bring Lynn some news.

Then from the East (if North is towards the mine) the Night Daggers Attack Force 1 appears. They deploy up to 6″ in, and the table edge they rolled is actually the furthest away from the bulk of the Defense Force, which is a mixed blessing. However they were quite close to Lynn as she was further up the map. Everyone pretty much deployed in cover, with Luciano aboard Hungry Cactus who started right by the mining house.
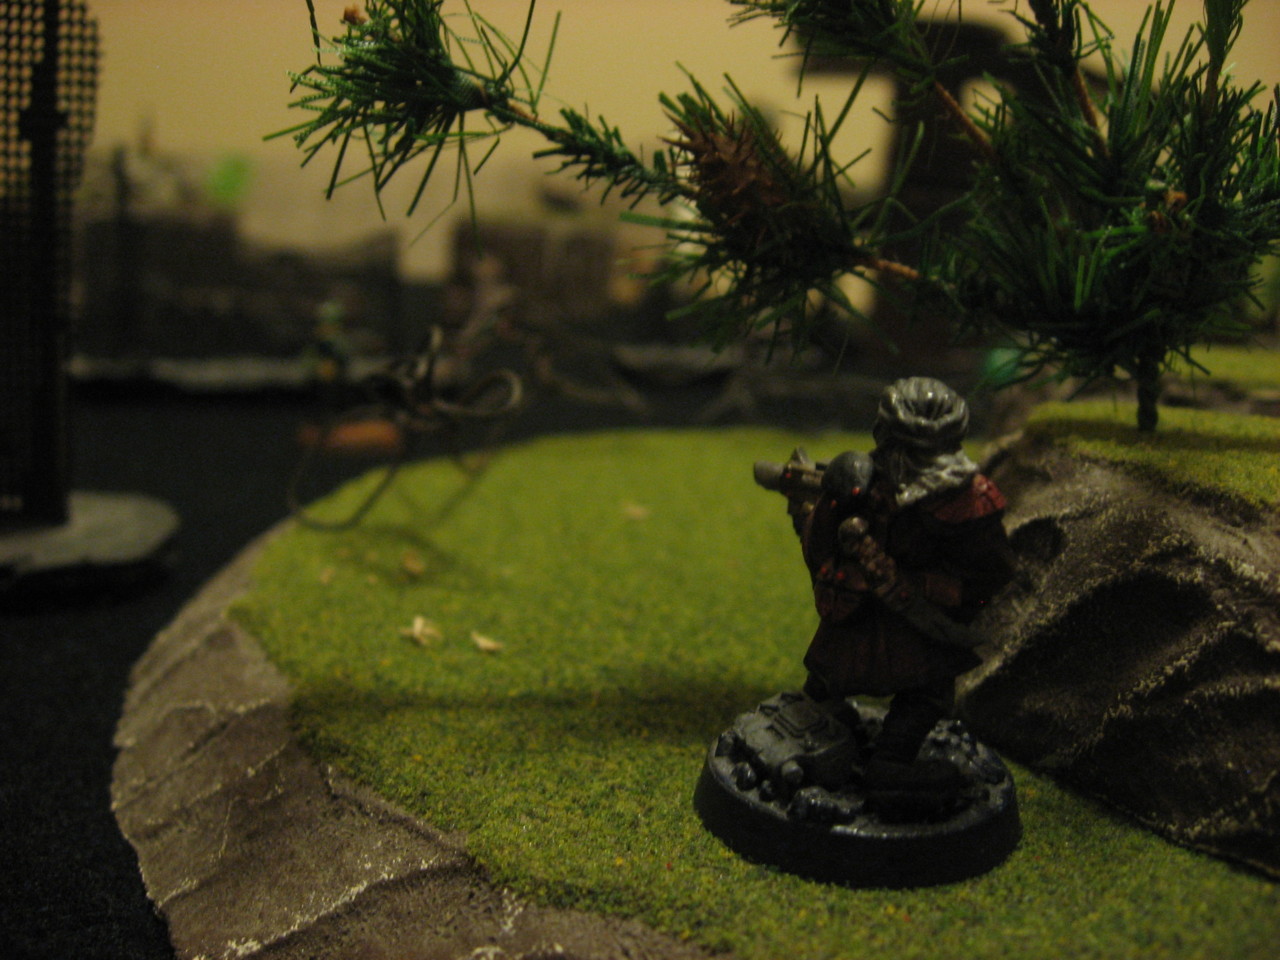
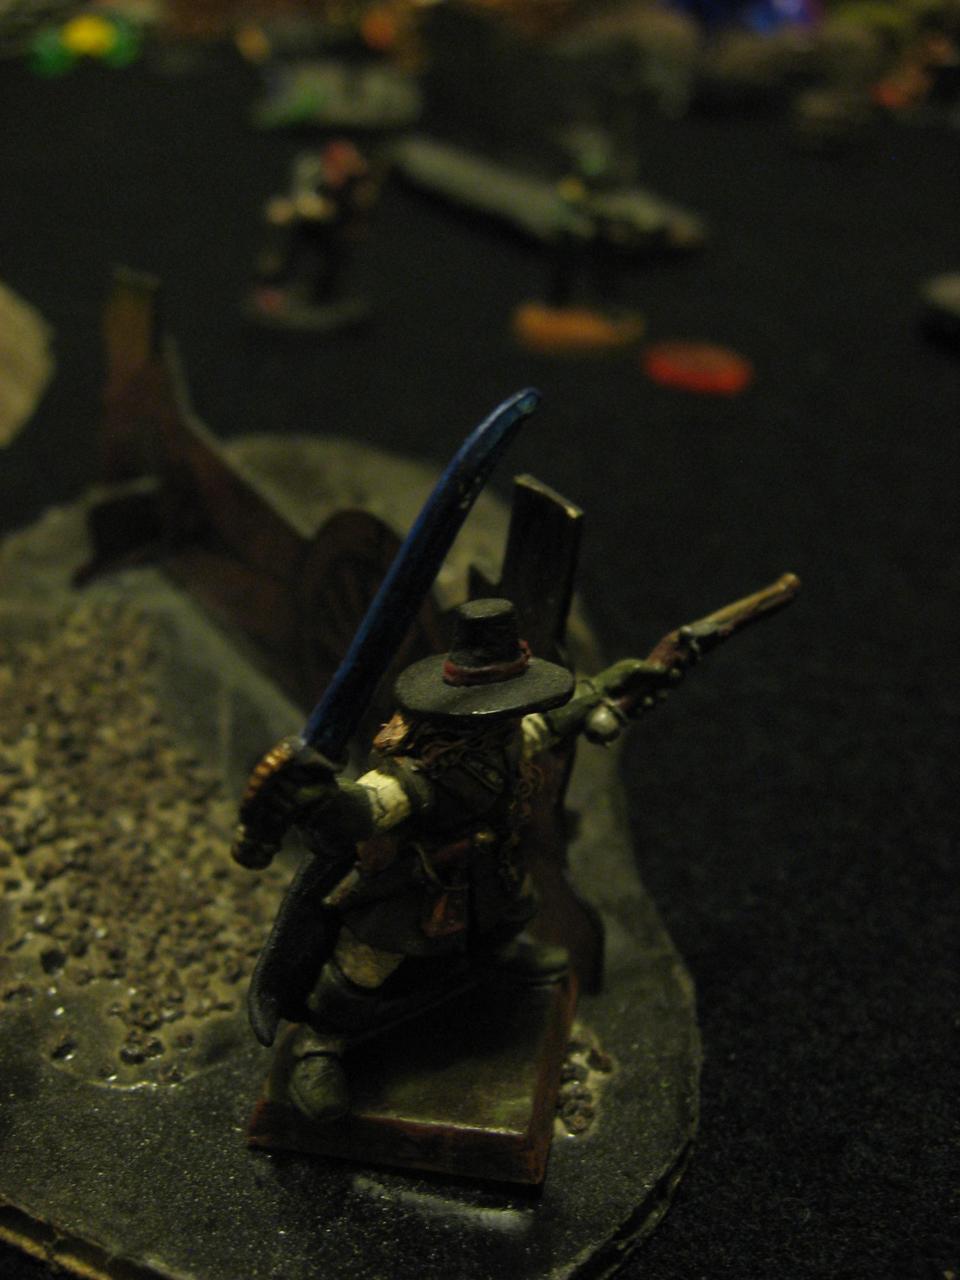
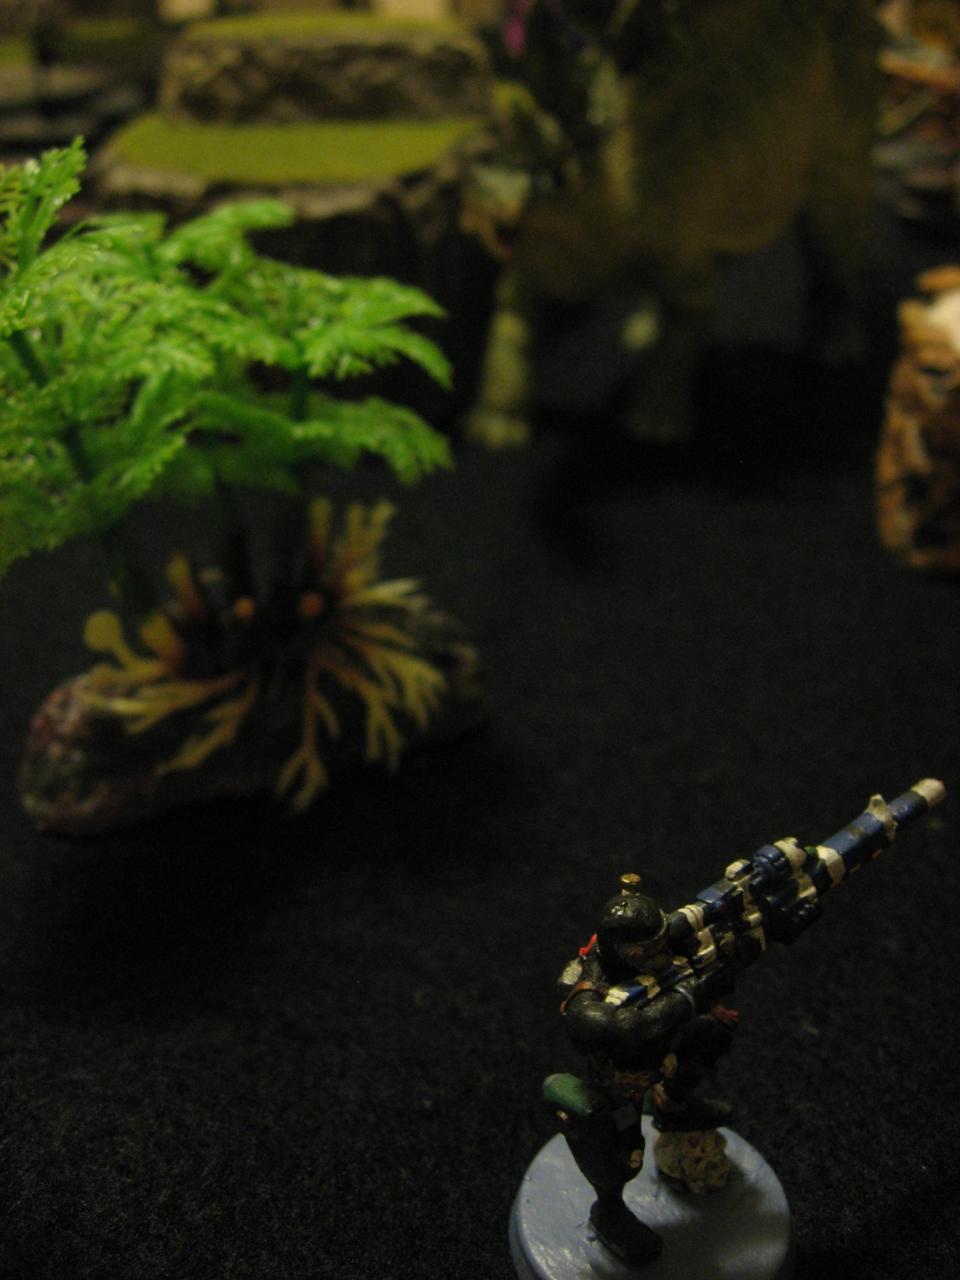
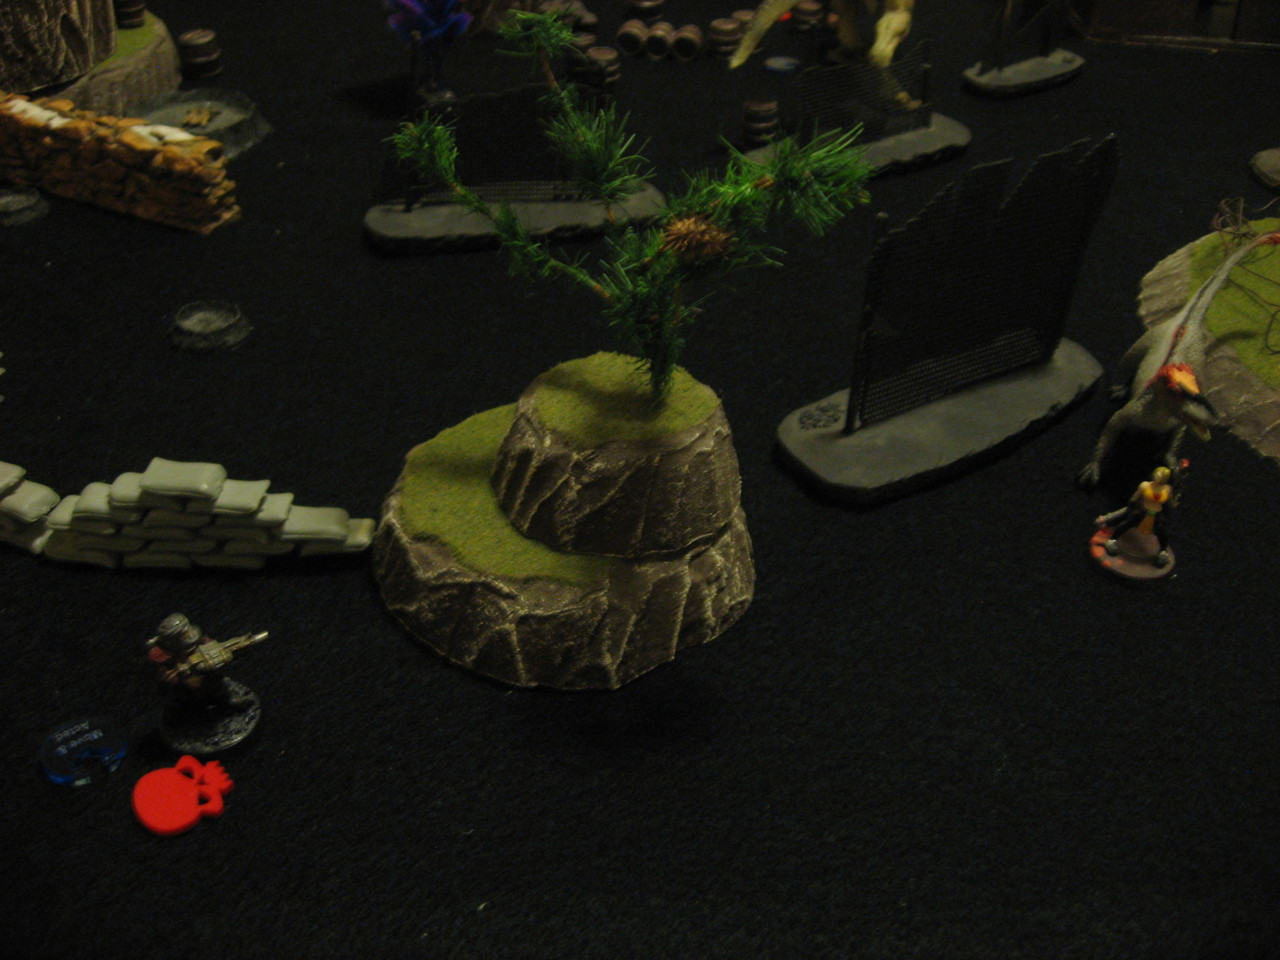
Viana was over in the orchard and would have little trouble reaching most of the board with his shots.


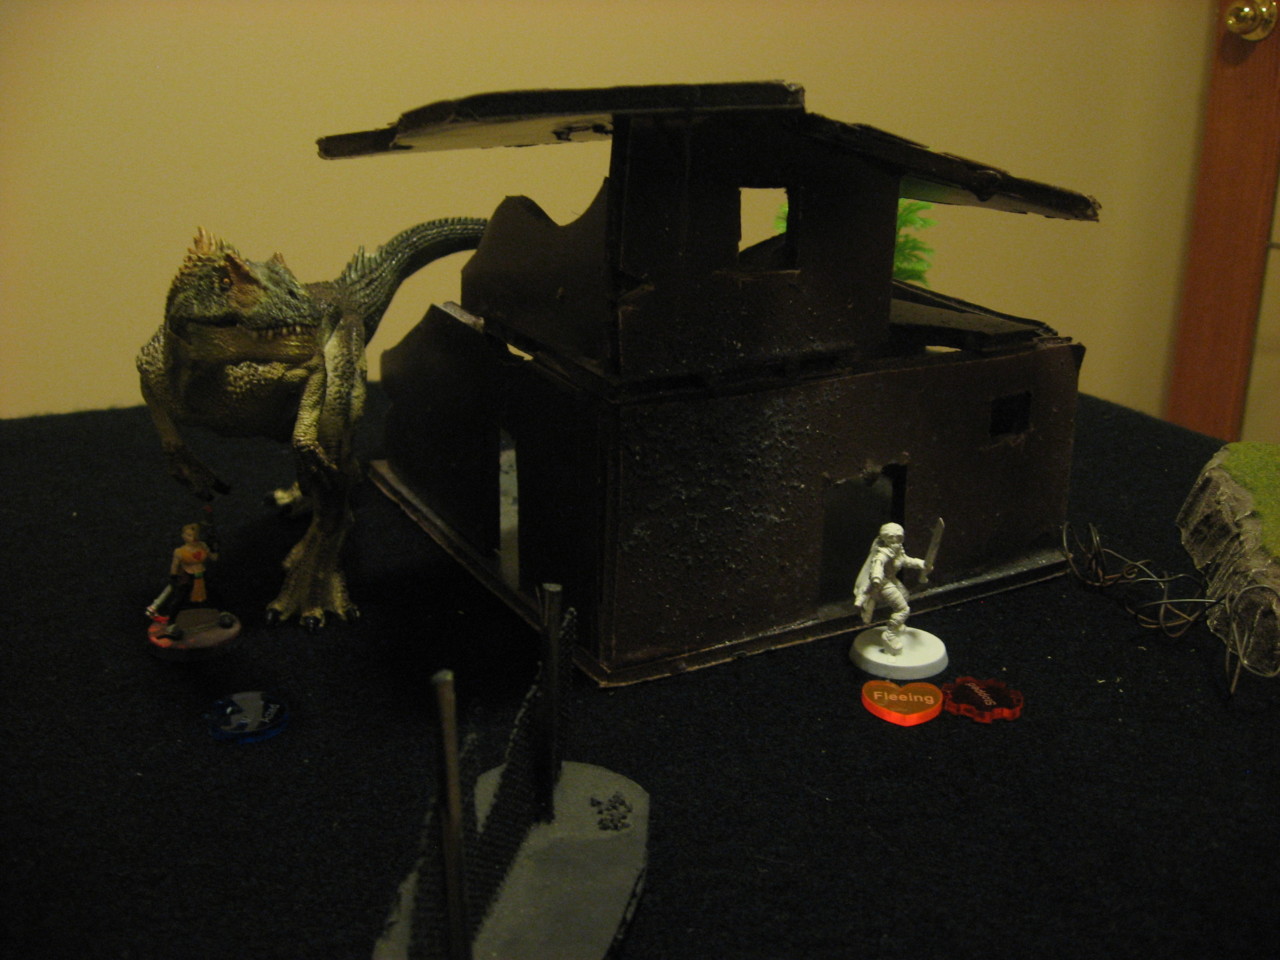
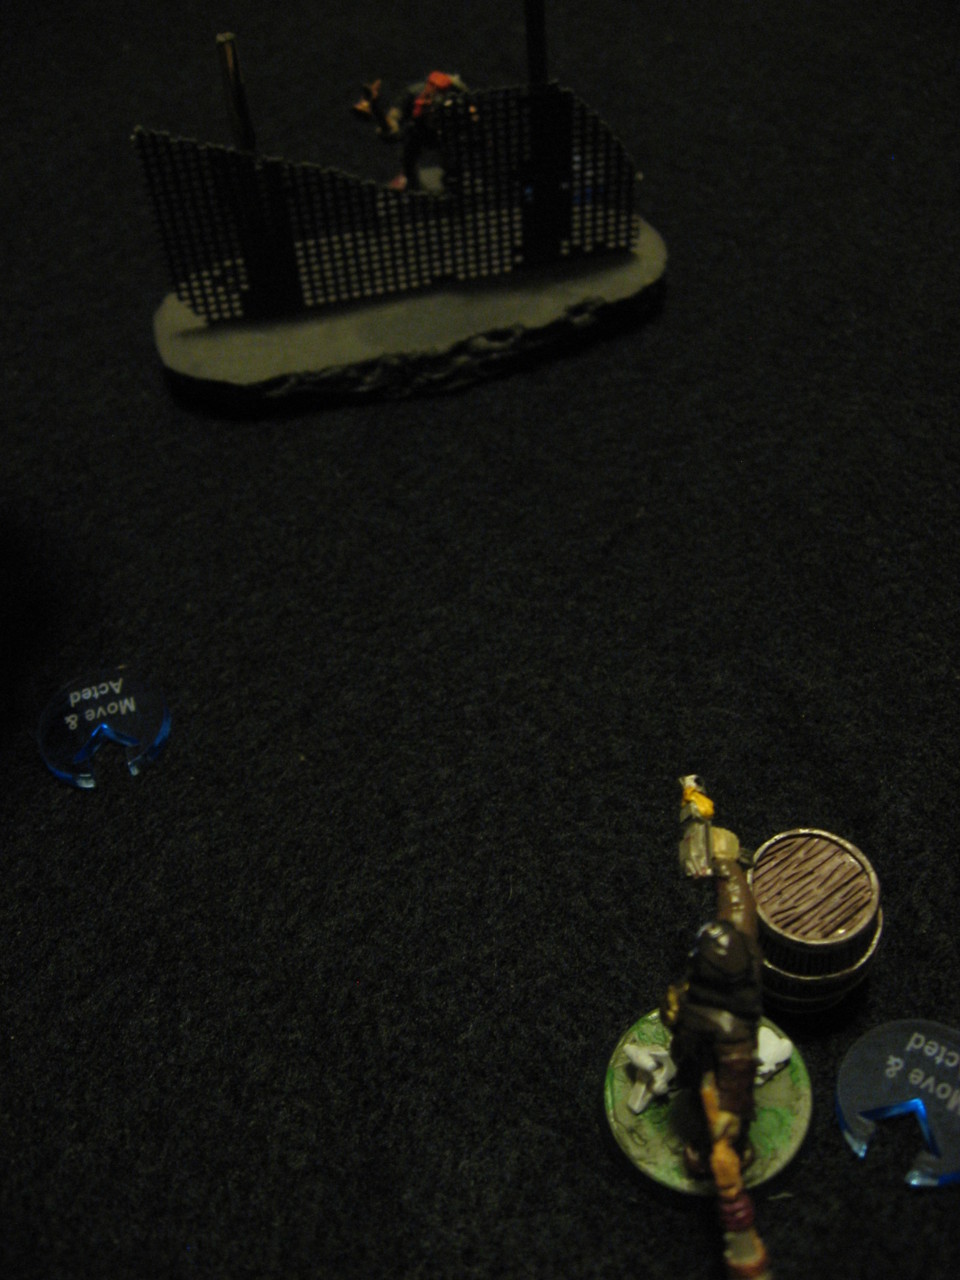
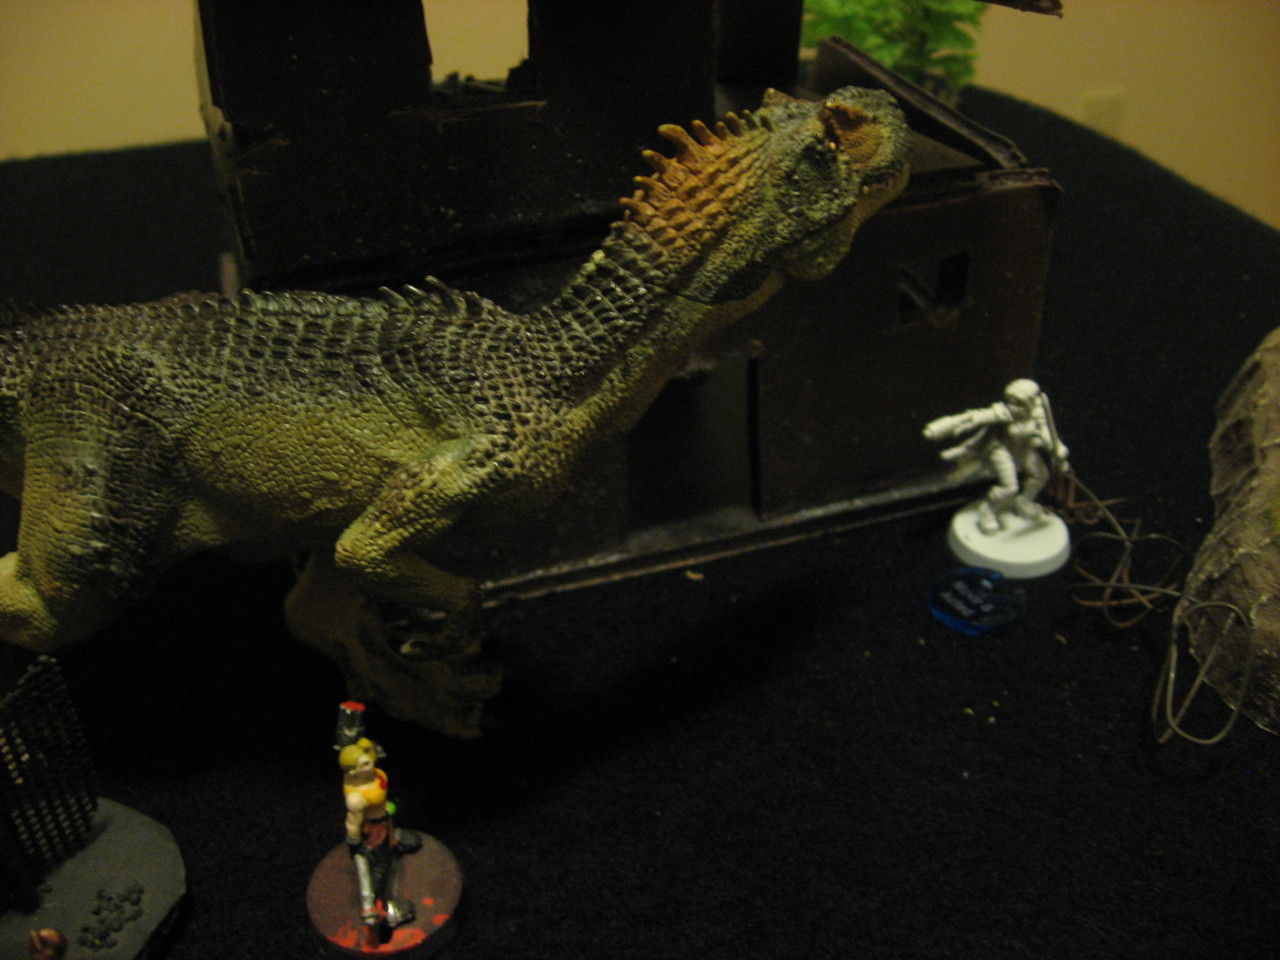
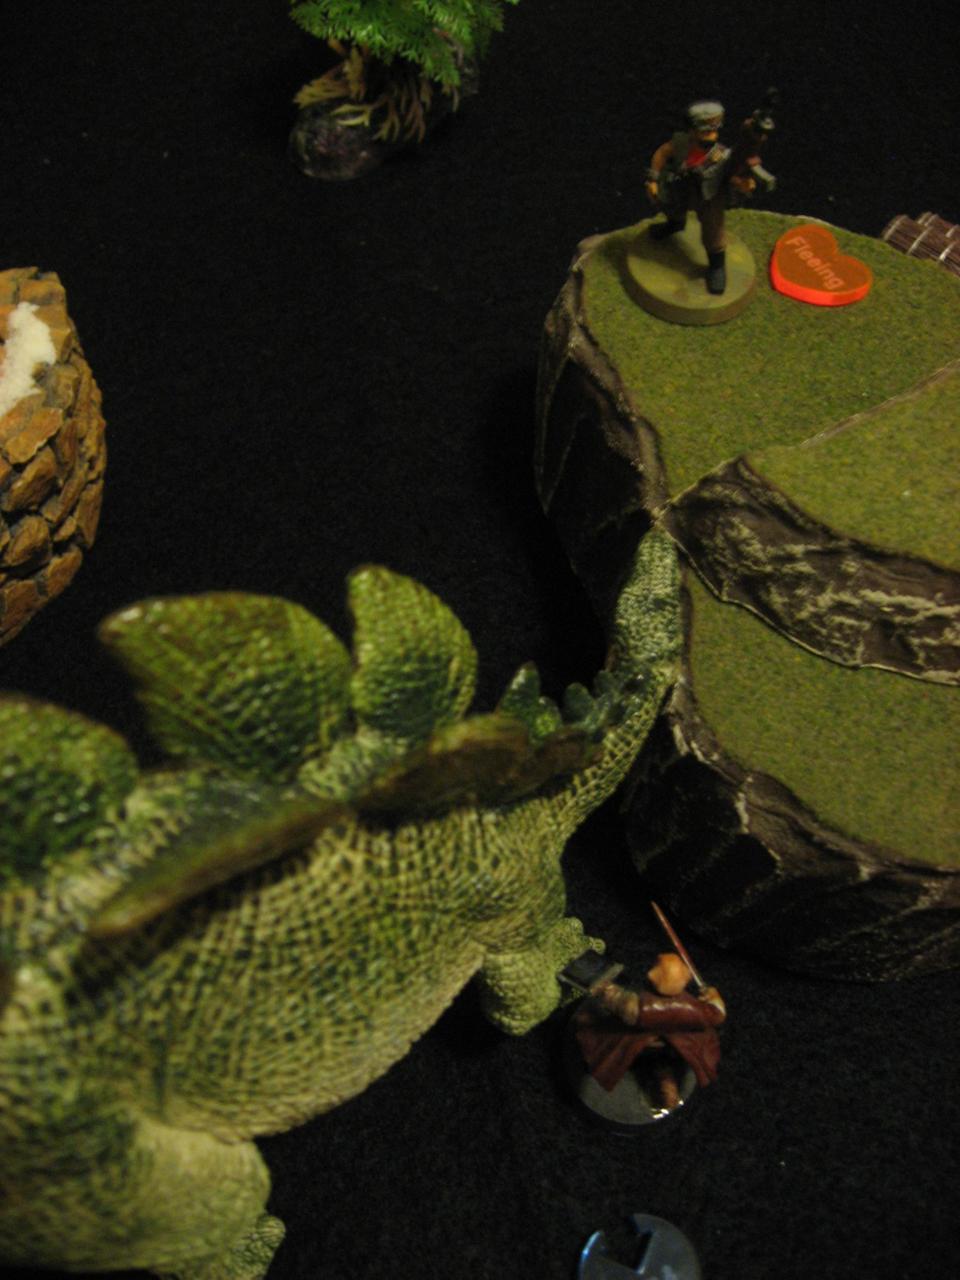
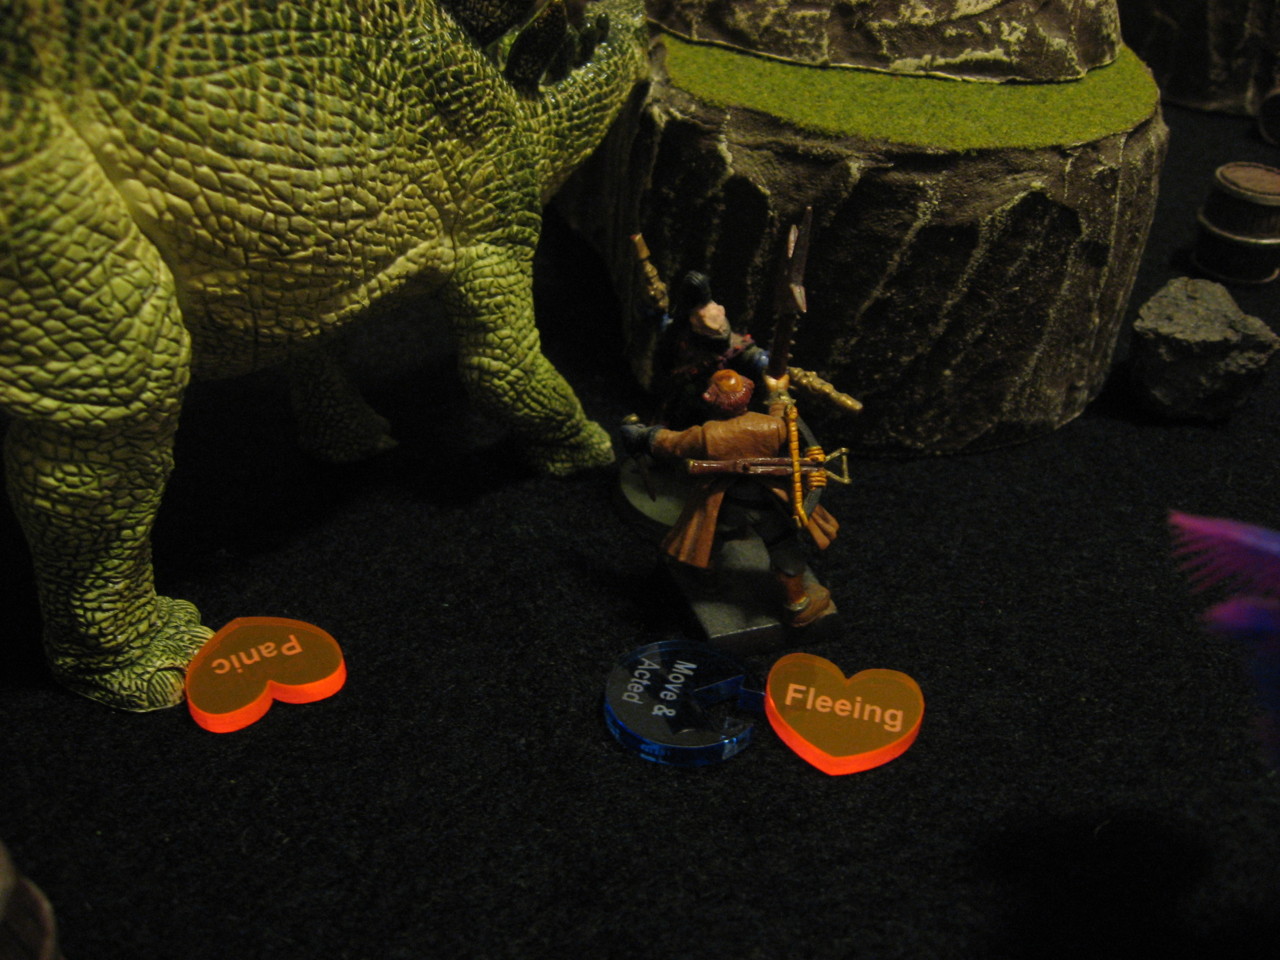
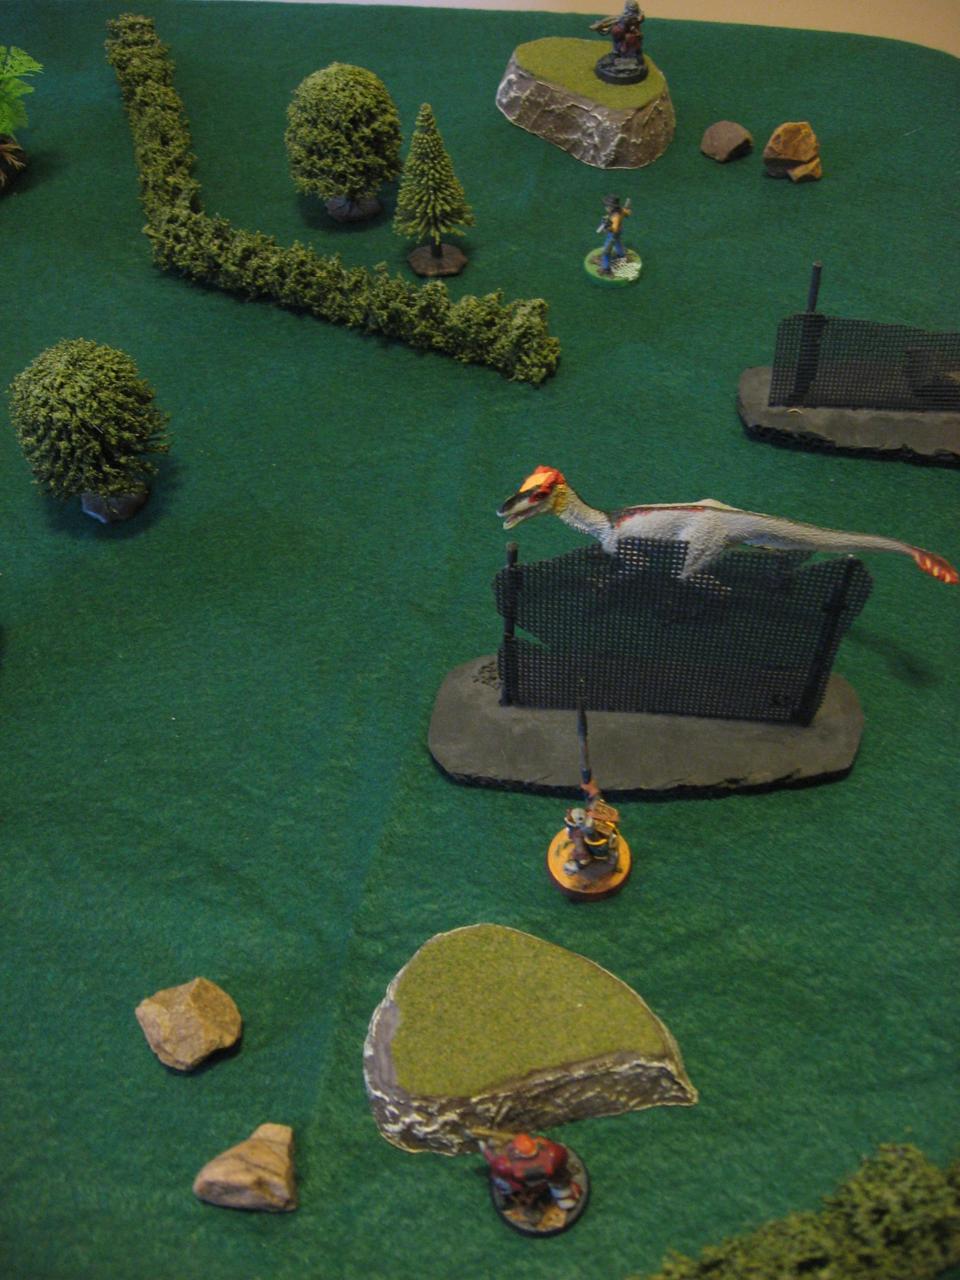
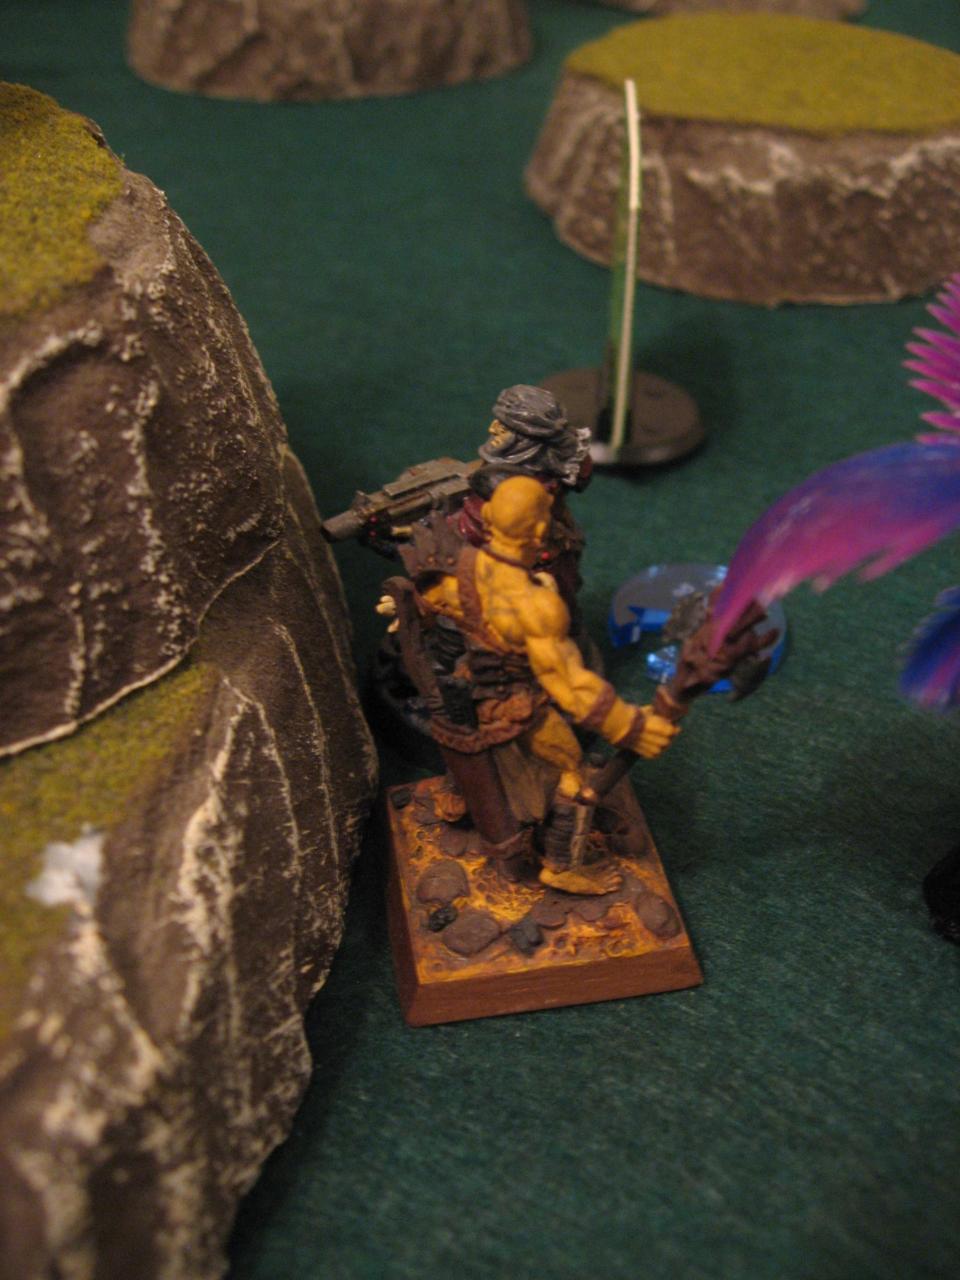
And here’s a washed out picture showing just how close Hungry Cactus was to Lynn. The black table cloth I used to represent the mountainous region made taking pictures a bit tough. They were naturally darker, but at least the miniatures tended to “pop out” from the table.

And with that the game began! Note that I didn’t focus on the nitty gritty details of every single Activation or movement, in the interest of time (and motivation :) ). So only the highlights are talked about.
Turn 1 – Scramble the Defenses!
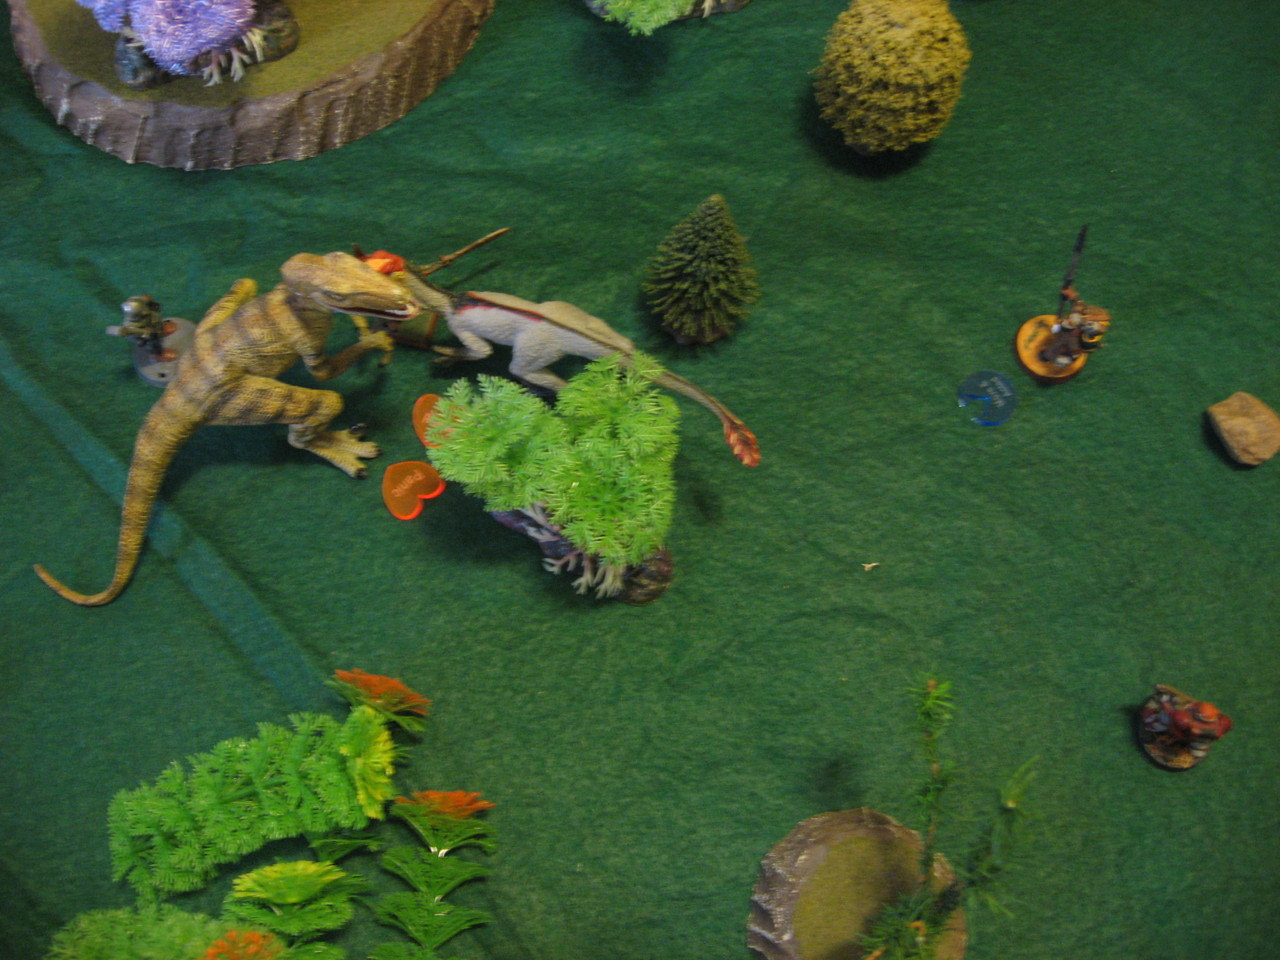
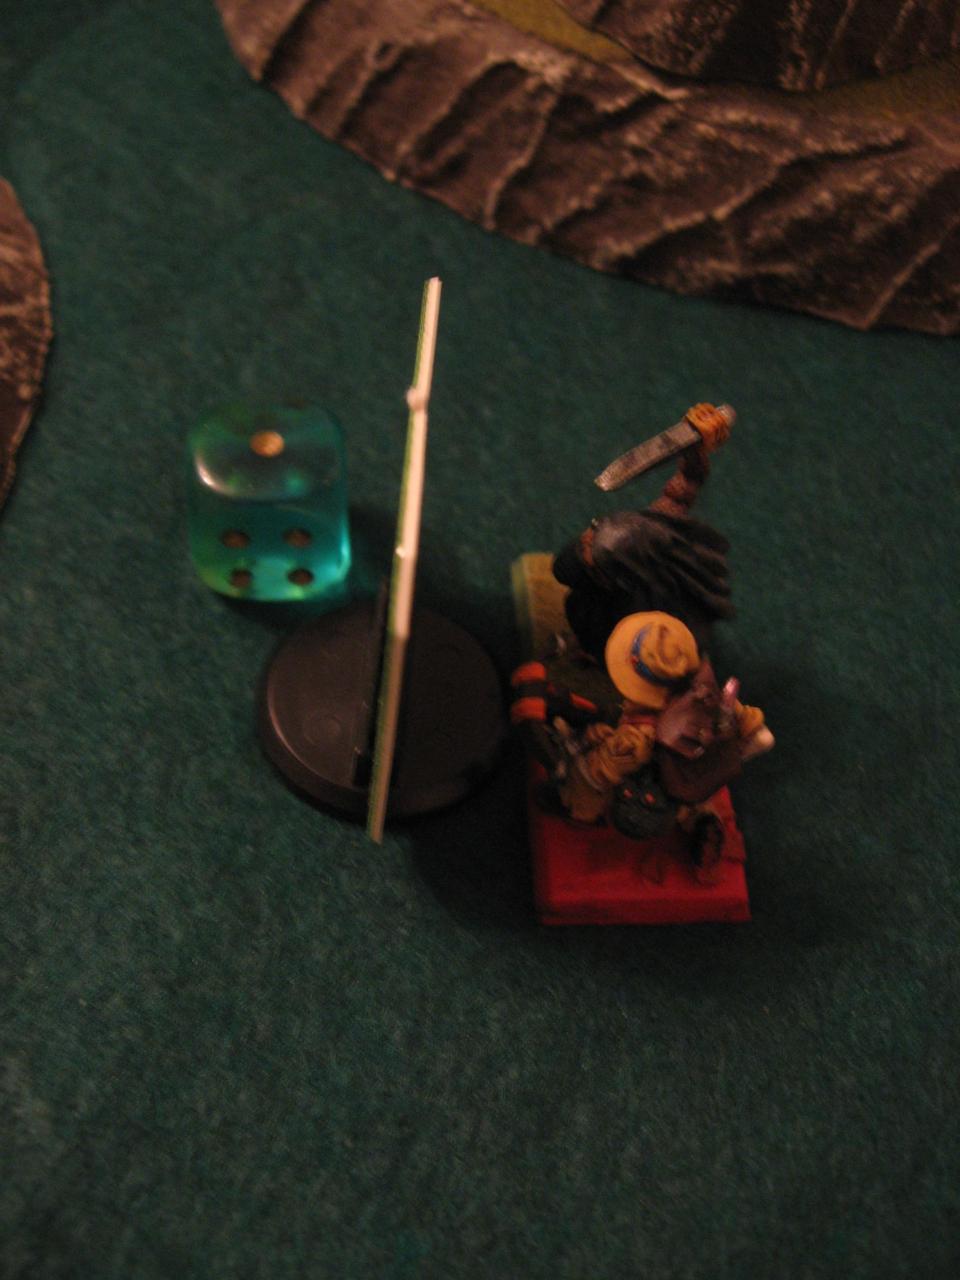
Still caught by surprise, Luciano was able to swing a Rope Lasso around Lynn in a massive hit worth half her health. I’m definitely pleased with aligning Lasso attacks and damage with the dinosaur it’s used from. Anyway Lynn fails her Bravery Test. Since the Rope Lasso has the property “Stopped” Lynn would normally be Stunned when activating (since she can’t physically Flee). Instead she uses her “Rally” trait and risks using her Salve (1D12 HP restored, but at the start of her next Activation).
There was a slight hit on Cough of Thunder, but the Cover of the fence helped reduce the damage.
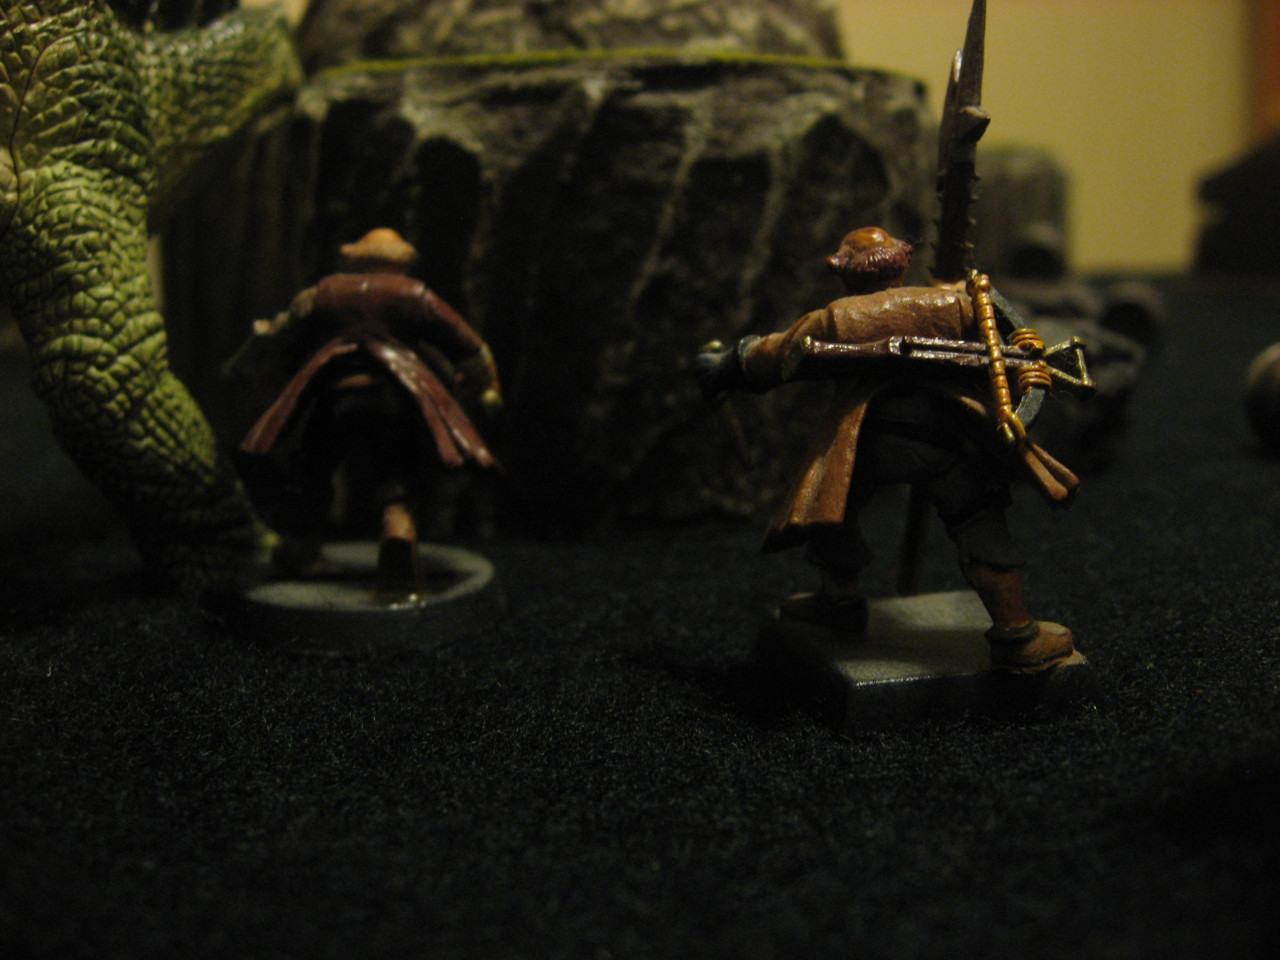
Everyone else pretty much shuffled forward. Ore Hauler was used intelligently as a movable wall to shield the advance of the Savages, since his massive flanks and short legs make the perfect line-of-sight blocker. For example Viana couldn’t draw a bead on either Many Stones or Falls Hard due to the imposing dinosaur.
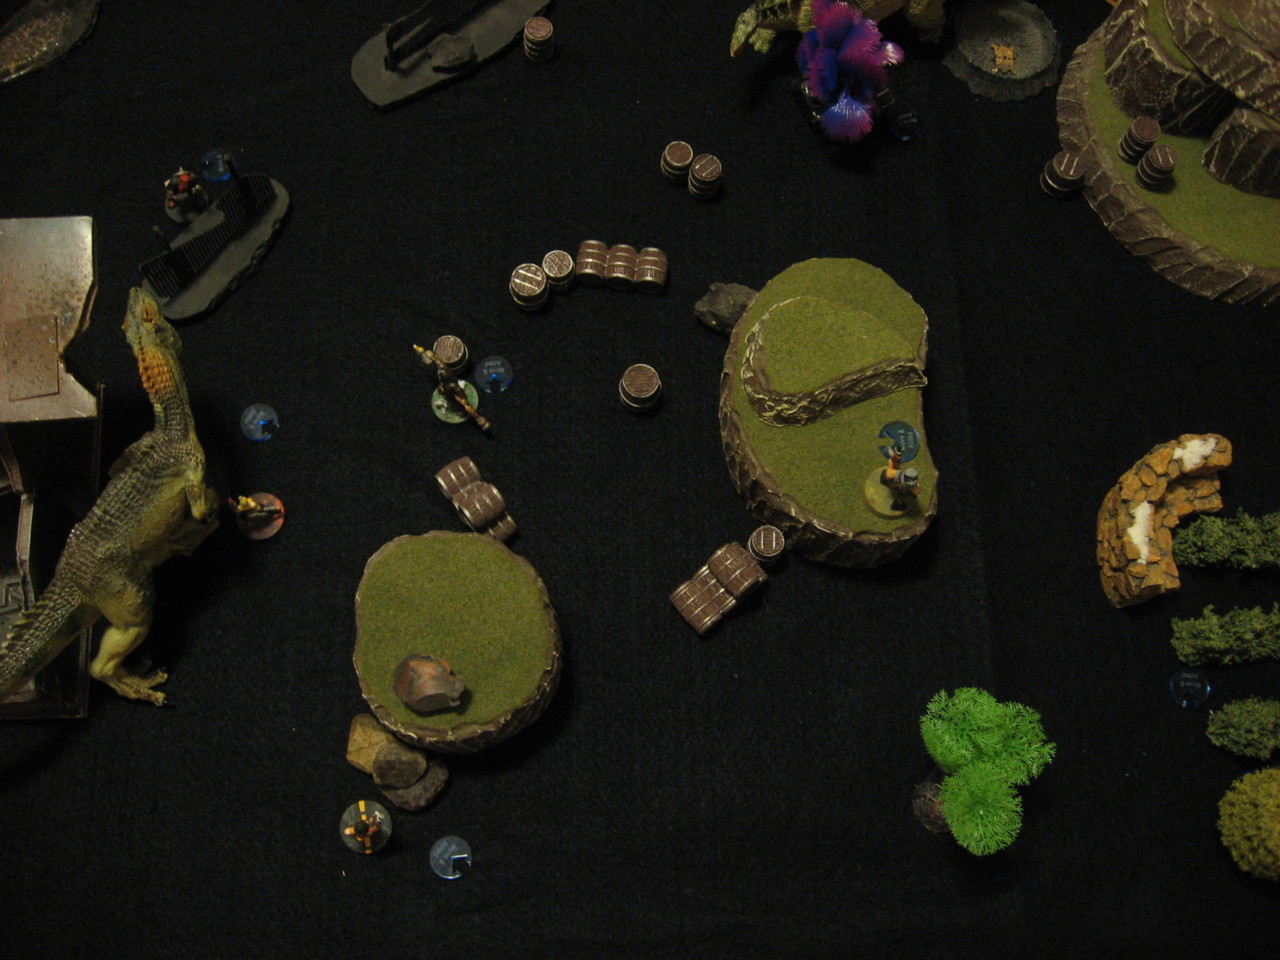
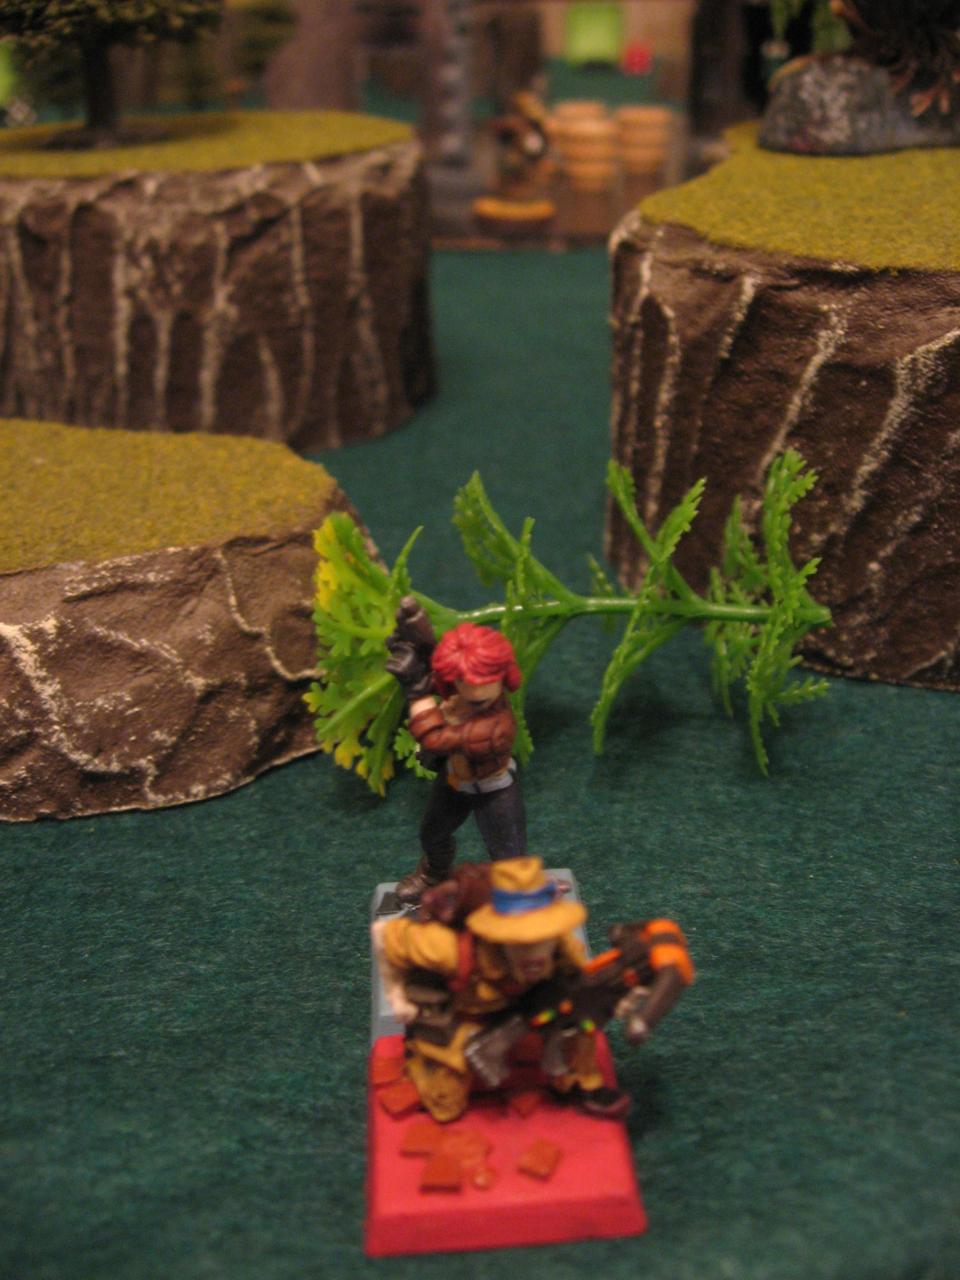
Lynn’s lackluster start, the advancing lines of battle


Many Stones hiding behind Ore Hauler, Frank drawing a bead on Cough of Thunder


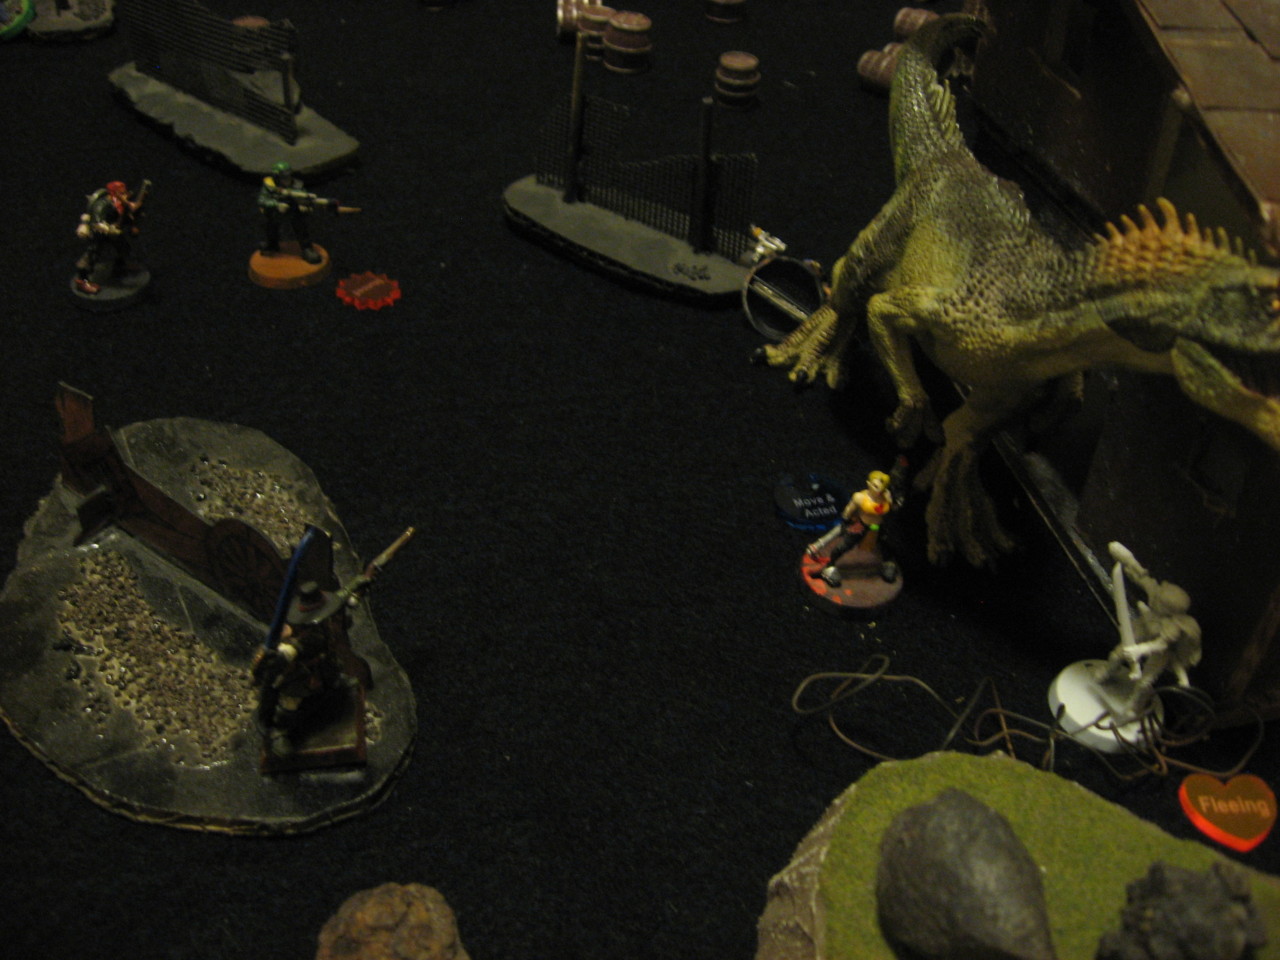
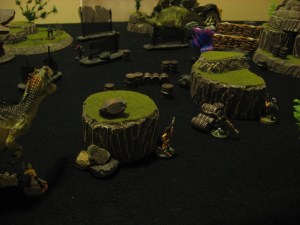
The table at the end of Turn 1

Turn 2 – Onwards Drylands!
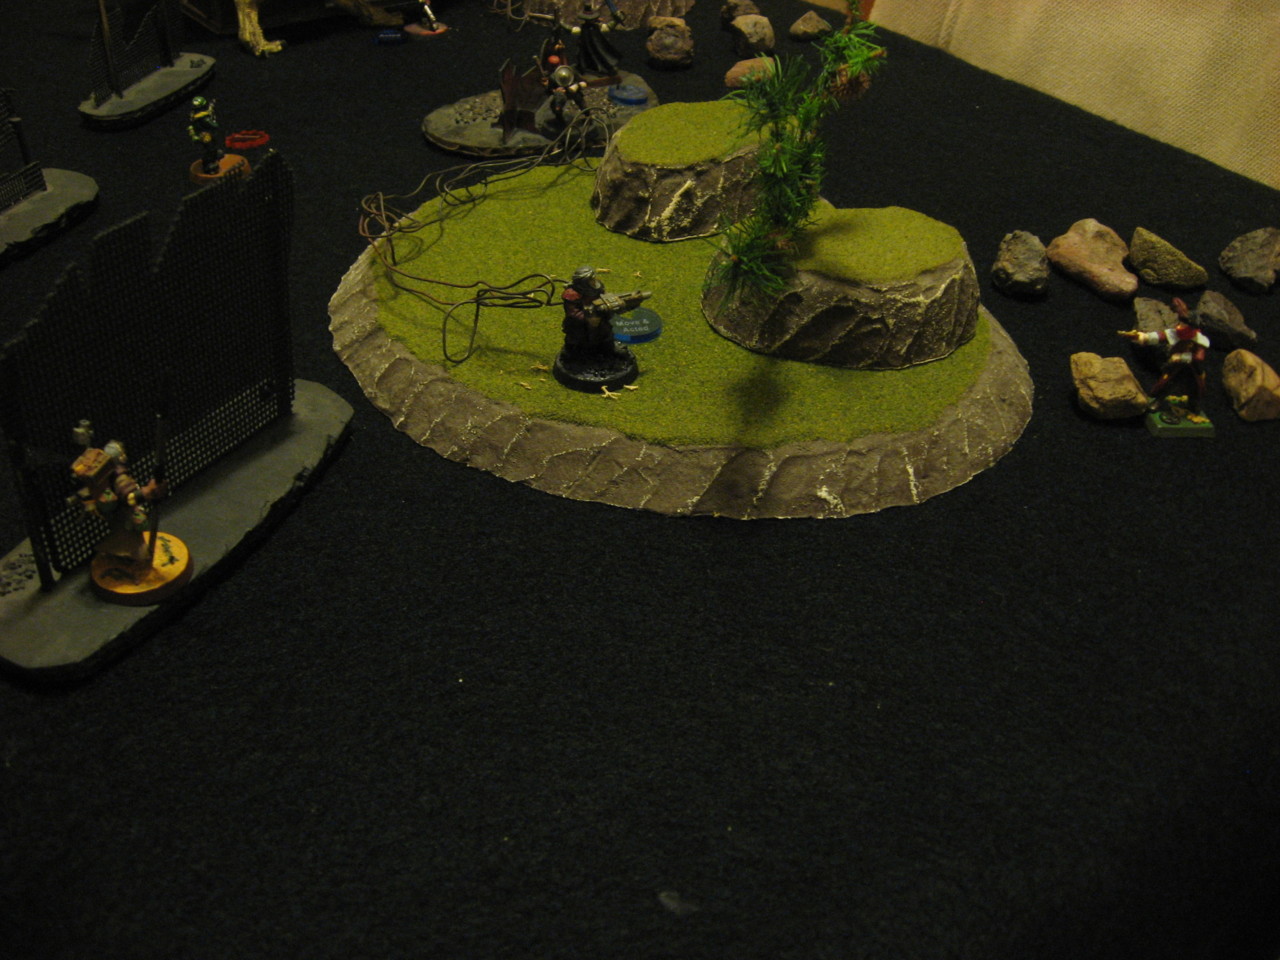
Hearing the raging battle ahead of them, the Drylands Expedition deploy 6″ from the Western table edge, vaguely opposite the Night Daggers Attack Force 1. The core medium range elements of the posse deployed rather central, with Amp on their right flank and Gibson mounted on Dwaal on their left flank, by the mine. His cunning plan was to try to reach Viana in a massive 15″ Hustle at some point in the game.


 Meanwhile the Salve that Lynn used finally takes effect and restores her to full Hitpoints. She tries to feebly move away from Hungry Cactus but the Dinosaur manages to Charge her and hit for 8 damage! She fails her Bravery Test again. Good thing this match wasn’t centered around the “Assassination” objective!
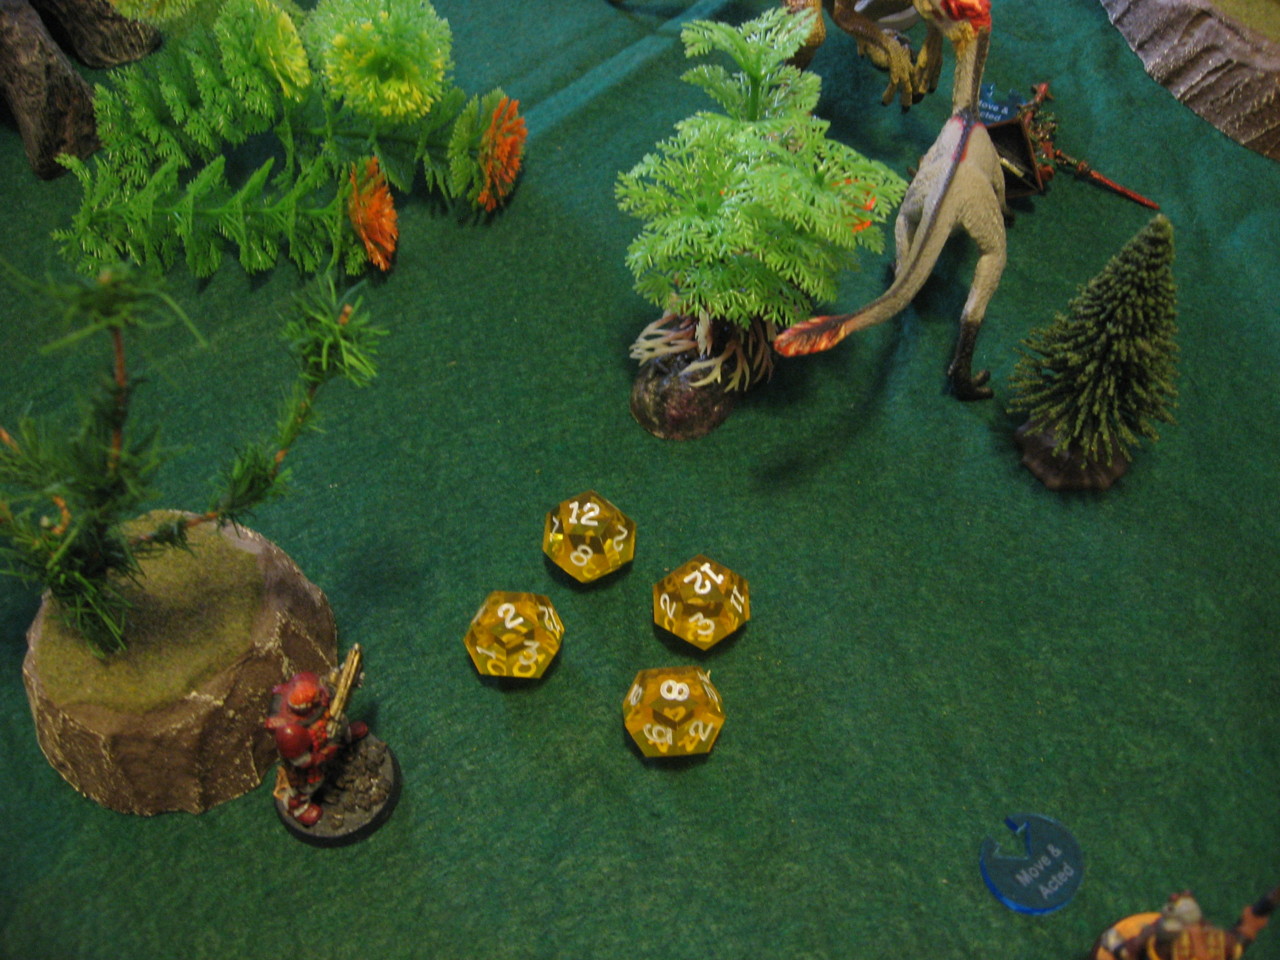
 Frank moves right up beside Cough of Thunder and gives him “Both Barrels” WITH the “Eviscerate” trait (meaning his Bravery Test will take a penalty) for 8 damage. As predicted the fickle Savage fails his Bravery Test.
Many Stones tries to retaliate by throwing his Bundle of Dynamite at the distant Silverhorn. With an incredibly lucky Critical Hit the enemy takes 9 damage!
Hearing the report of a Double Barrel Shotgun, Emmitt brings his own shotgun to bear on Frank. Both combatants had to really push forward to get in range, but the damage so far has been worth the risk. In this case Emmitt hits Frank for 6 damage, but that’s still enough to cause the enemy to Flee.


Classie tries to finish off Cough of Thunder but misses an 8+ roll on 6 Attacks! She desperately tries to use “Yeehaw!” but still misses. Note: This was actually an incorrect usage of Yeehaw! since the ability states “one other entity”, so a Leader cannot use Yeehaw! to inspire themselves. Luckily she missed anyway so the rules guffaw had no effect.
 Silverhorn ends up Fleeing down the hill he just managed to climb, and returns the grenade favor by lobbing a Stun Grenade at the exposed Emmitt. Due to the distance and movement he still needed a 10+ to hit, but manages it with a Critical for 2 damage, but more importantly Emmitt is now Stunned and won’t be able to perform his Action Phase.
Finally Viana shoots at the massive shape of Ore Hauler at 10+, hitting with two Criticals for 9 damage (which also adds a Panic token, and should slow the Defense advance).


Turn 3 – Night Dagger Reinforcements
This turn started with an unexpected surprise…one of the Defense Force Savages was actually a spy and infiltrator for the Night Daggers! I rolled randomly between all unwounded Savages in the Defense Force (which at this point was Falls Hard and Many Stones) for who would be revealed as an attacker. I ended up rolling for Many Stones, who was promptly replaced with Vicky Carmine!


As Robot Chicken and M. Night Shyamalan would say: what a twist! This also was quite a swing in terms of forces, because not only did the attacker get to deploy but the Defense Force lost an additional unhurt model.
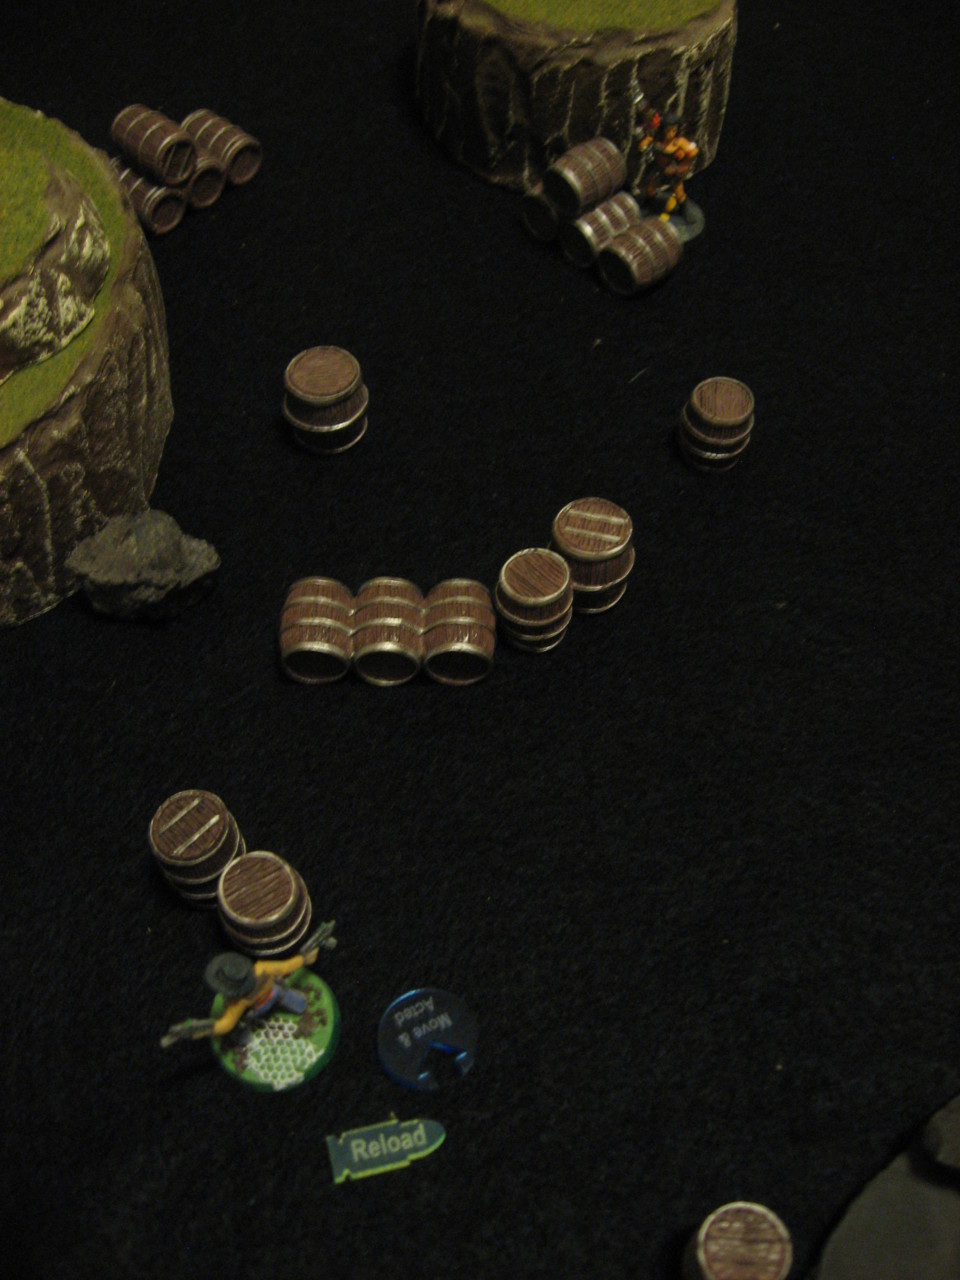
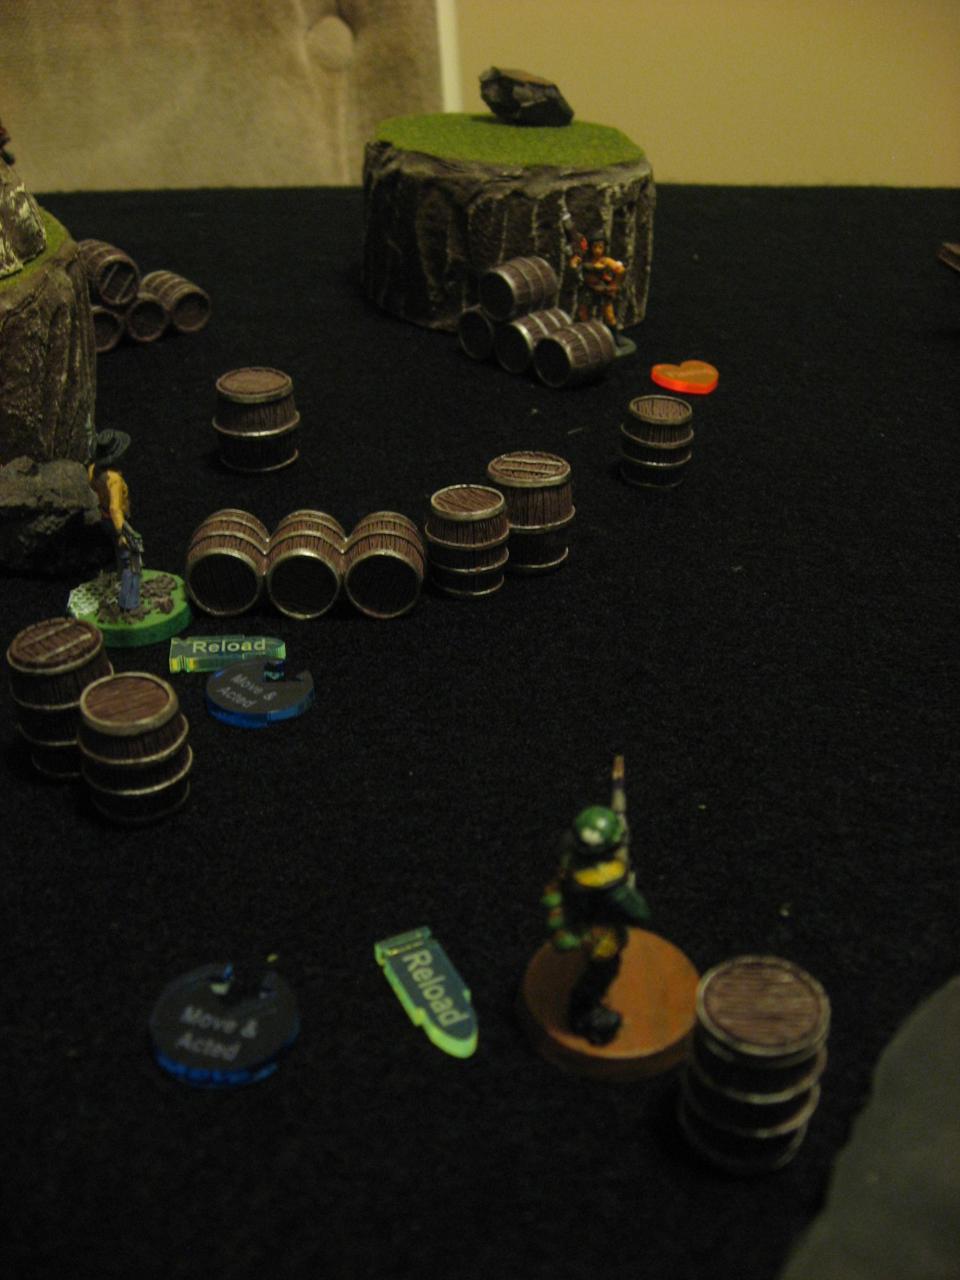
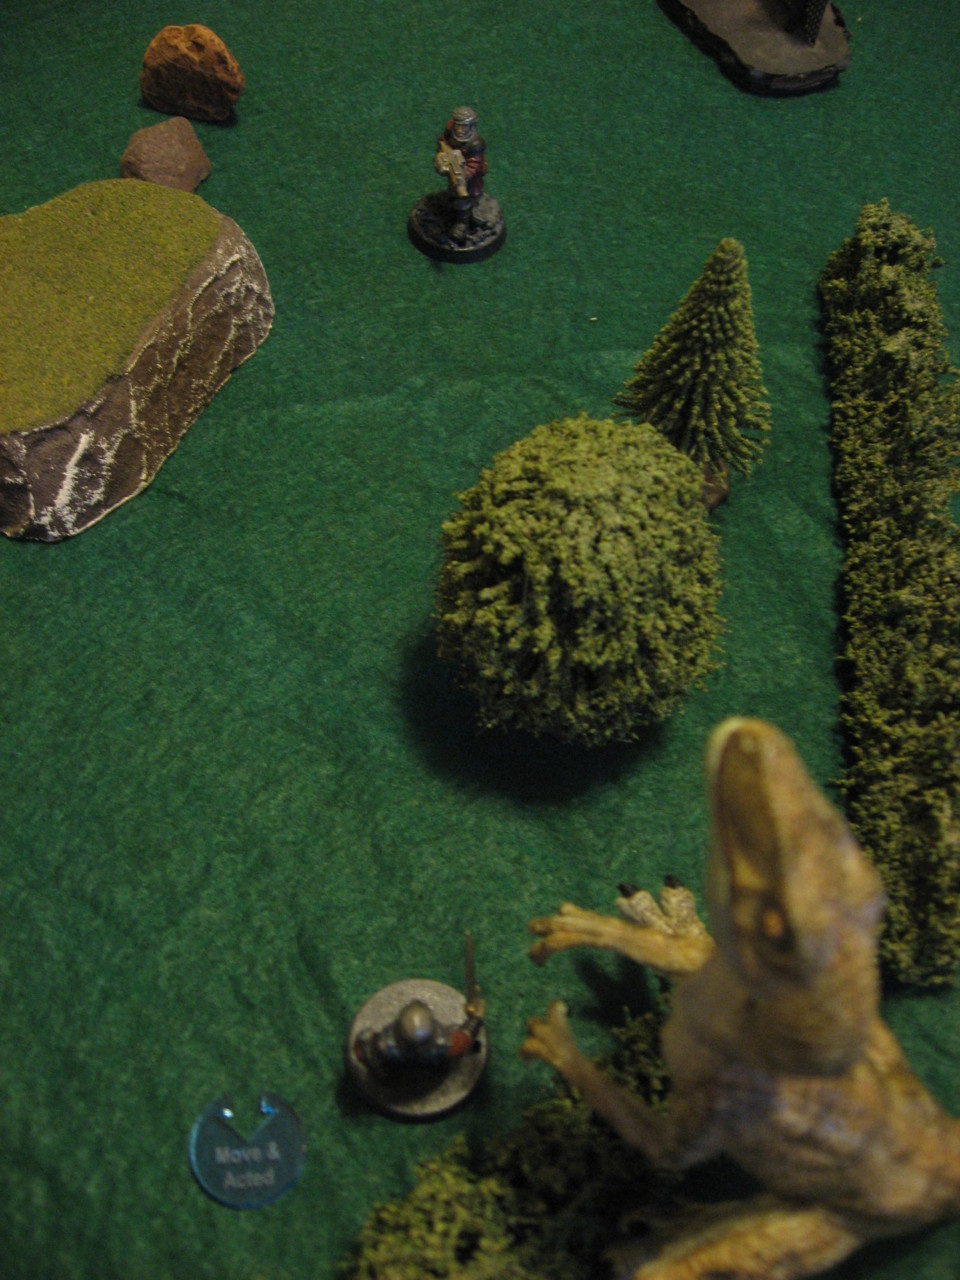
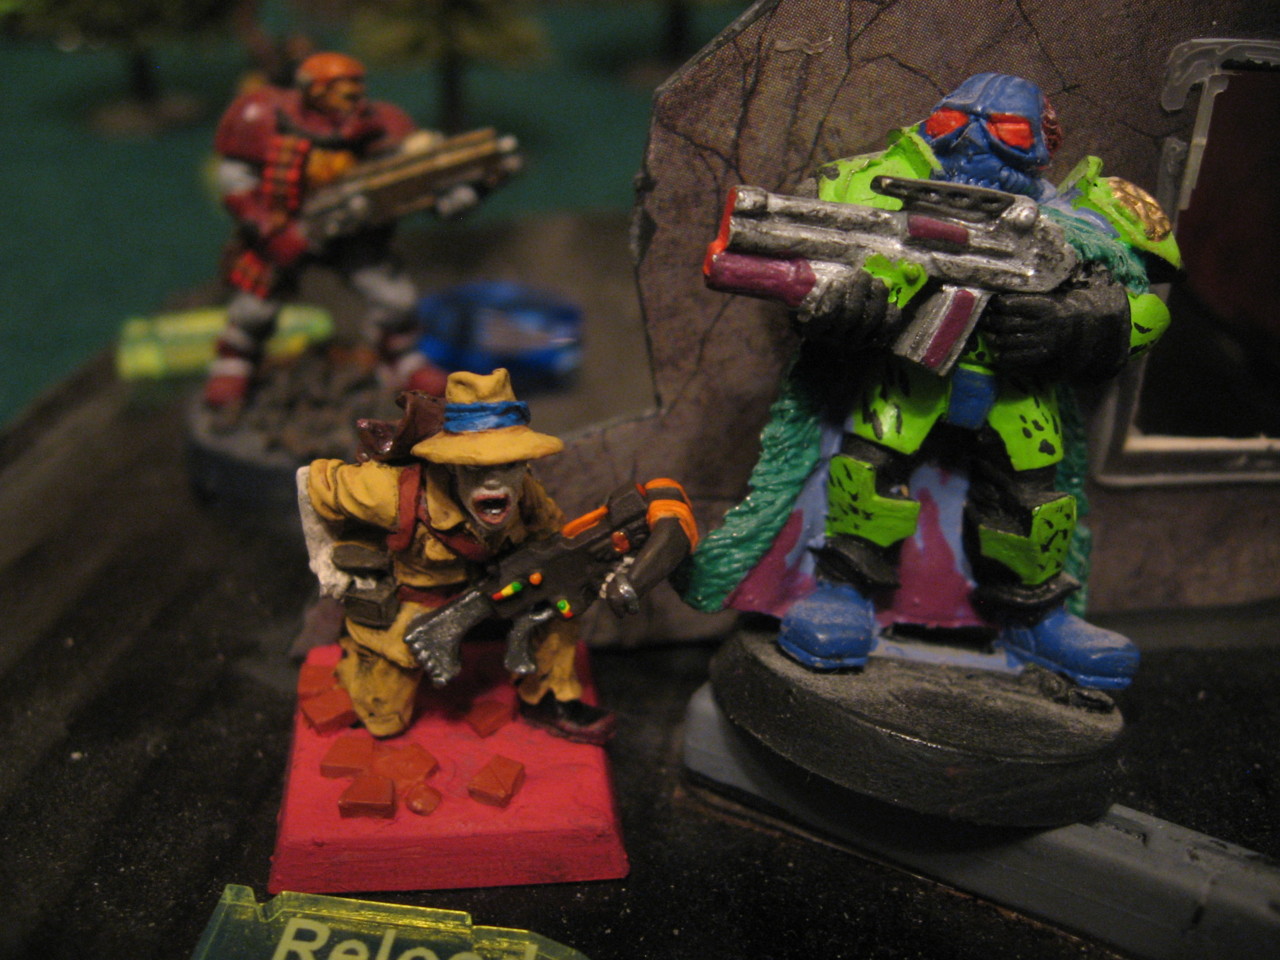
The remaining two members of Attack Force 2 deployed 6″ from the Southern short table edge, opposite the mine, and right in the thick of all the combat. Barrier went for a flank on Amp, and Sleighter deployed near a fence facing two enemies and between a bunch more.


 The turn started with a bang as the newly arrived Sleighter shot and killed Lynn! Of her posse only Falls Hard failed his Bravery Test for having a dead Leader. The other newly arrived Night Dagger named Barrier moved forward and tried to shoot Amp, but missed all 4 of his attacks (on 8+ no less!)
 The defenders try to return fire with Cough of Thunder firing his Sawed Off Shotgun towards Sleighter, but misses even at the short distance. The firing continued in earnest with Silverhorn barely hitting Cough of Thunder after the bandit slowly crept forward.
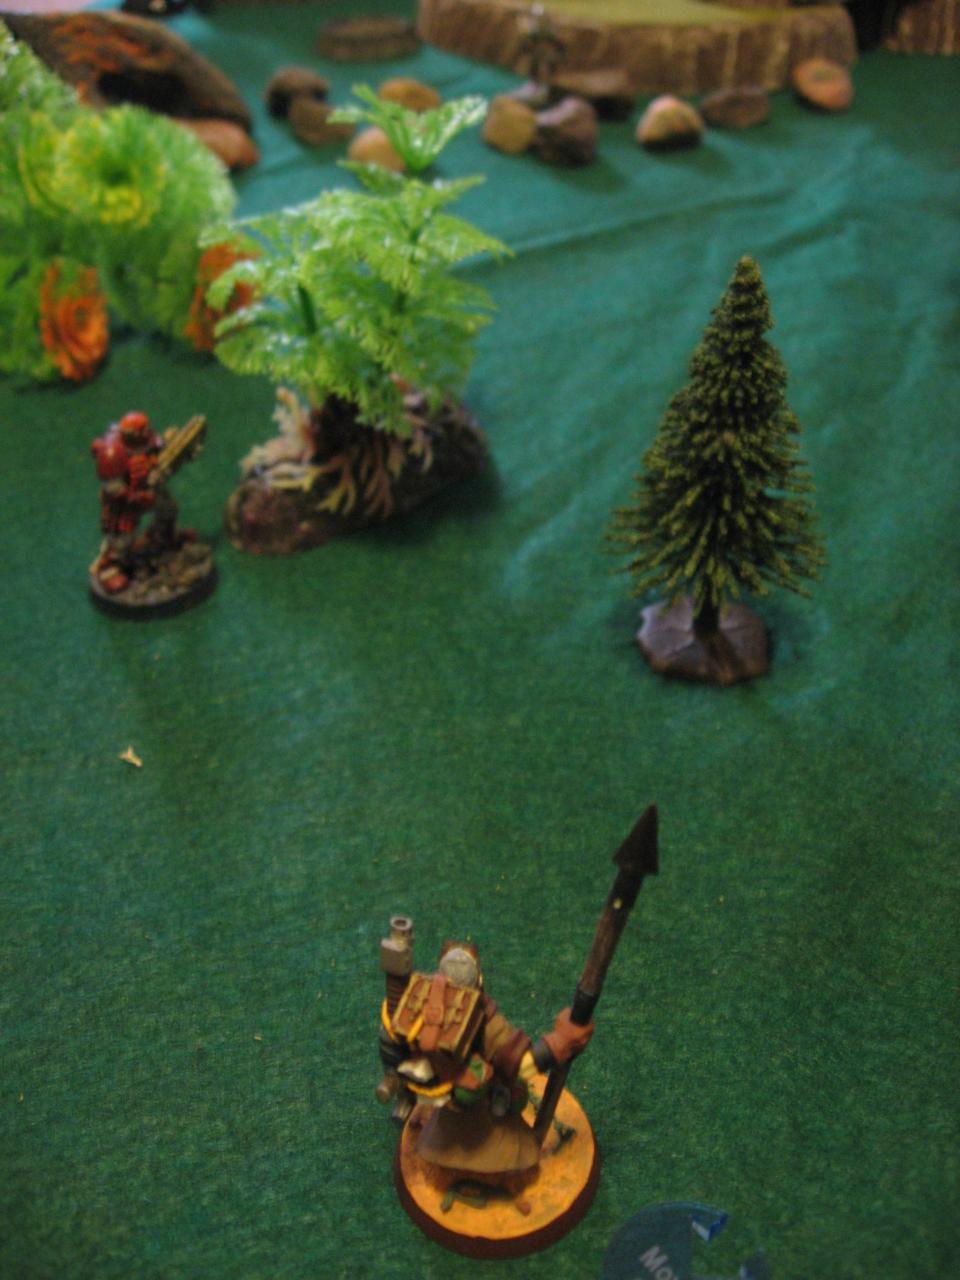
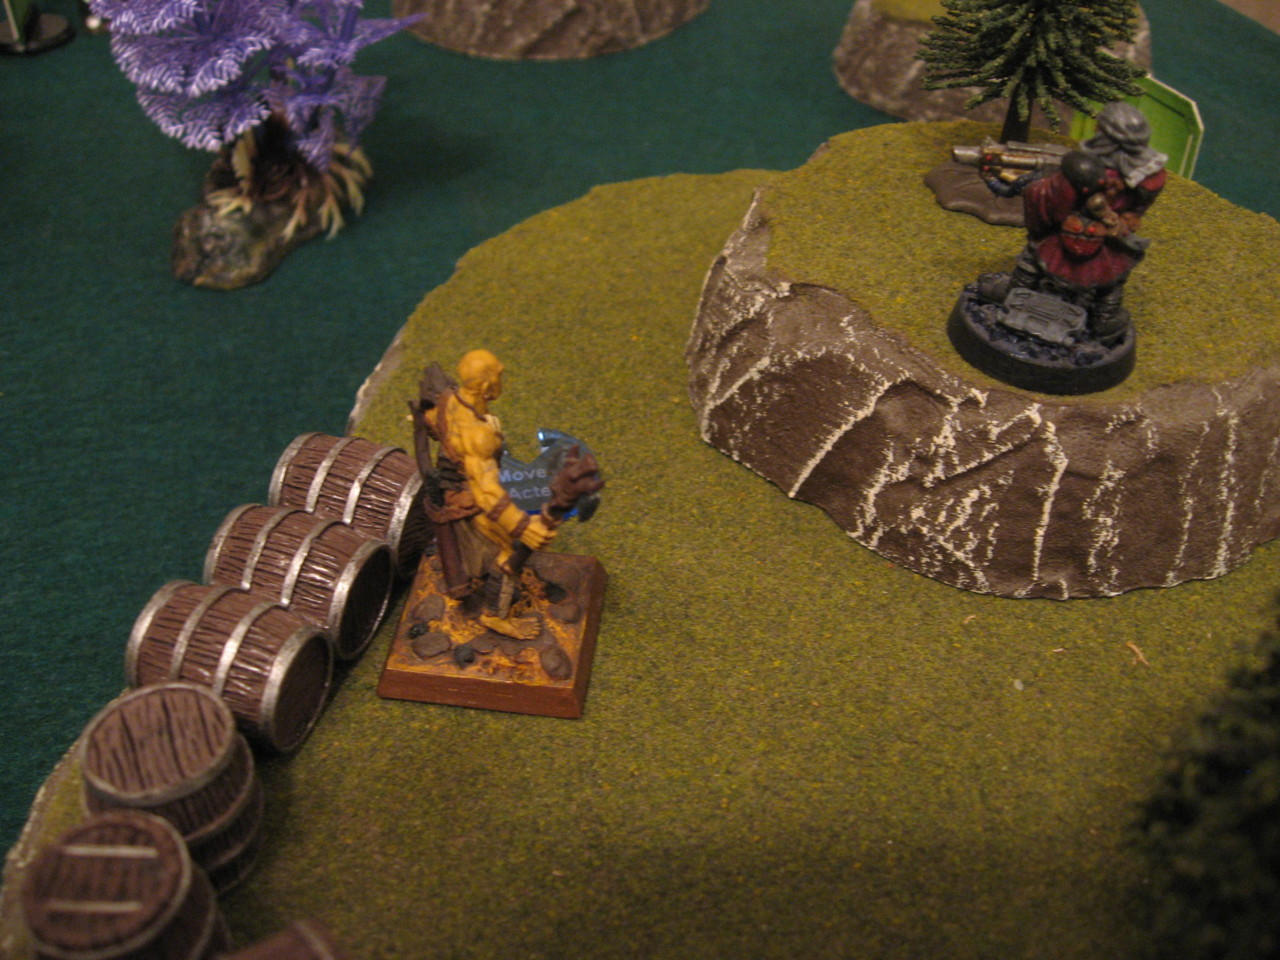
 Hearing Amp’s shout behind him, Quidel broke off his advance and clambered to the other side of the fence near him to shoot at Barrier. He needs a 10+ to hit, and risks the “Knee Shot” trait because of how exposed Amp is. With amazing luck he gets a Critical for 2+4+3 damage which outright kills Barrier!


In retaliation Classie finally manages to put down Cough of Thunder, taking him out from long distance.
Rhodes steadily advanced to medium distance of Silverhorn and punches a dozen holes in the enemy (who only had 1 HP left to begin with) by getting 2 Criticals and 3 normal hits for a total of 10 damage.

Vicky tries to shoot at Falls Hard at melee distance and gets another awesome roll of 2 Criticals and 1 normal hit for 10 damage, which outright single shot kills Falls Hard! In the process Vicky does need to Reload though.

 Viana tries to keep Panic on Ore Hauler, but misses the important shot against the dinosaur.
Having waited long enough, Gibson spurs Dwaal into the mad dash across the mine, using the full 15″ movement to try to get into range of Viana, or better yet Charge and try to lock the sniper in place.
This turn was one of the bloodiest in memory. There was a total of 5 kills, 3 of which were in a single shot against a fresh enemy. Just goes to show the importance of Defense and Hitpoints! Absolute riot to play through though, especially since there are still so many entities on the table.
Turn 4 – Re-coup and Re-engage
 At this point 5 attackers remained compared to 6 defenders.
The turn started on the northern flank, with the important duel between Viana and Gibson. The attackers, having won Initiative, chose to have Viana shoot Gibson before he could reach the sniper. With a solid attack of 1 Critical and 1 normal hit (8 total damage) Gibson ends up Fleeing. This is very important since he’s still mounted on Dwaal, so he’ll back off a massive 10″.
Rhodes continues to press up the middle of the field. He reaches short distance from the traitor Vicky, and uses “Fan the Hammer” and his “Skilled Shooter” trait turning his attack into a 9+. He hits well for 7 damage which kills Vicky, and also had two 1s in the process (which don’t matter since he needed to Reload from “Fan the Hammer” already).
Meanwhile the harassment of Amp continues, as Sleighter moves to the side and fires his Toxic Gun at the man, hitting for 6 damage. More importantly Amp is now poisoned and will need an antidote as soon as possible. Instead of firing back Amp moves away and uses his Small IRP to recover 3 Hitpoints.


Gibson finally Activates and would normally Flee 10″ from the nearest enemy. However that would put him off the table, so he’s Stunned instead.
Classie continues to use a nearby tall hill as cover. She edges around the corner to shoot at Rhodes using her “Go For the Eyes” Trait, hitting 1 Critical plus 2 normal hits for a total of 5 damage (thanks to Cover). Rhodes manages to pass his Bravery Test.
Compared to Turn 3 this was a quiet day at the park!


Turn 5 – Dinosaur Crash In
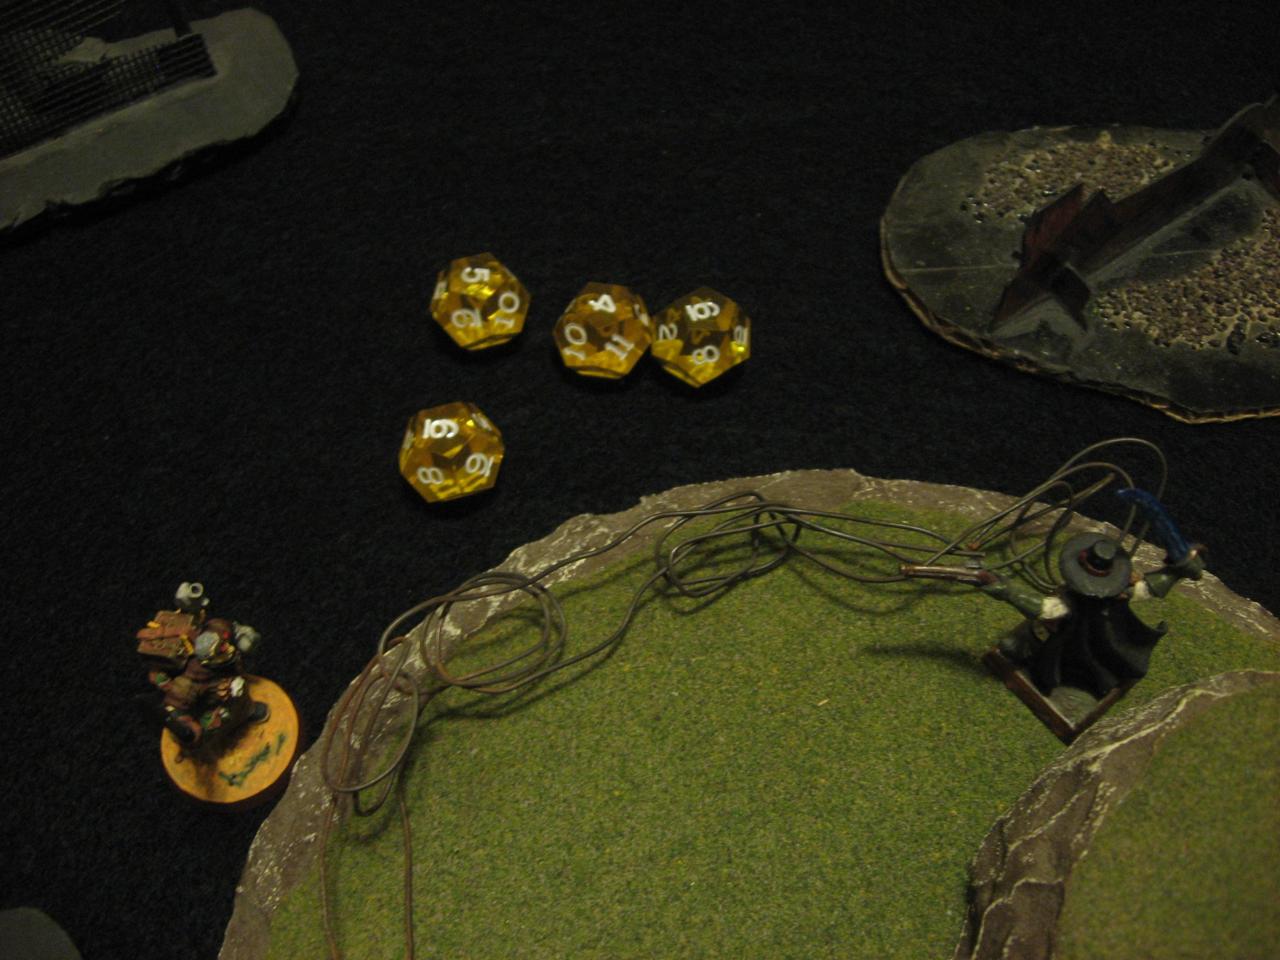
The attackers win the first Activation with a close 12 to 11 on the roll. This allows Viana to again get the drop on Gibson. Lining up another deadly shot the sniper hits Gibson for 7 total damage which takes Gibson out of action. But Viana is in rather dire straits with two dinosaurs getting dangerously close:

Meanwhile the tactical shootout to the south continues. Amp uses his “Inspiring Shot” Trait in a desperate bid to recover some Hitpoints, but misses Sleighter. Seeing the volume of fire coming his way, Sleighter backs off and uses his Large IRP which brings him back to full Hitpoints.

Rhodes continues his rampage in the center by advancing towards Classie and firing with his remaining pistol. After hitting for 5 damage she fails her Bravery Test and will Flee.
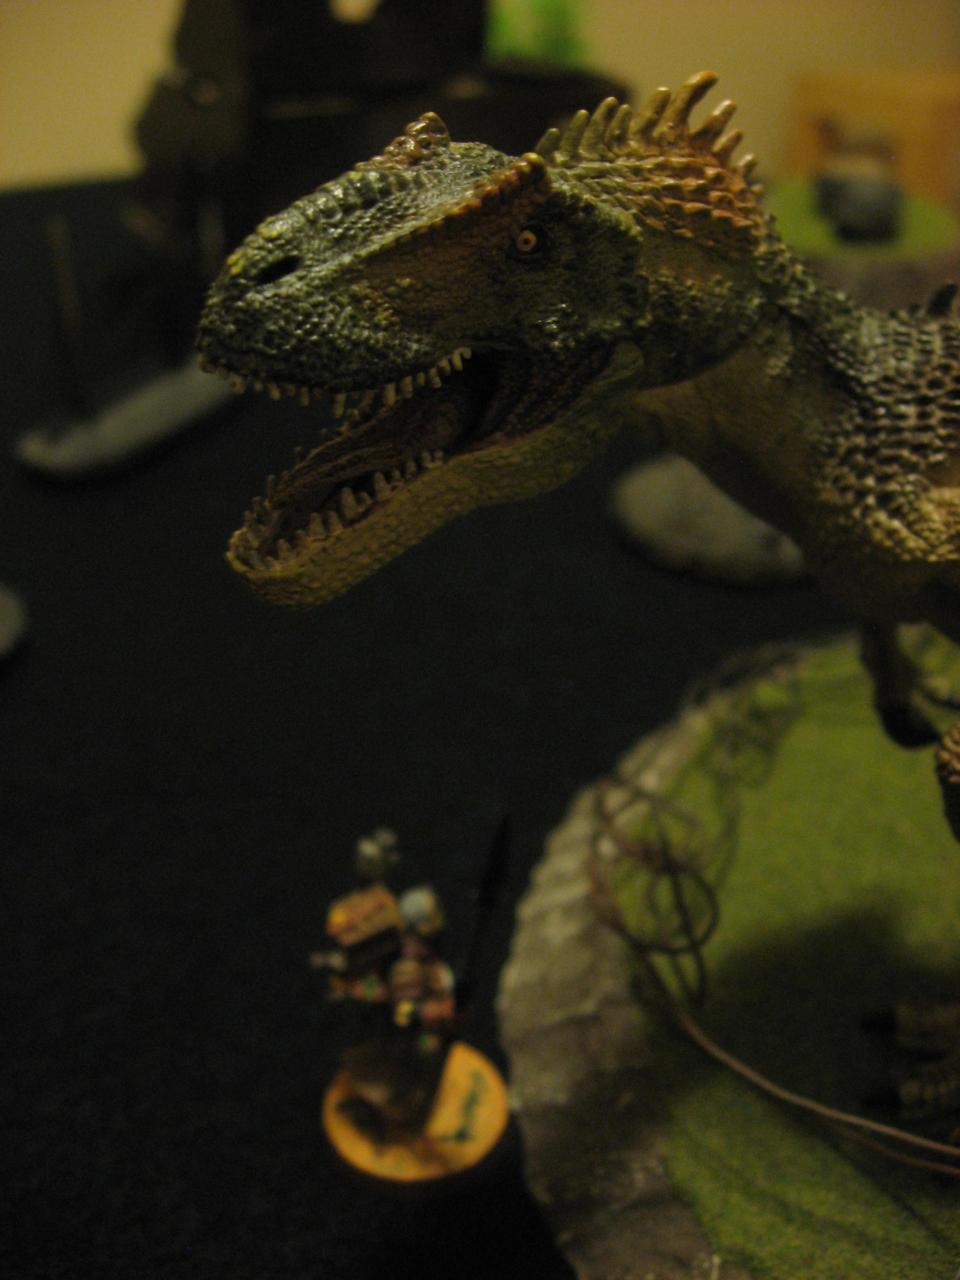
Roaring and stomping the ground, Ore Hauler the Plated dinosaur tries to Charge Viana, but fails the 2″ distance with a roll of 1!

On the other hand, Emmitt moves just into range of Classie, who is hiding behind a barrel scorched by laser blasts. Just to be safe and ensure the kill he uses “Both Barrels”, hitting and killing Classie. As she was the leader of Attack Force 1 they all roll Bravery Tests and perform miserably, with everyone but Sleighter Fleeing.


Unlike Ore Hauler, Dwaal goes for the safe (but less deadly) approach of reaching melee and just moves into close combat with Viana. However the fast dinosaur misses all his attacks. On the upside the sniper is now in close combat and will have trouble keeping the dinosaurs out of the 4″ Minimum Range of his 500kW Lever-Action Rifle. Note Viana is Fleeing in the picture due to Classie being taken out of action.

Turn 6 – Toxic Gun Takedown
 Sleighter starts the turn by missing Quidel with his Toxic Gun, which is unfortunate for the Night Daggers as more poison would be great at this point.
Meanwhile Ore Hauler finally manages to Charge at Viana, hitting the sniper for 6 damage which leaves on 2 Hitpoints left. Amp levels his Lever-Action Rifle at the nearly dead Sleighter, hitting the man for 7 damage. Luckily for Sleighter his Cover reduces the damage to 6, which saves his life and leaves him with 1 Hitpoint.
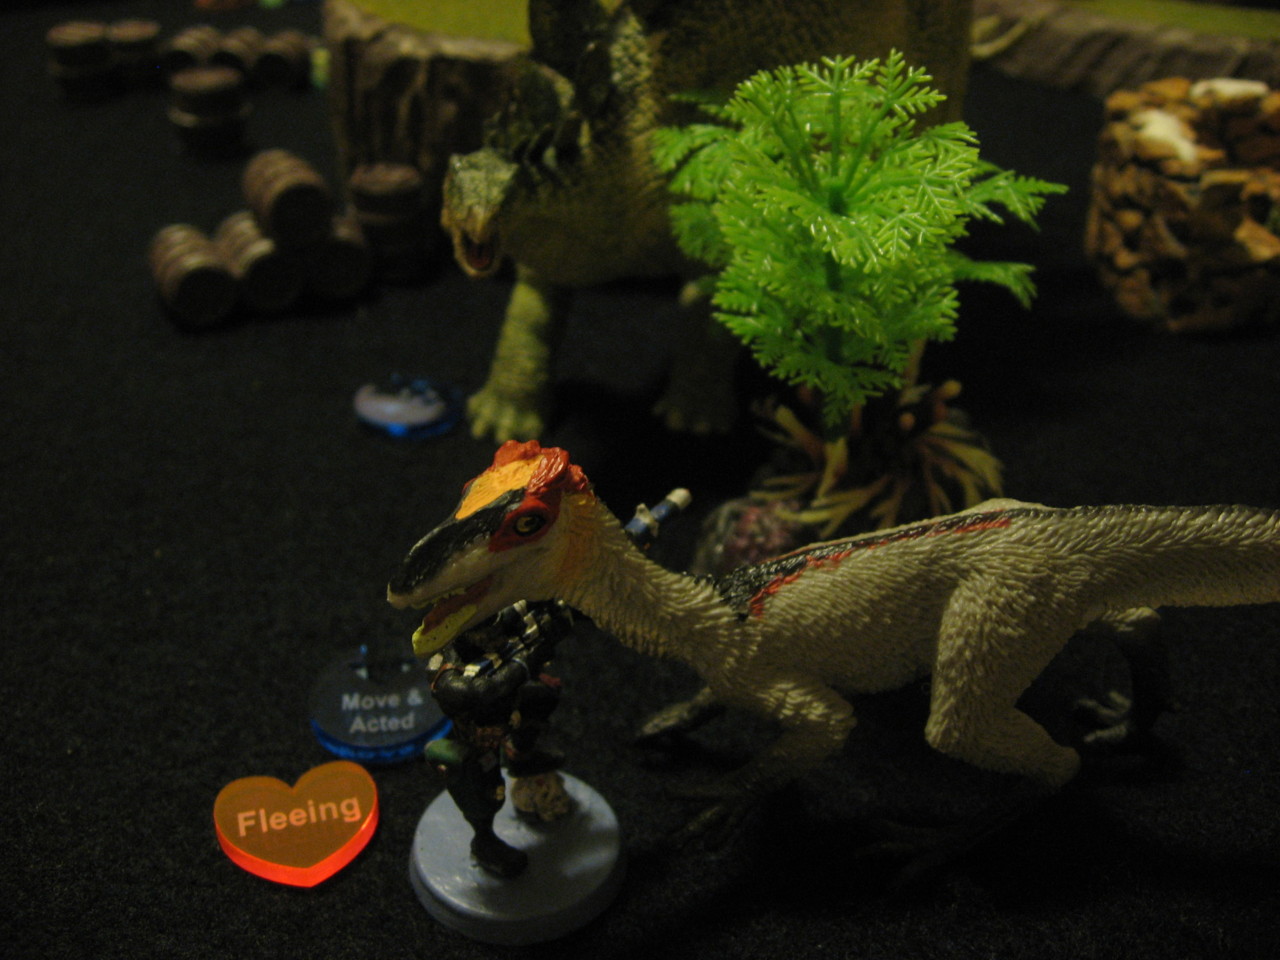
Having been methodically advancing this whole time after battling Lynn, Hungry Cactus finally reaches melee by Charging Quidel and hitting for 7 damage! The Drylands leader is Fleeing as a result. He Flees backwards from the dinosaur but maintains his target priority by shooting and killing Sleighter. That means all Night Daggers carrying Toxic Guns have been taken out of action.


 Vianna Flees away from the gaggle of dinosaurs approaching him. However after some deliberation he forgoes the use of the Large IRP and decides to shoots the deadly Rhodes in the back. That means he’ll get a Critical Hit on 10+ instead of 12+. This results in 2 Criticals and a total of 9 damage which kills the troublesome Rhodes. However Viana may have sacrificed his life to do so. The reasoning was healing with the Large IRP would just delay the inevitable, and the two dinosaurs could conceivably kill Viana even when he’s at full Hitpoints. Plus who can resist a chance to use “Shot in the Back”?!
Turn 7 – Melee Bloodbath
Well, bloodbath might be a bit strong, but the dinosaurs made a good showing this turn. Ore Hauler started by Charging Viana again and killing the deadly sniper finally. Hungry Cactus returned the favor two fold by Charging Quidel and killing the leader, which caused Amp to Flee.
Turn 8 – Never Tell me the Odds

 At this point the attackers consisted of Hungry Cactus and his rider Luciano. The defenders still had 4 entities, two of which were dinosaurs.
To maximize the Action Phases the Night Daggers would have, Luciano dismounts from Hungry Cactus. She moves towards Amparo which Hungry Cactus moves towards Emmitt. The hope was to get enough attacks to even the odds. Dismounting is rather costly and when to do so is quite a judgment call. In this case the attackers sacrificed some immediate attacks for the promise of MORE attacks in the future. Plus Luciano was still at full Hitpoints and Hungry Cactus very nearly the same, so they could withstand a turn of punishment.
Meanwhile the defenders respond by having Dwaal rush across the board into melee with Luciano, to try to prevent her from reaching Amp. Speaking of Amp, instead of moving for his Fleeing status, he is Stunned instead since he was right at the table edge and had no where to go.

Turn 9 – Dinosaur Mop Up
The turn opens with Hungry Cactus succeeding with a Charge against Emmitt, who he hits for 7 damage, leaving the guard with only 1 Hitpoint. Emmitt is also Fleeing from the shock of the attack.
Amp tries to line up a shot against Luciano and barely hits her (her +4 Defense is rather tough, especially when she’s in melee) for 6 damage. He also continues to back away from Luciano so he can maximize the number of shots before she reaches him, assuming she kills Dwaal. Luciano ignores the man and instead brings her Whip to bear on Dwaal, hitting the dinosaur for 4 damage.
Ore Hauler moves in to help the struggling Emmitt against Hungry Cactus, hitting the enemy dinosaur for 4 damage.


Turn 10 – Bloody Pulp
Hungry Cactus opens the turn by trying to kill Emmitt. Although he has a powerful 1A-6D bite, the human only has 1 Hitpoint left. So instead the dinosaur opts to use the Beast attack “Trample”, which gives him 2 Attacks and a better chance of killing Emmitt. Hungry Cactus succeeds and Emmitt is paste under his massive feet. That leaves Ore Hauler and Hungry Cactus duking it out in the middle of the board.
Again Amp barely hits Luciano (he’s needing an 11+) for another 5 damage. Slowly she is being whittled down. Dwaal is in even worse shape as he needs a 12+, and misses.
Turn 11 – Lucky Third Shot
 Luciano tries to lash out at Dwaal again with her Whip, but fails the attack miserably (no hits on 5 Attacks!). Amp barely lands another hit on Luciano which is enough to finally take her out of action.
Having been freed from melee, Dwaal moves to the edge of the roiling fight in the middle. However the dinosaur doesn’t engage Hungry Cactus and instead lets Ore Hauler and the carnivore fight it out.
Both dinosaurs hit well with Ore Hauler doing 6 damage and Hungry Cactus doing 7. At this rate the herbivore will be dead first though.

Turn 12 – Snapping Jaws
Before Ore Hauler can react, Hungry Cactus gets the first Activation and kills the Plated dinosaur. He then moves into melee with Dwaal. Amp misses an important shot against Hungry Cactus. Dwaal however manages a lucky Critical Hit for 4 damage.

Turn 13 – Gun and Claw
With only three combatants left the turns were going fast and furious now. Amp manages to hit Hungry Cactus for 7 damage while Dwaal misses. The Terror responds by biting Dwaal for 6 damage, leaving the smaller dinosaur with only 2 Hitpoints.
Turn 14 – Breather
Haha, everyone misses this turn. Hungry Cactus really missed by rolling a 1!
Turn 15 – All Over
Finally Amp fires the final shot of the game and kills Hungry Cactus before the towering carnivore can react to finish off Dwaal.

Pile of Dead
I took a picture of the casualties because there were SO MANY! The only survivors were Dwaal (at 2 HP) and Amp (at 6 HP). And Amp was poisoned from the Toxic Gun so he was treated as Taken Out of Action for the sake of the End of Encounter Process.
This game was a lot of fun, and like I said very “swingy” where one side seemed to have the lead, then a surprising one-shot kill would turn the tide. Lots of blood and mayhem, and the varied deployment locations and timing meant movement and positioning were critical.
Anyway here are the honored dead:

End of Encounter Process
So Amp was the only one hit by the Toxic Gun, which means he’s considered Taken Out of Action AND will receive an automatic Wound if he doesn’t get the antidote in 24 hours. Know what that means? That the Drylands Expedition are going to pick themselves up, dust themselves off, and rush off to raid the Night Dagger camp! They won’t even stop to talk to Lynn, or help with repairs at the mine, or anything like that. It’ll be a flat out race to find an antidote.
In total 9 enemies were killed (not all by the Drylands Expedition, but kills by their allies count too). So that’s another 27 IP and $270 (plus a bonus $30 for a win) for a total of $300. They will also receive another Trait. That puts them at 179 IP, an even $2,000, and 5 Traits!
I have no idea what they’ll buy, but I’ll eventually edit this sentence when I figure it out :)
EDIT: I ended up just talking about what I did with the posse in a new post.
Hope you enjoyed the report! I know I enjoyed playing through it!

 I had a couple of tough questions when it came to Captain Mal, mainly “what should his main gun be?”. Looking at Internet Movie Firearm Database told me the base is a Taurus Model 85, which actually shoots a pretty small bullet. In the show the gun sometimes has laser-y sounds. So I went for how it looks in the show, not how it’d function in the real world, and gave him a Handcannon. He also seems like the type of guy to carry a knife in his boot, so I added a Hunting Knife as well.
 Generally I find Zoe’s character to be a little annoying and one dimensional, but she’s an important part of the crew none the less so I included her. She was also a Duster allegiance since she seems pretty cowboy-esque, fought for the Independence (I always want to say “Rebels”), and could get away wearing a full length jacket.
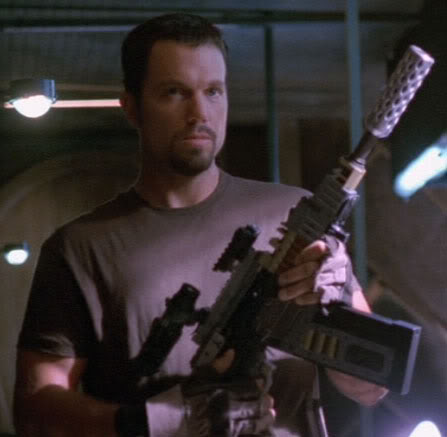 Weapons for Jayne was basically trying to narrow down what he WOULDN’T have. For one thing, grenades (“Sure would be nice to have some GRENADES right about now!”). Beyond that, anything could work. He uses a sniper rifle early on. He uses pistols, knives, and various rifles.
 Ah the good Doctor. He should be an easy setup! I think he’s only used a gun once or twice in the show, and one of them was a stun type weapon when they were escaping the hospital. So “Stun Gun” it is. Also sort of fits with his non-combat and non-lethal personality.
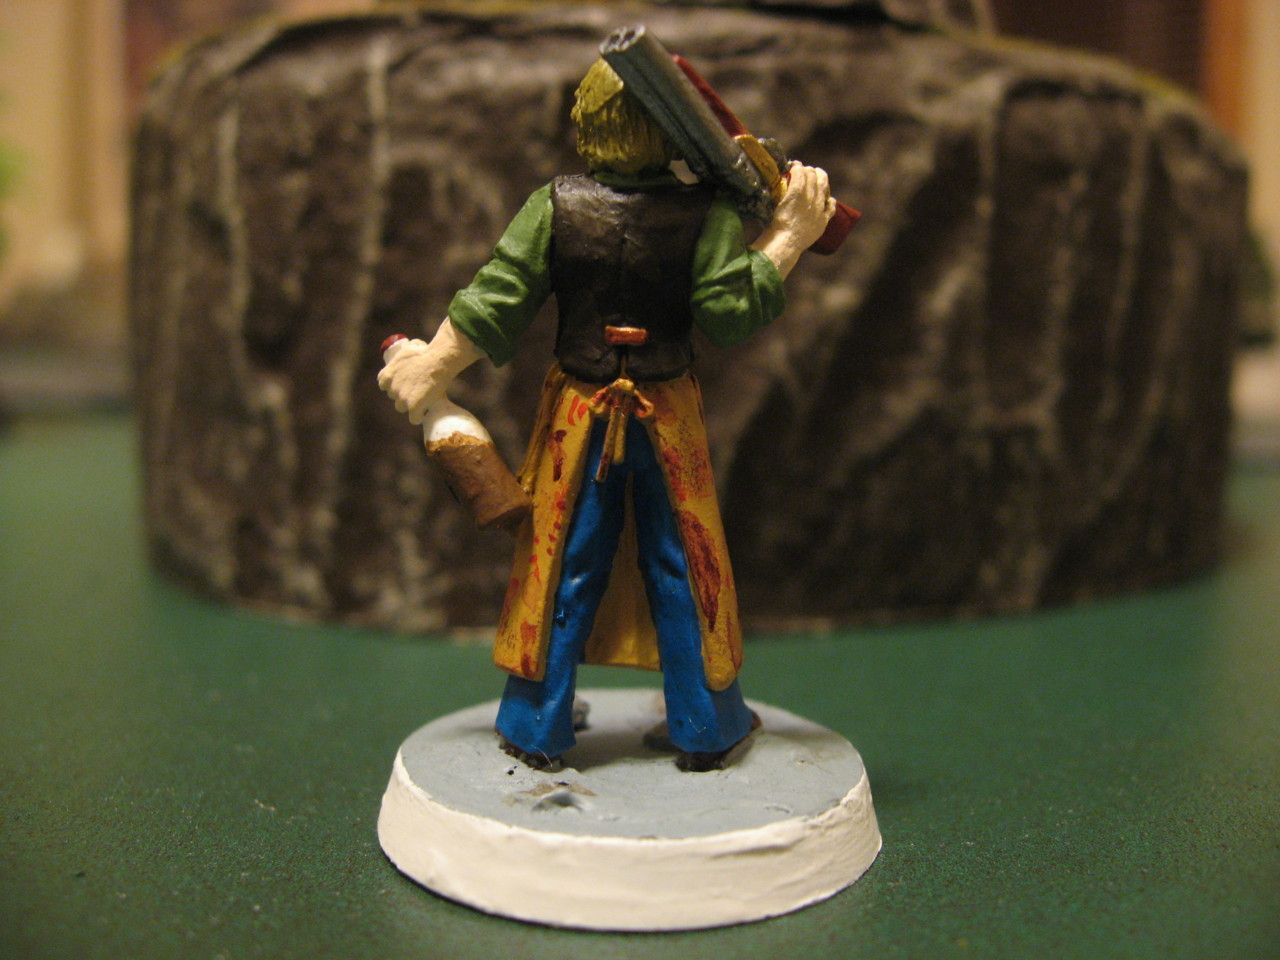
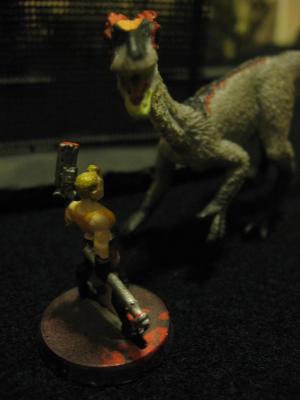
 River Tam is a rather important storyline character, but she’s also hard to model in this game. There aren’t exactly Psionic rules so her main strength goes out the window. So instead I went for “movie River” from Serenity, where she finally controls and uses her martial combat abilities. In this case with a gory axe and machete looking thing (which I represented as an Axe and Cutlass). Besides that I don’t think she’s carried a weapon. Because of her unbalanced disposition Savage seemed like the best allegiance.